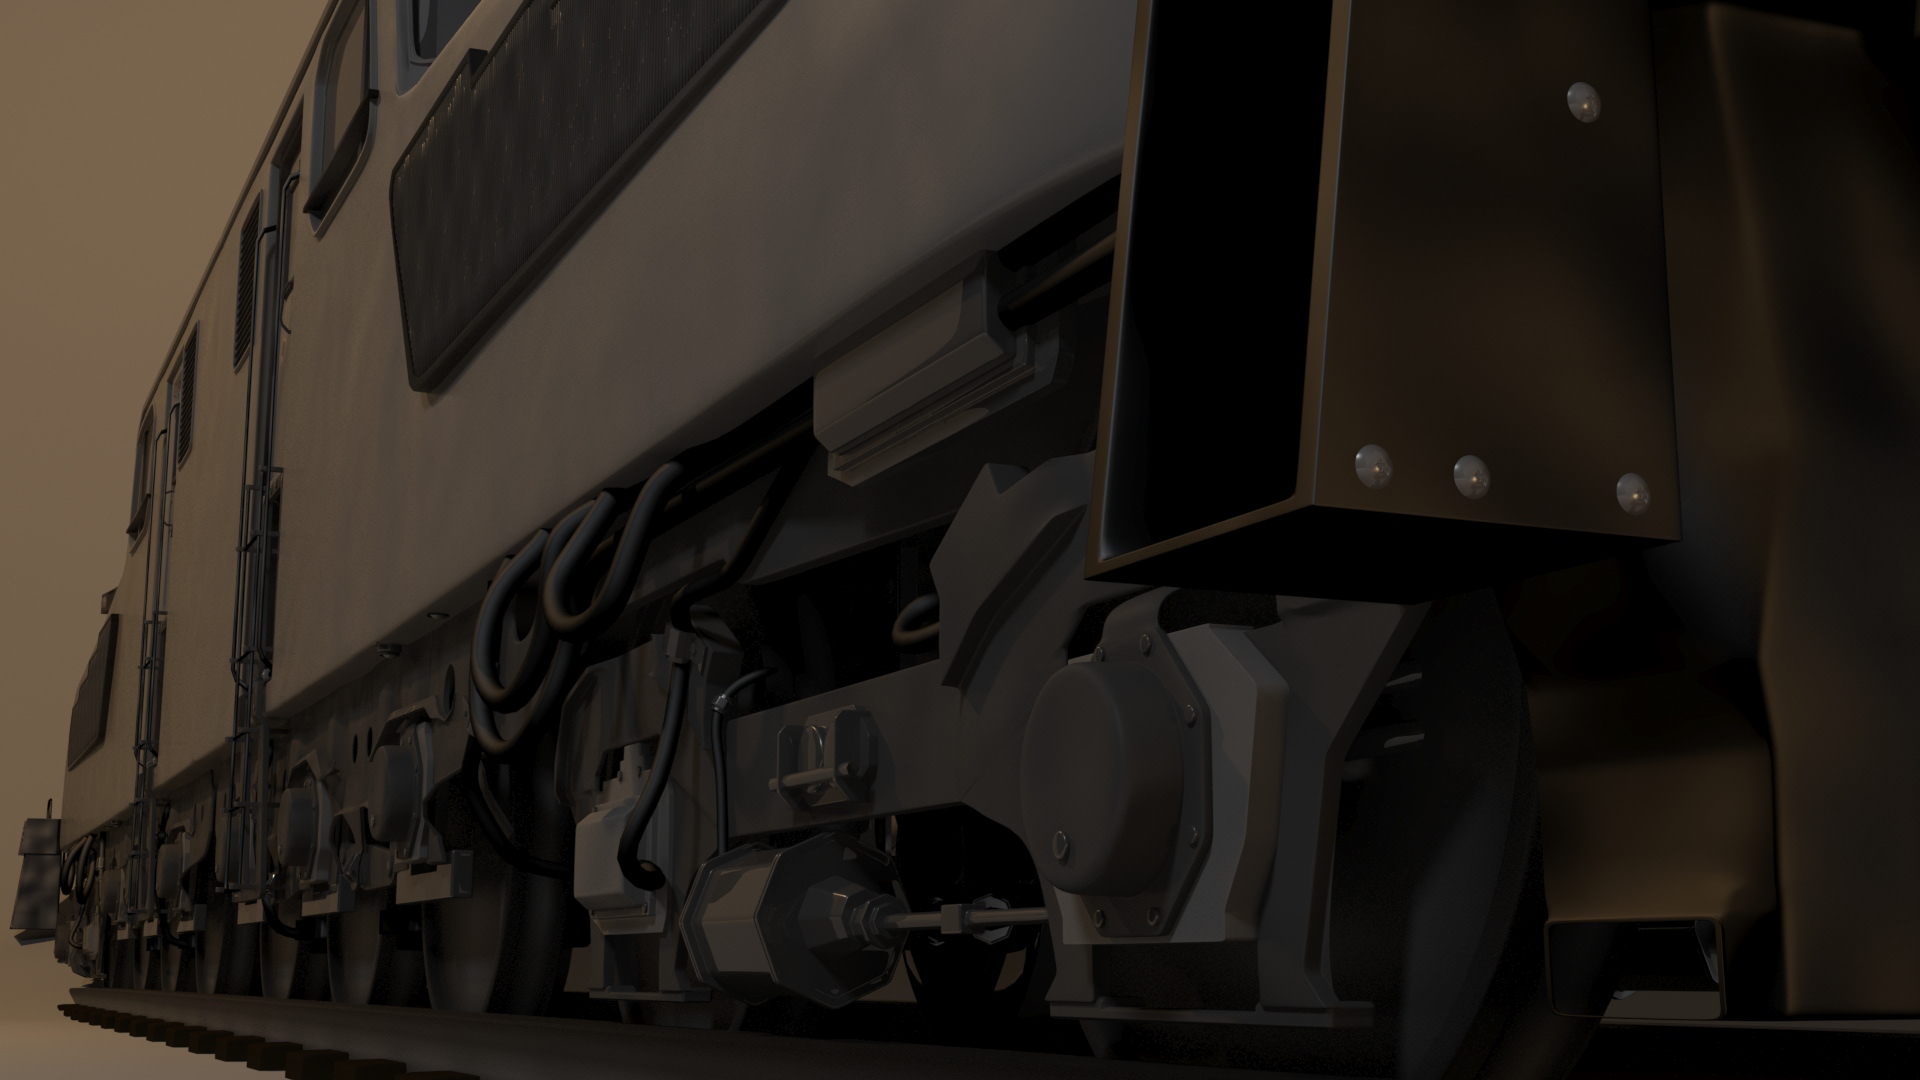
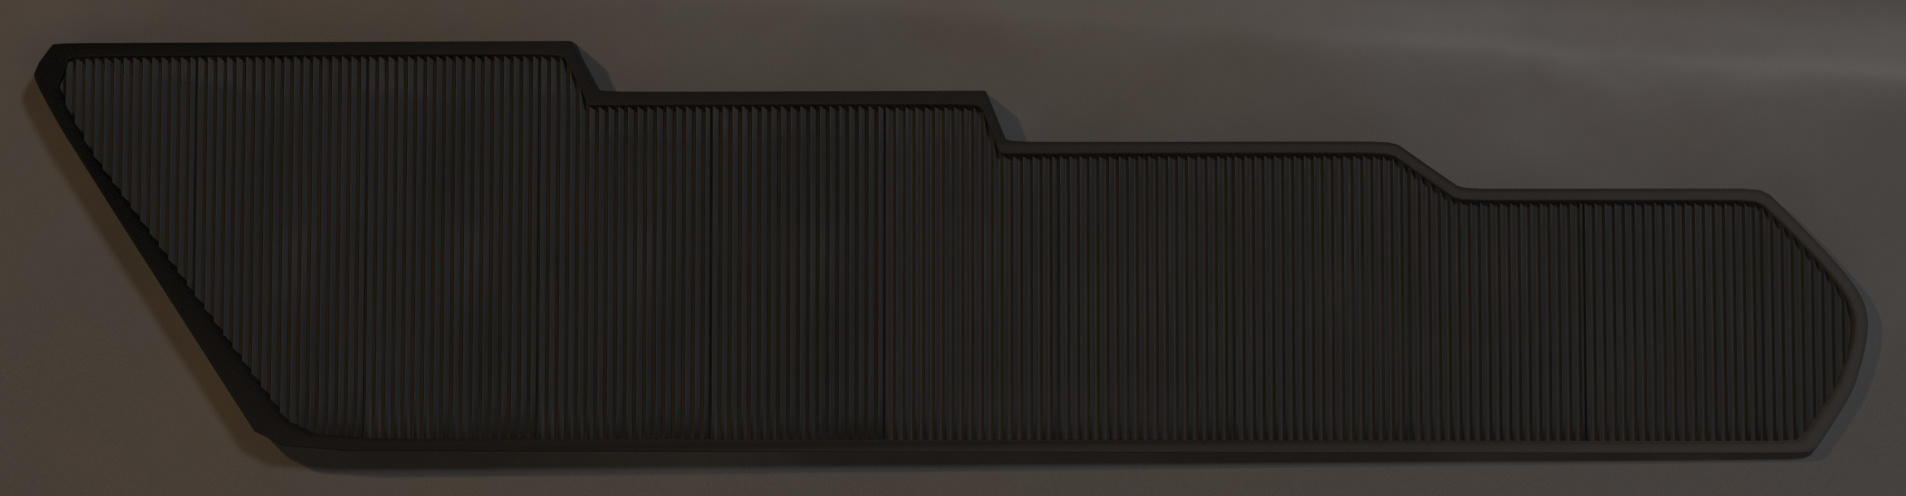
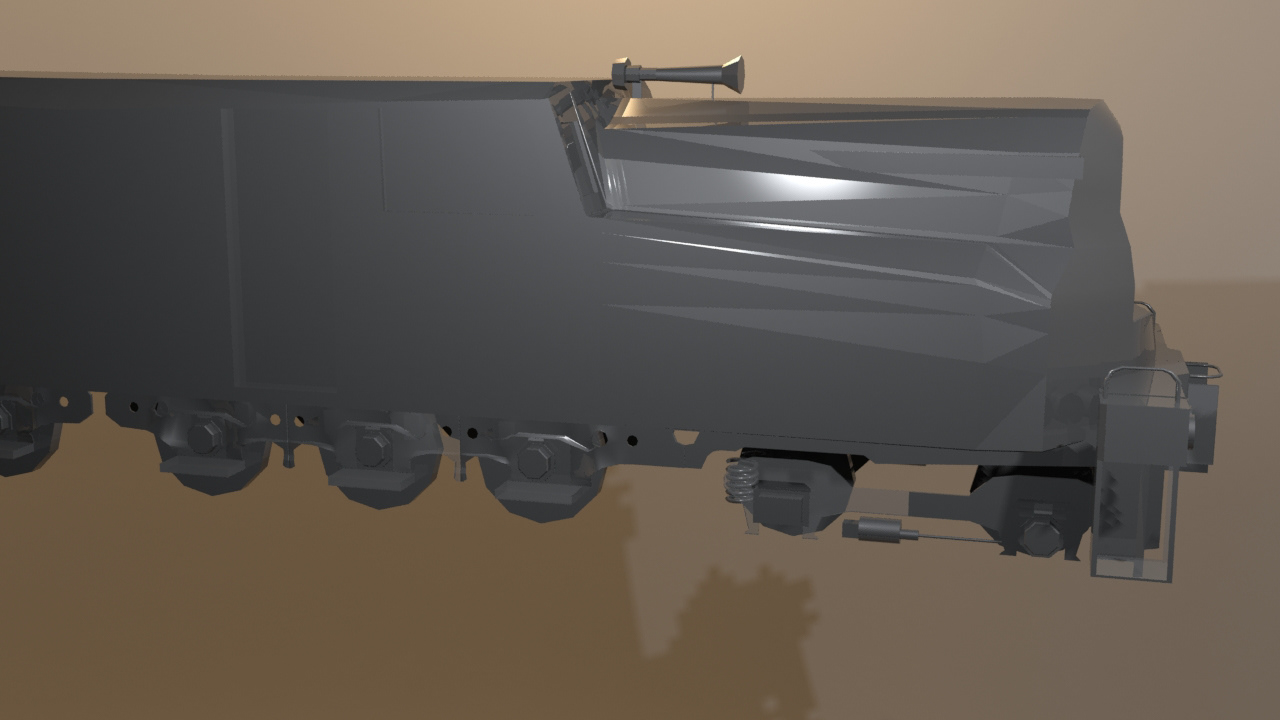
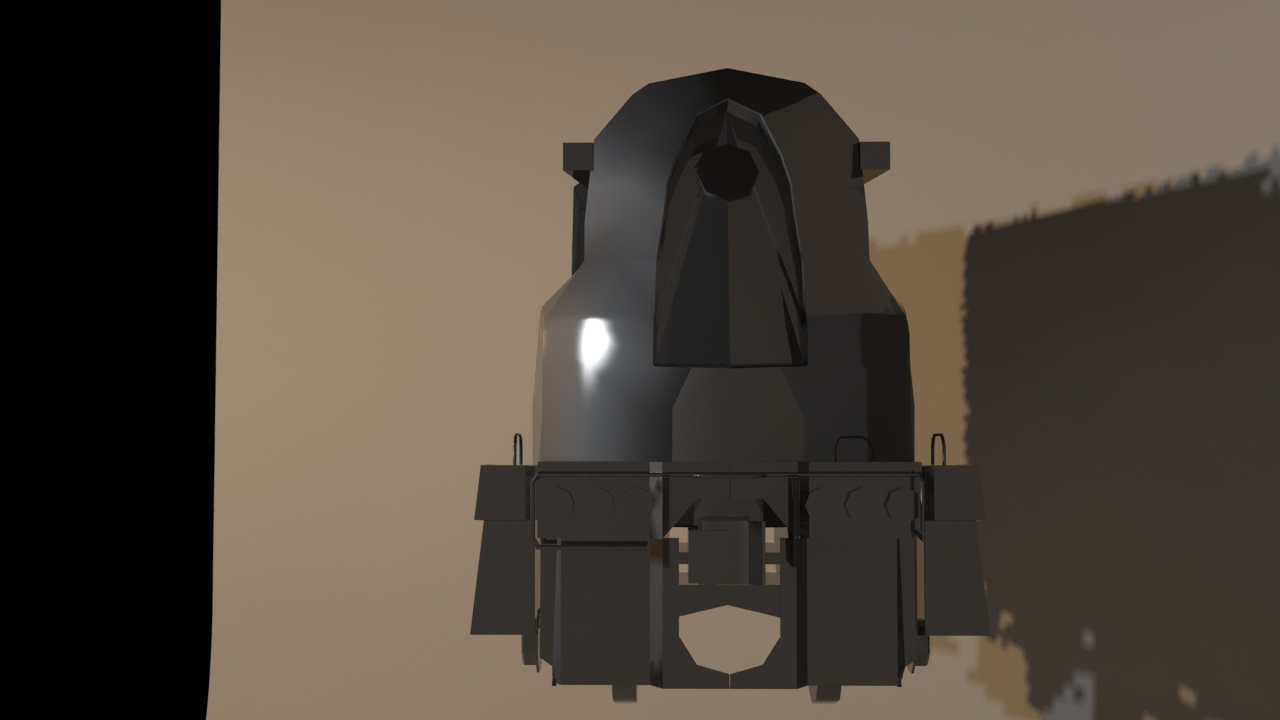
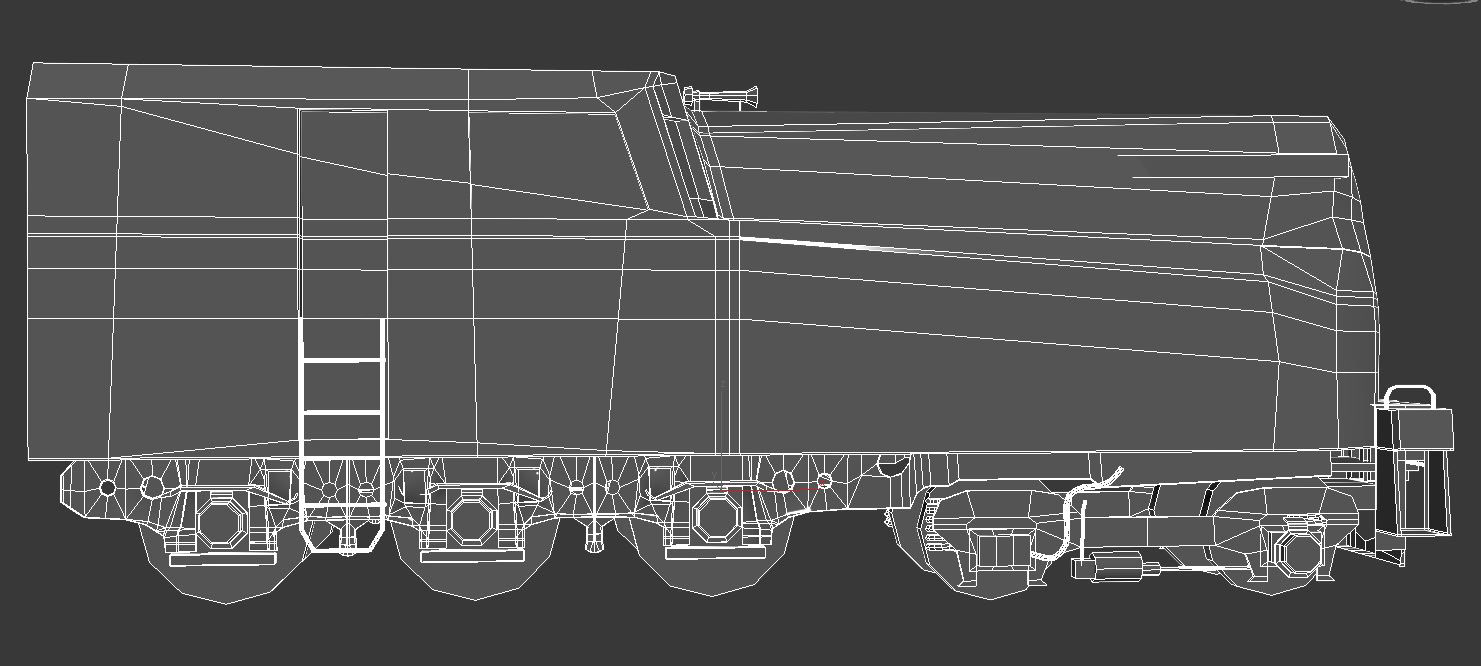
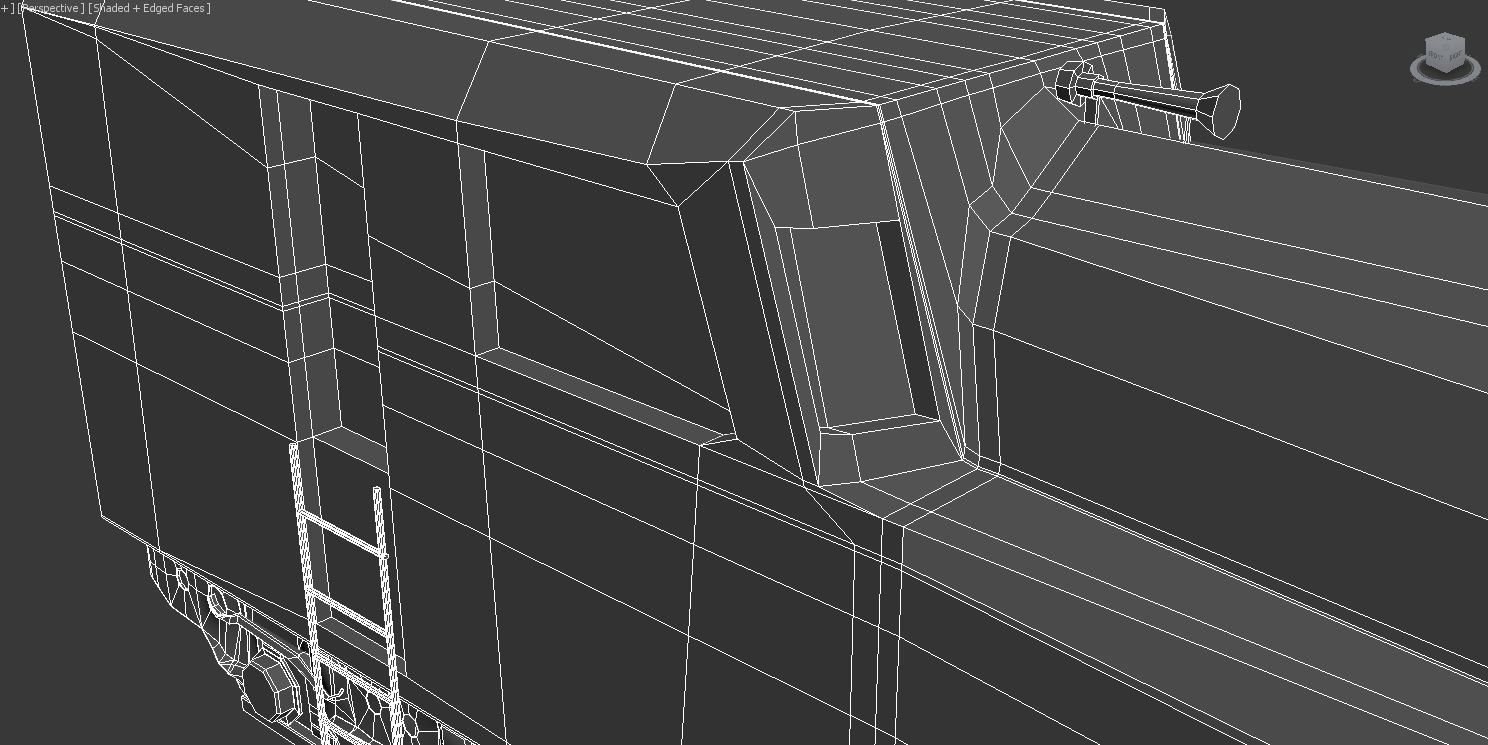
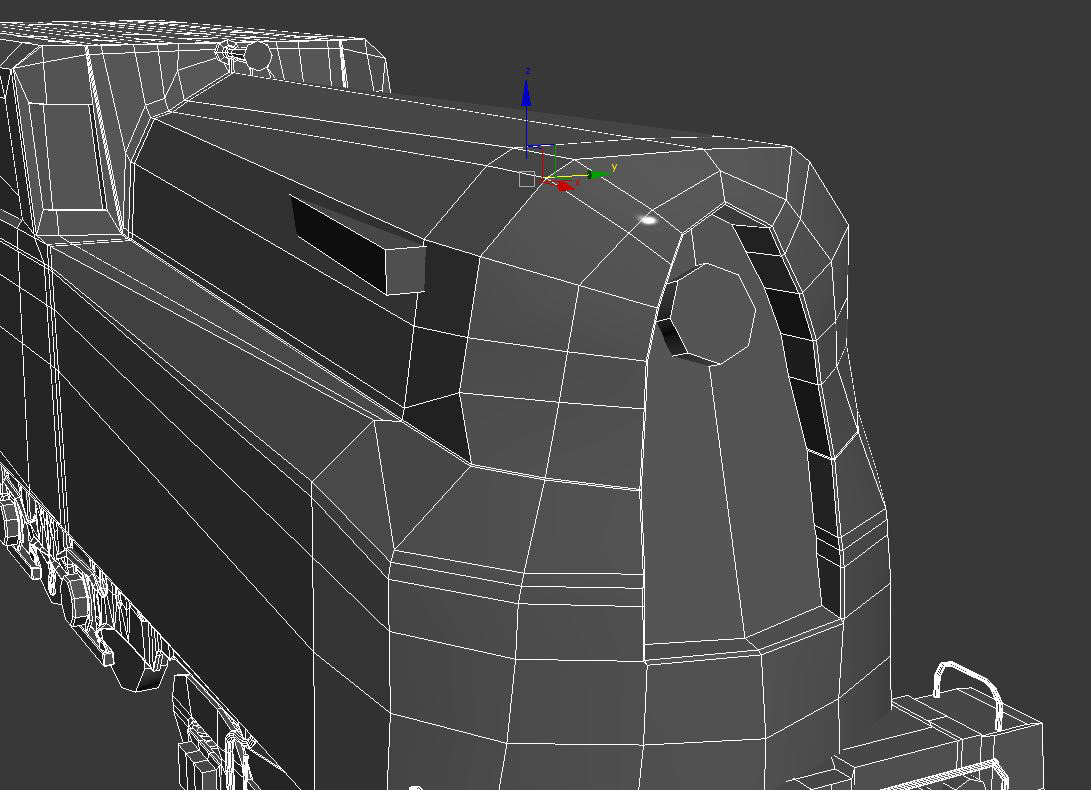
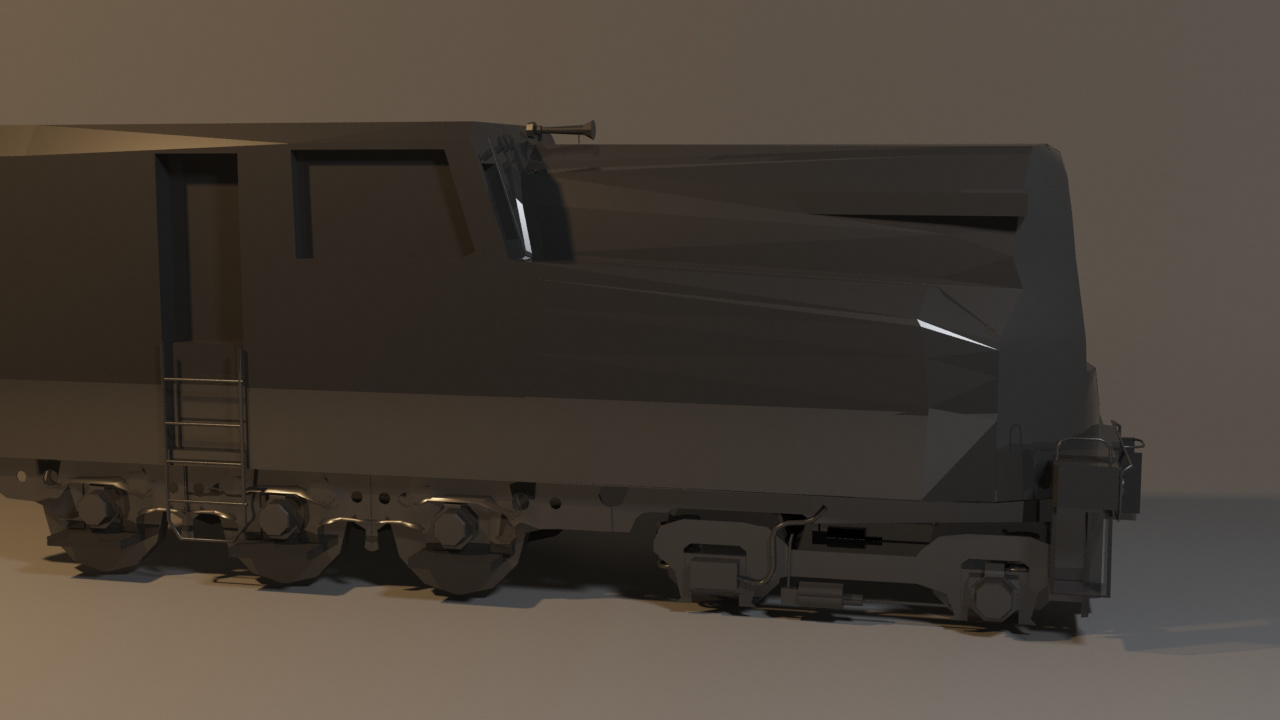
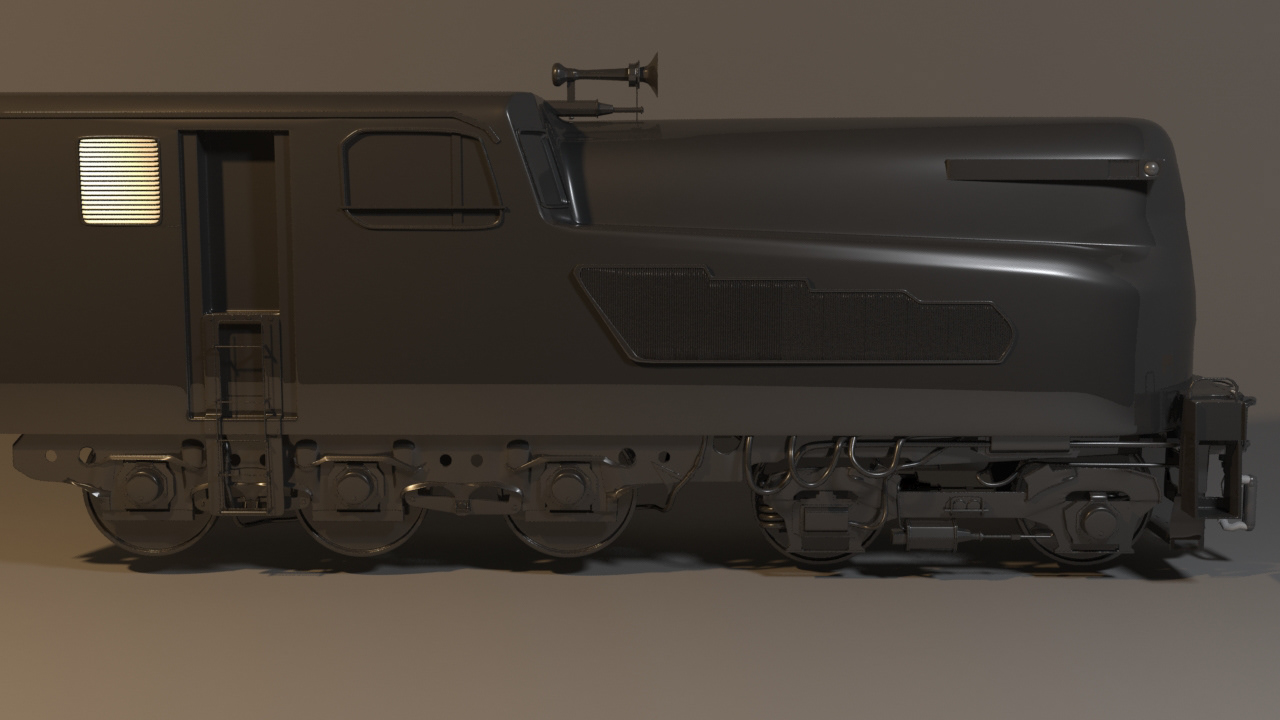
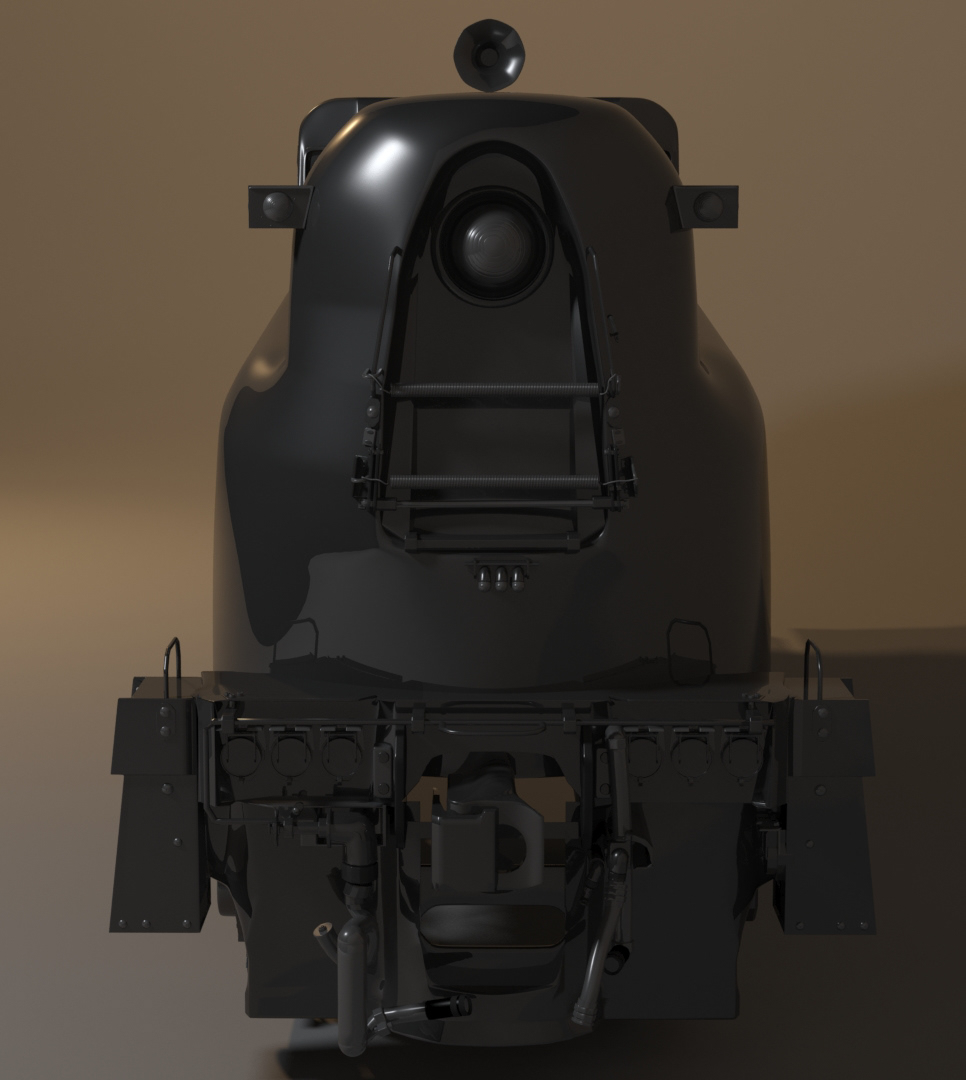
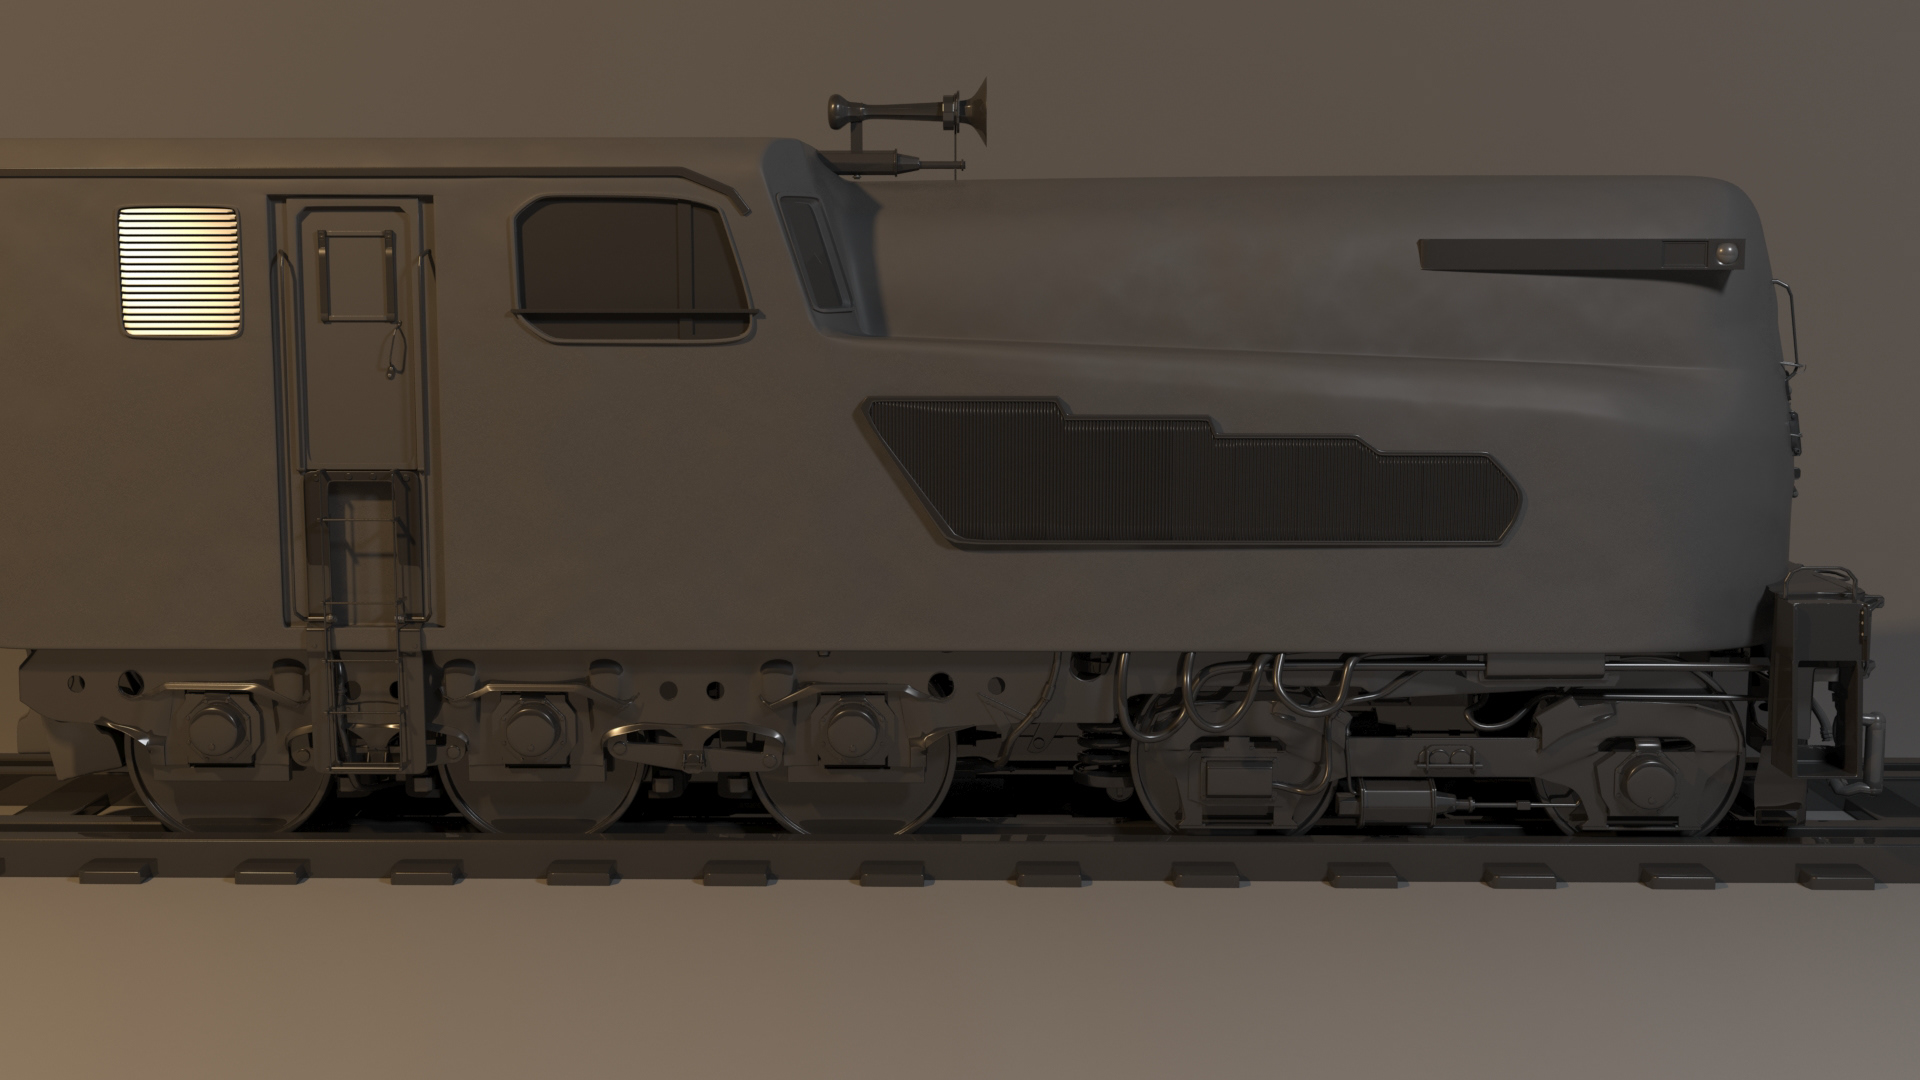
Train (Final Render)
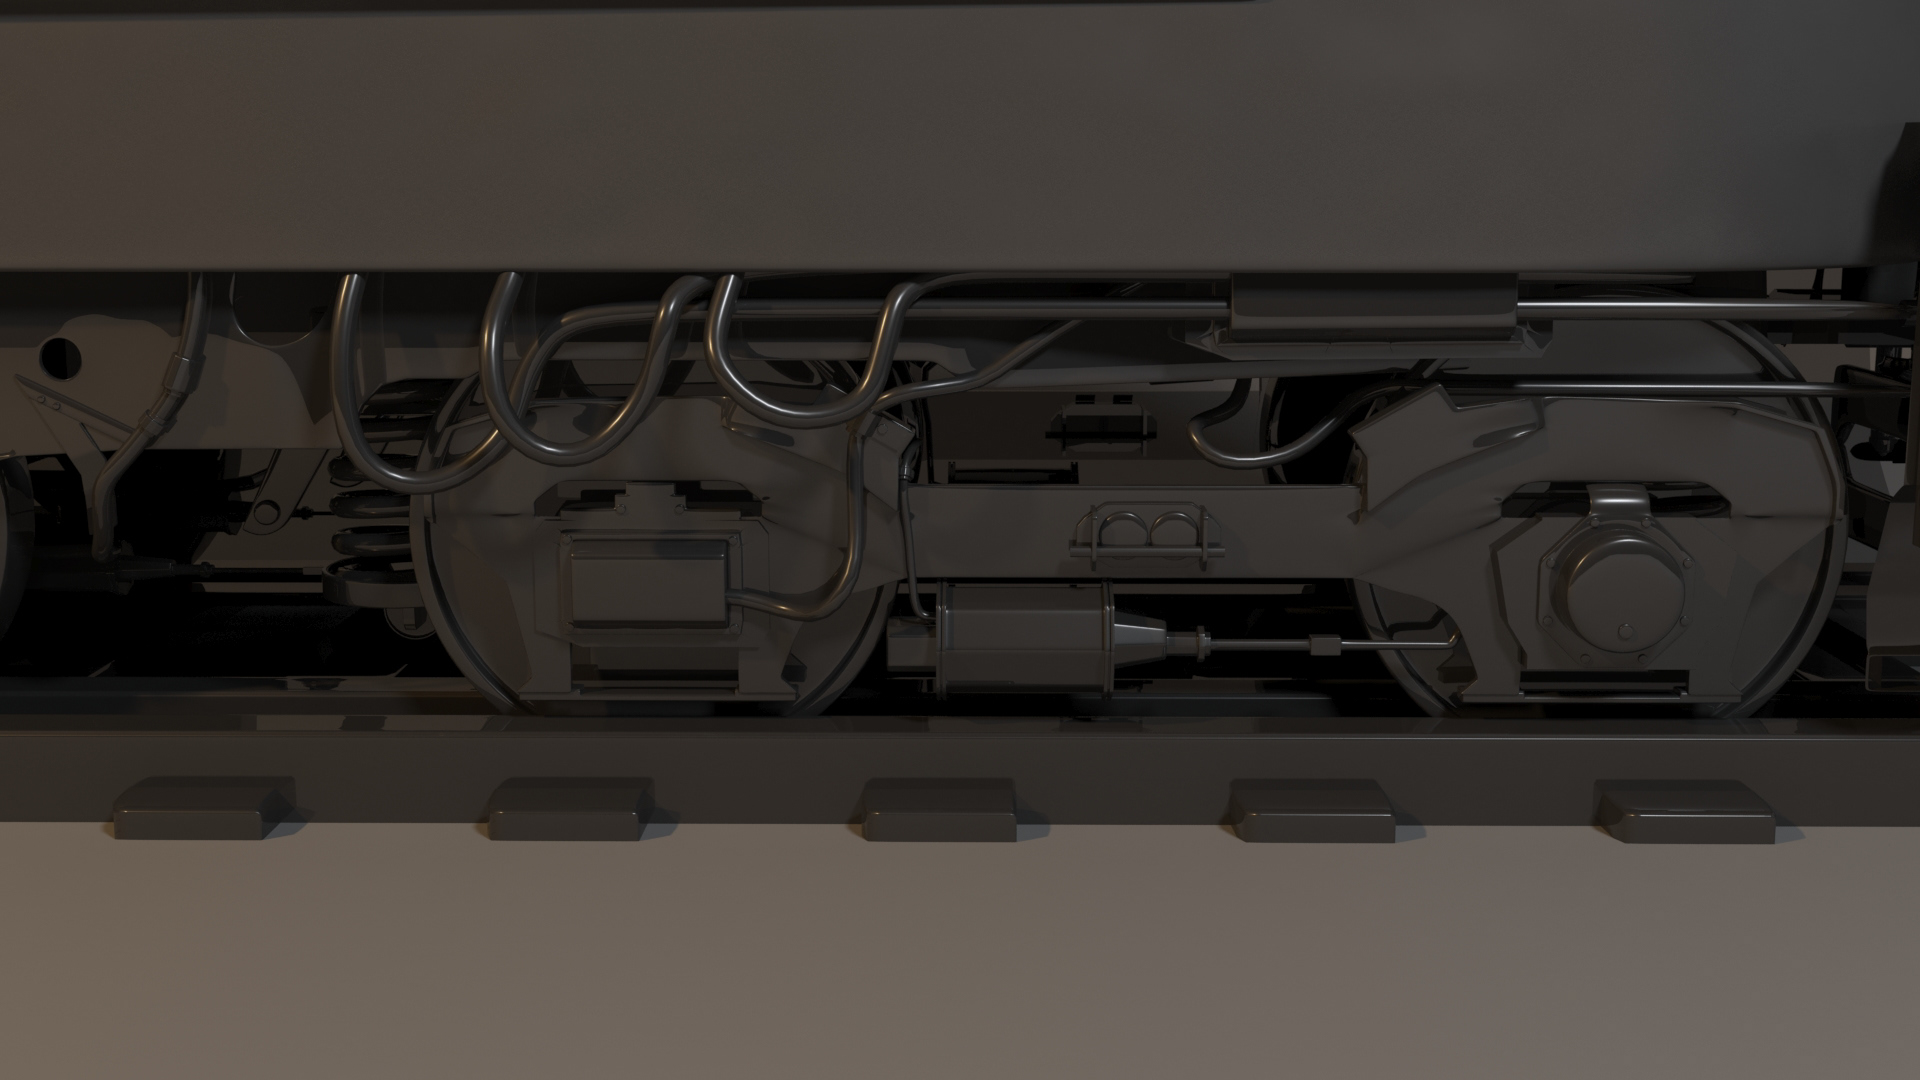
FInal Render 001
Digitally Rendered in Autodesk 3Ds Max.
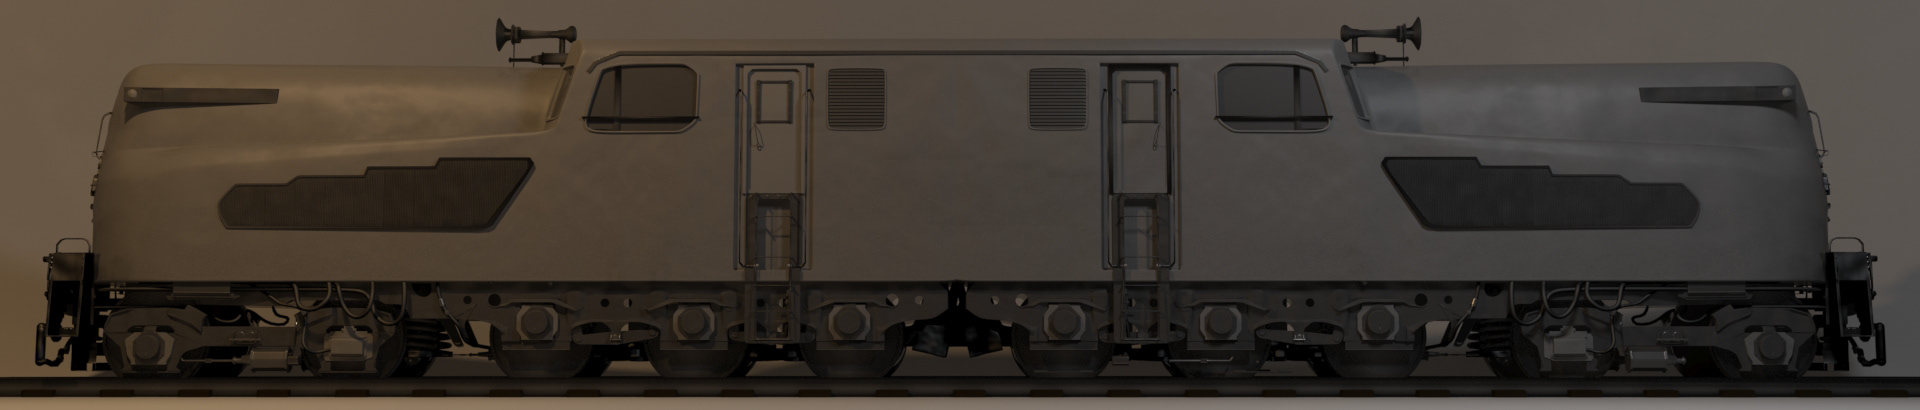
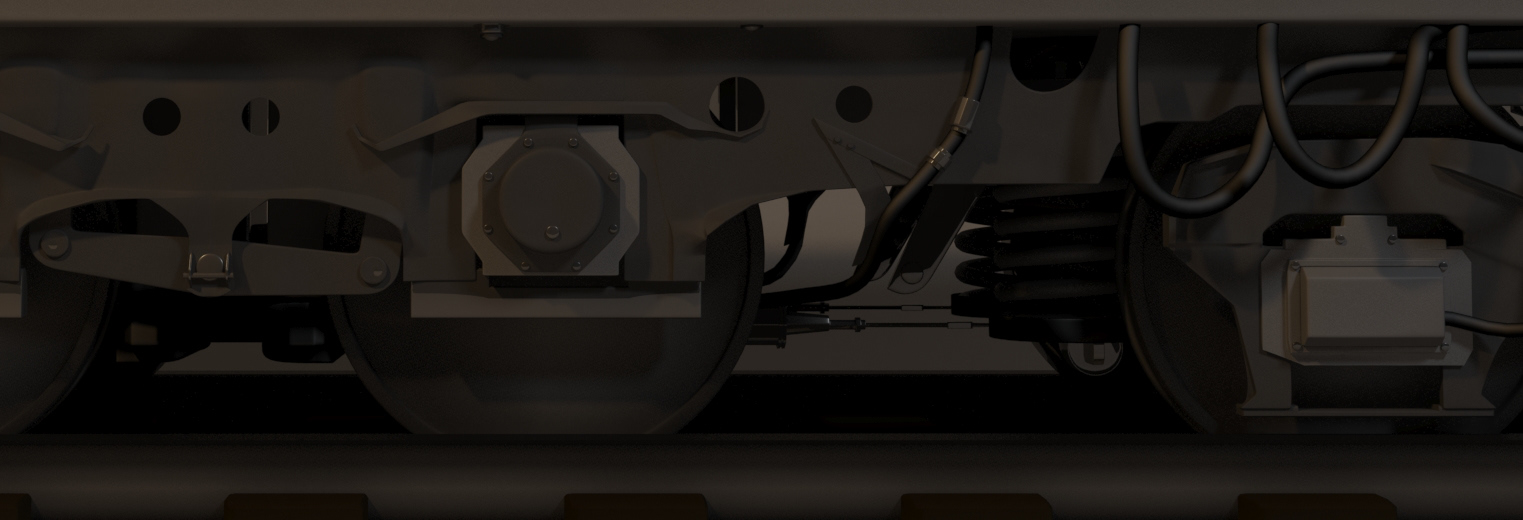
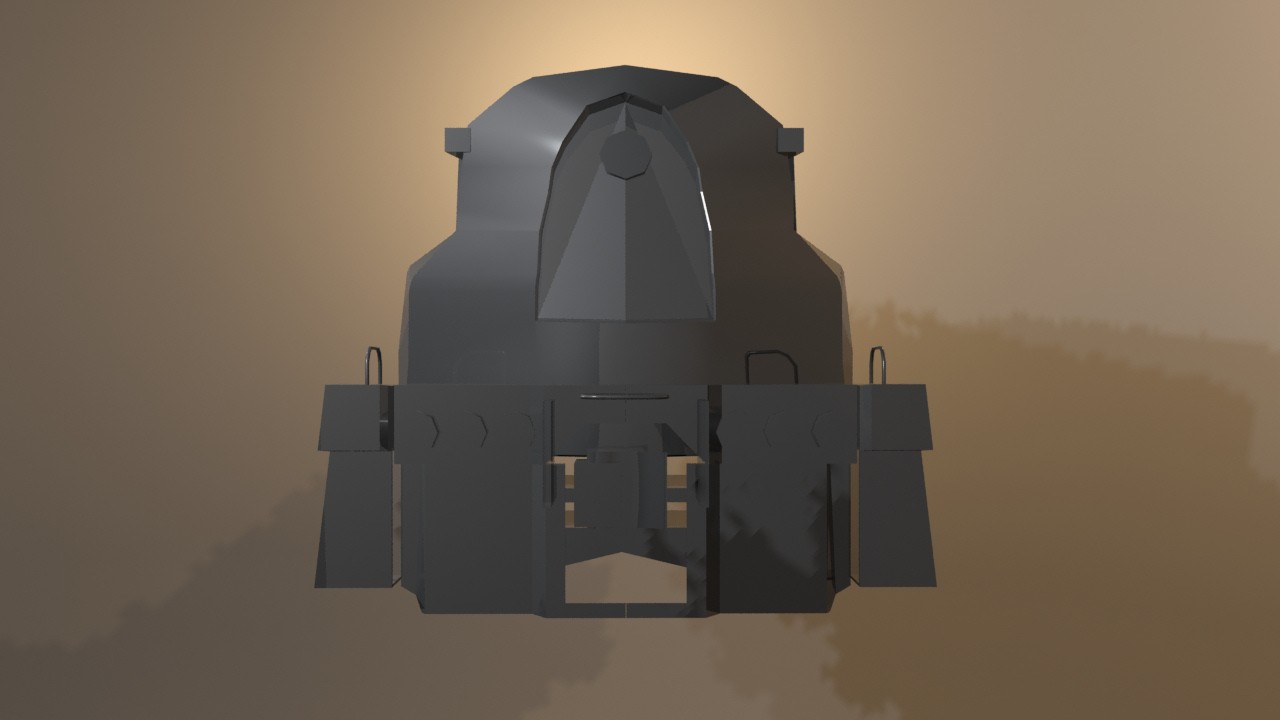
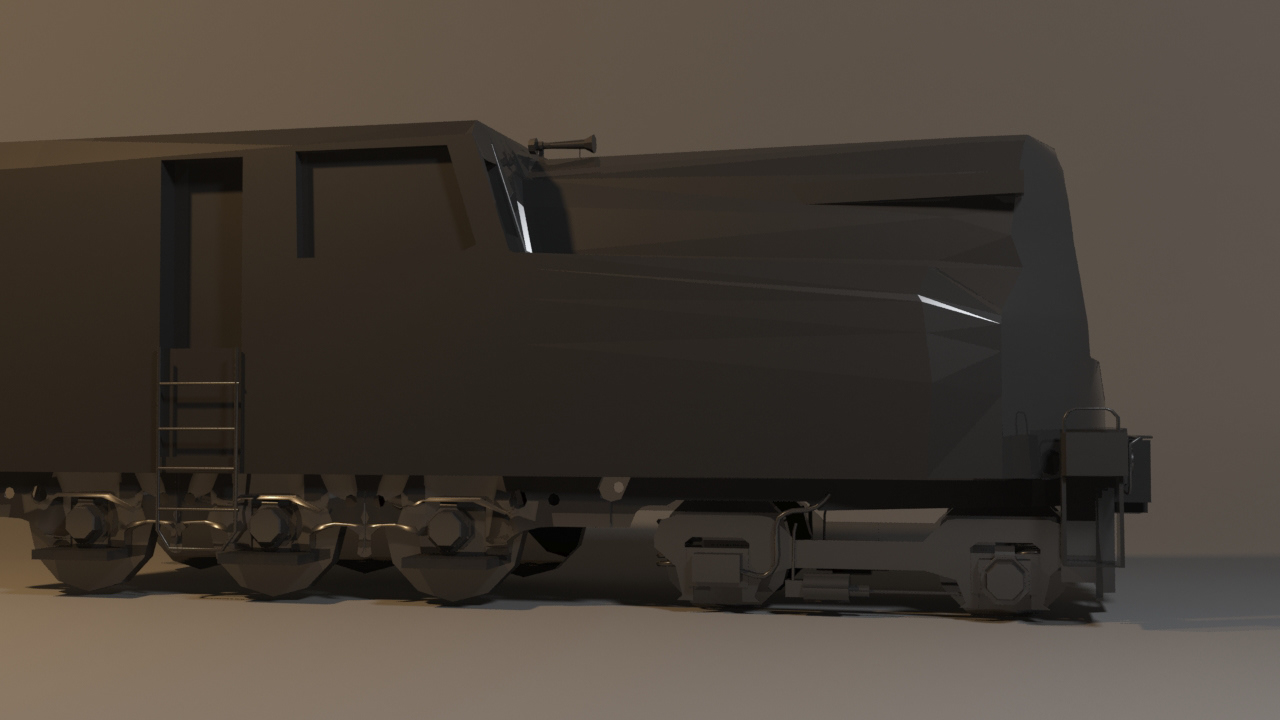
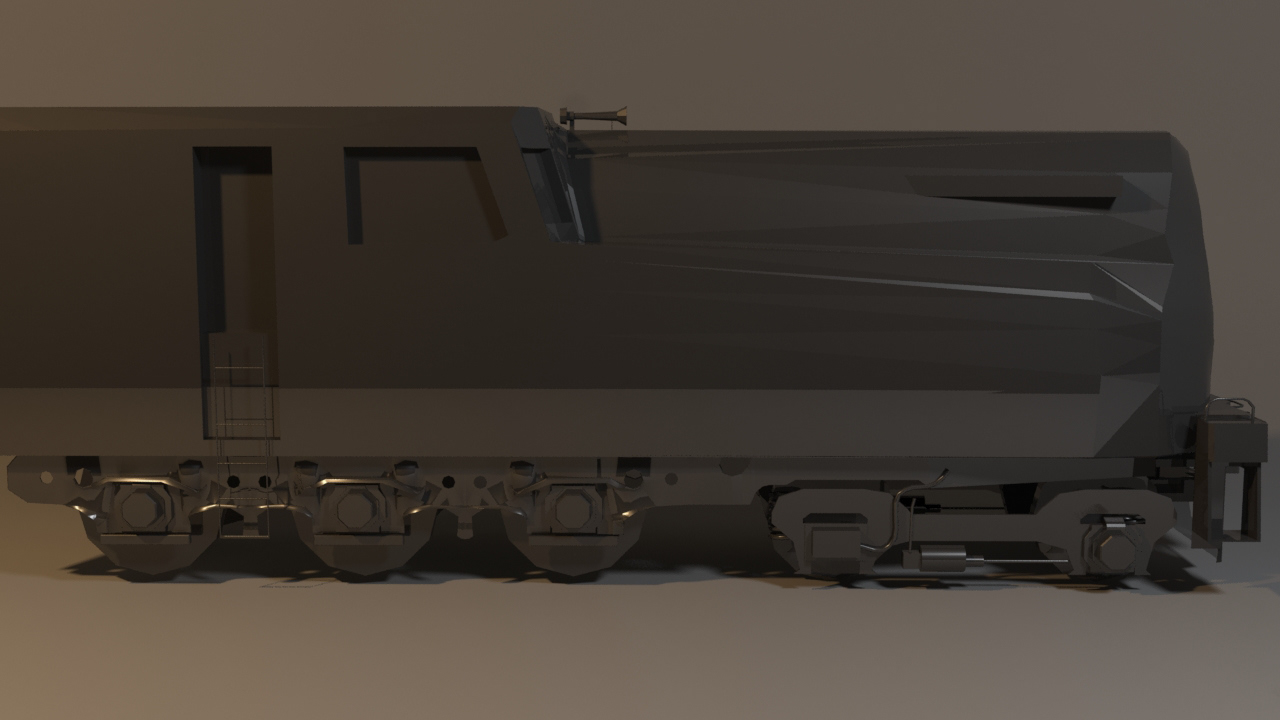
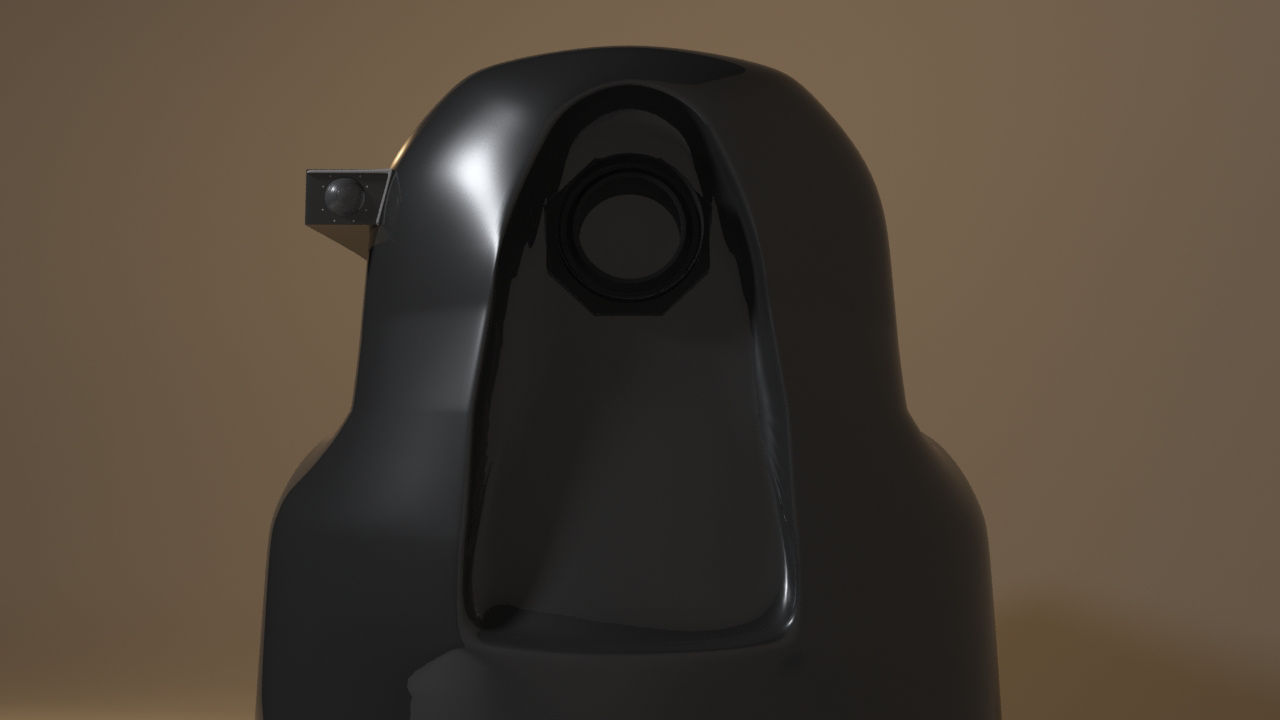
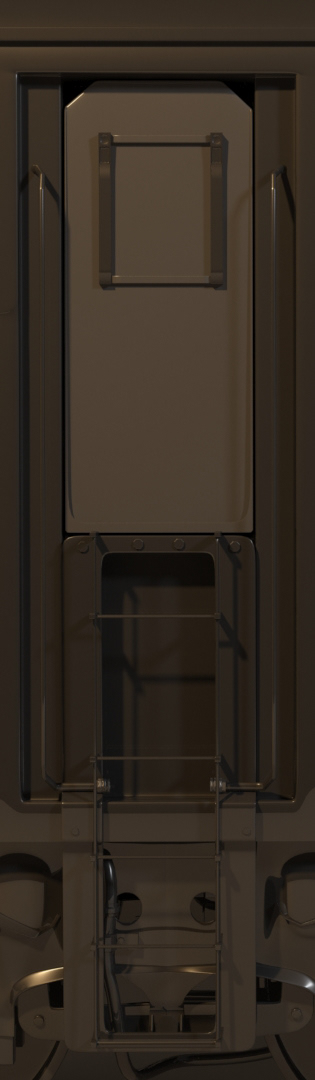
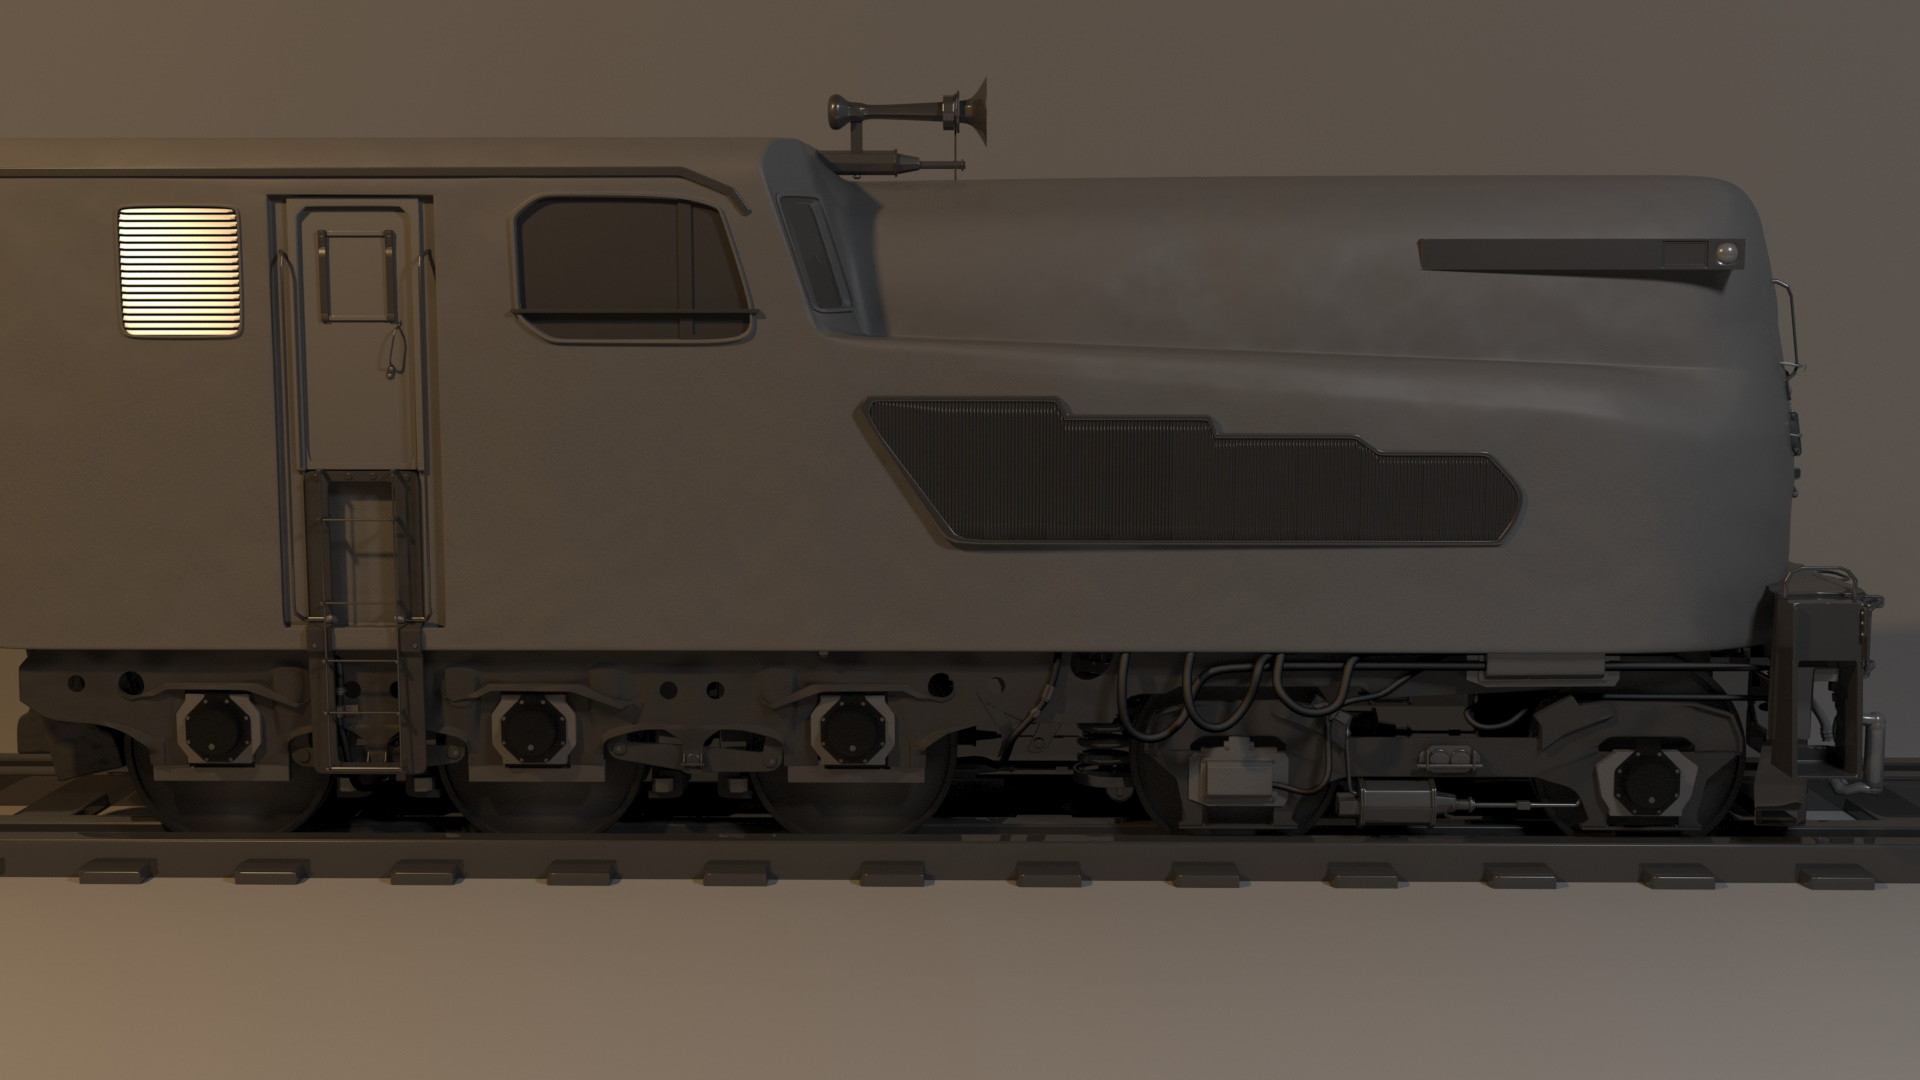
FInal Render 002
Digitally Rendered in Autodesk 3Ds Max.
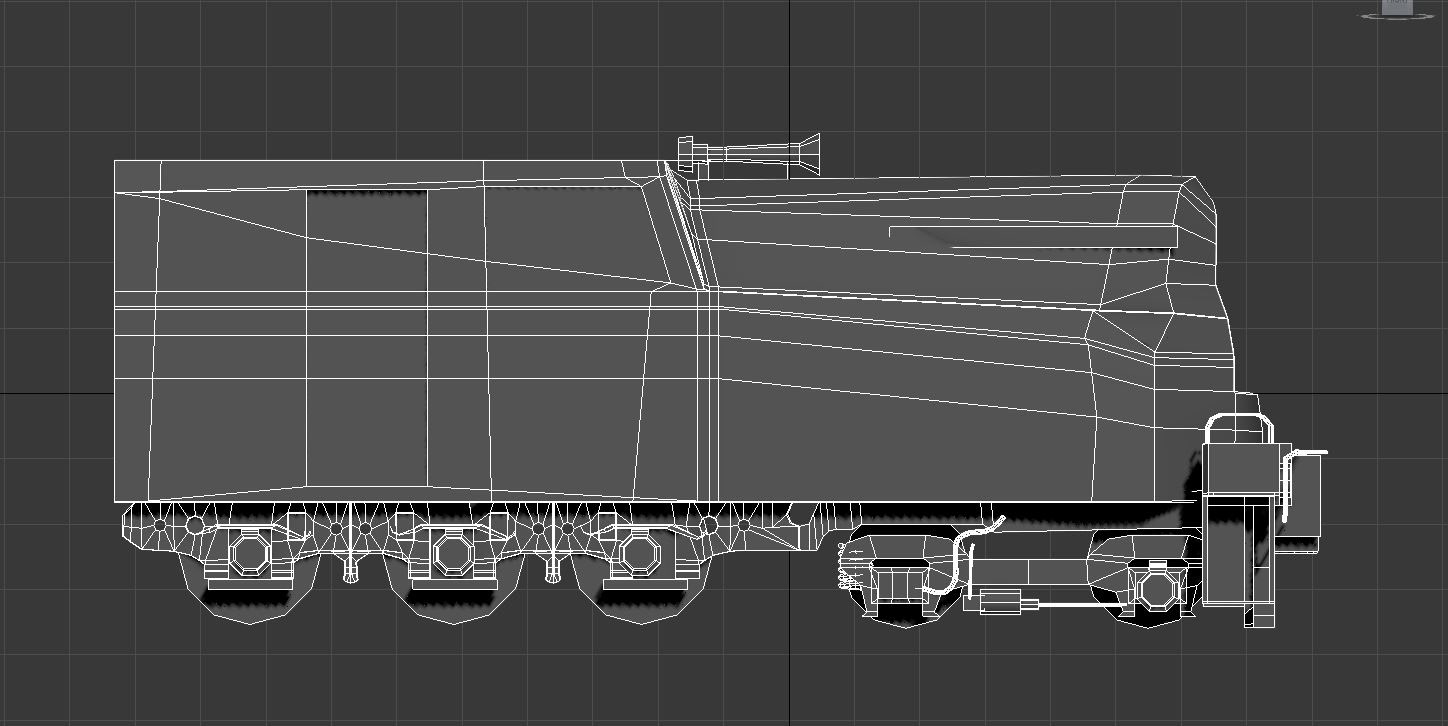
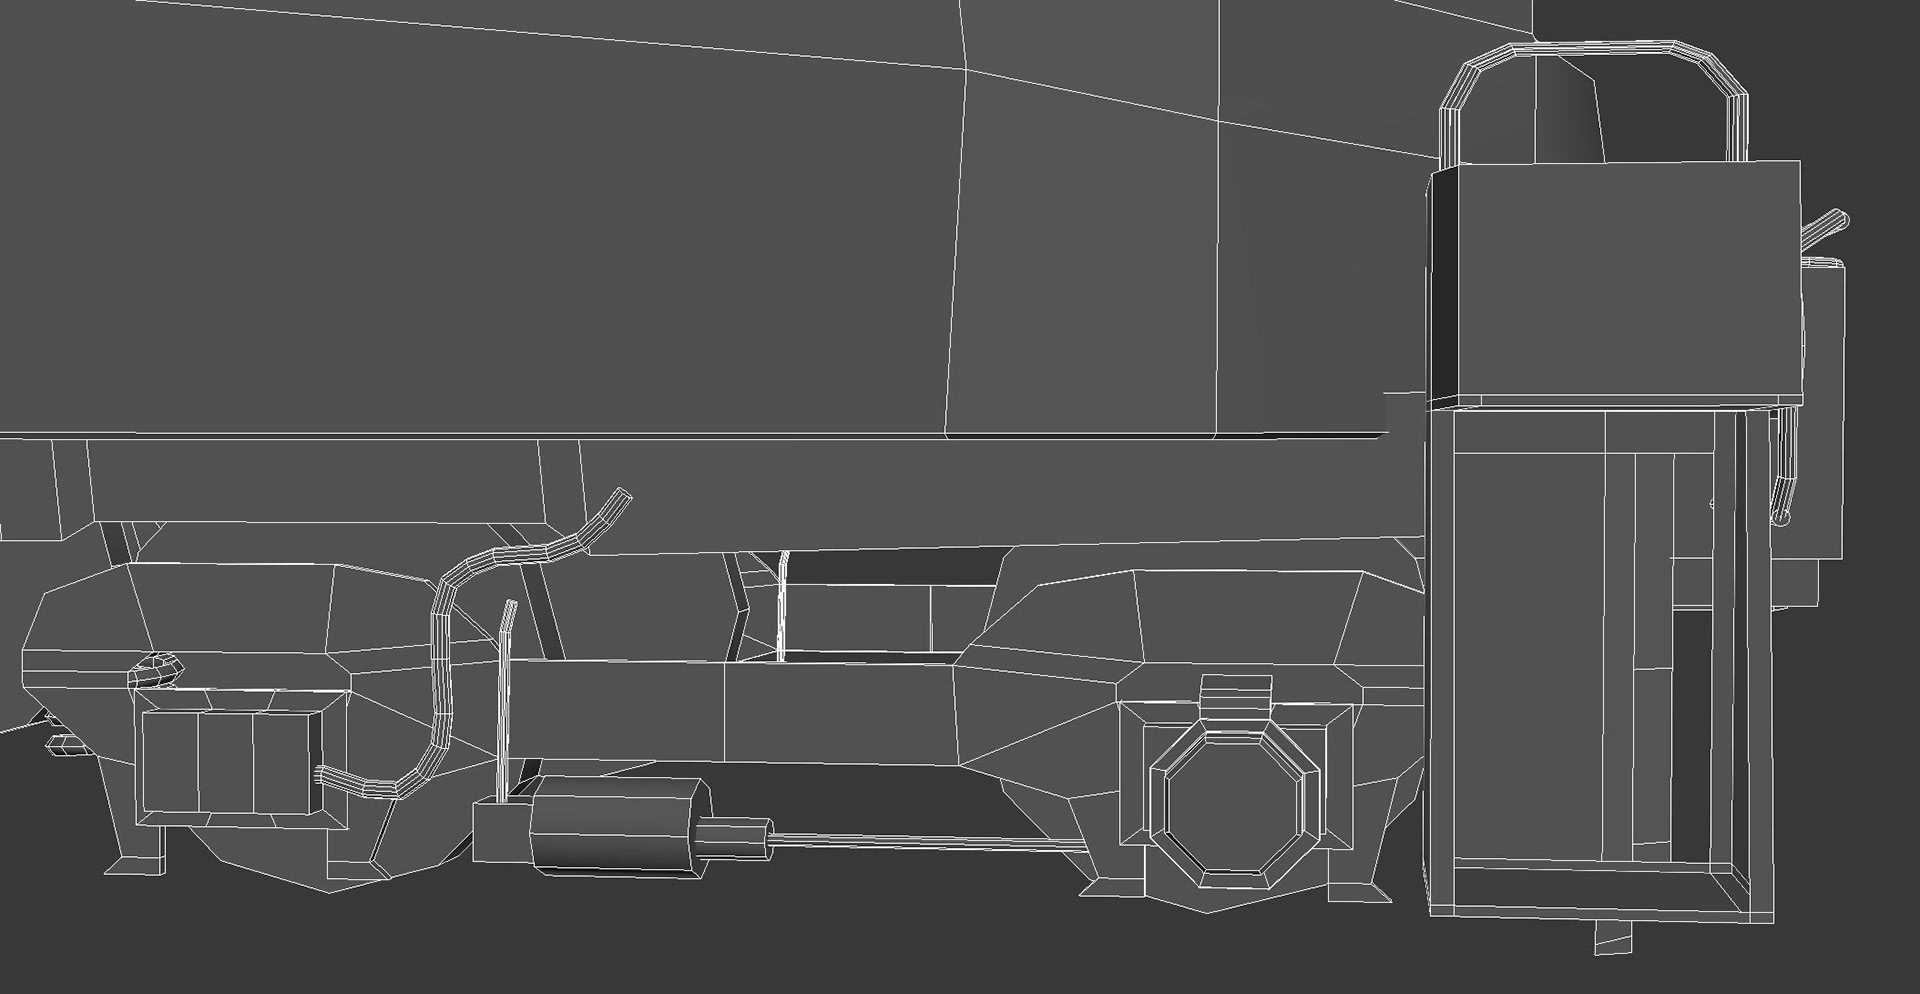
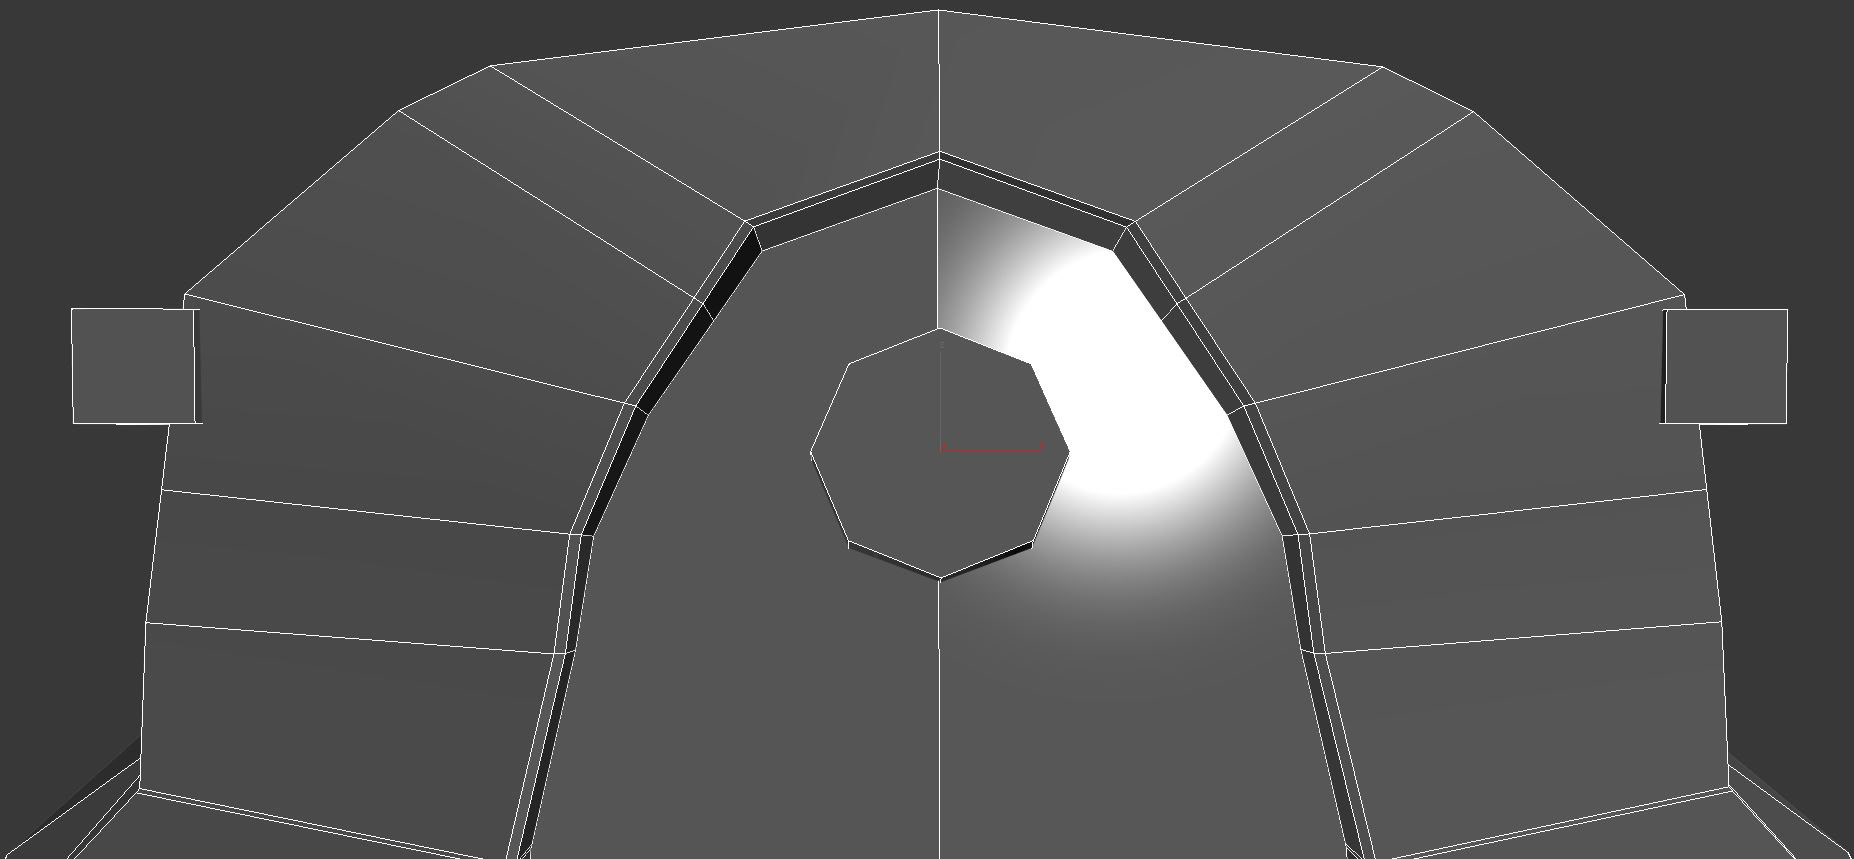
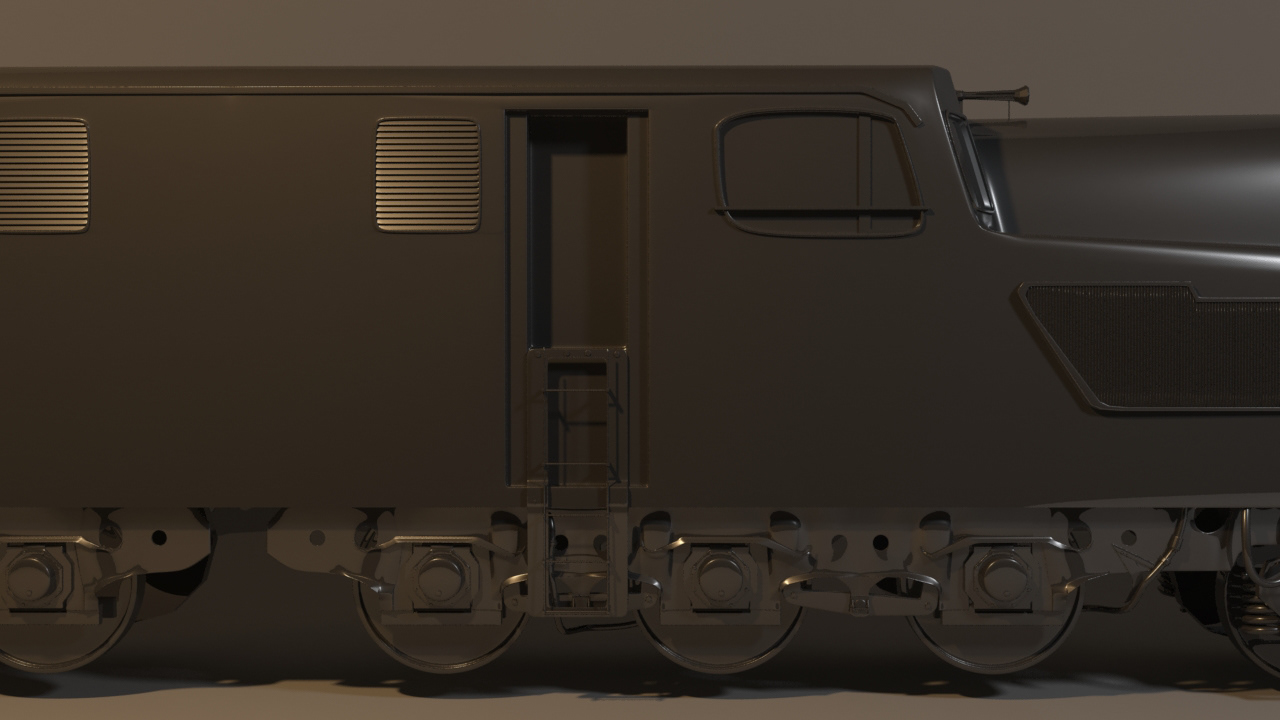
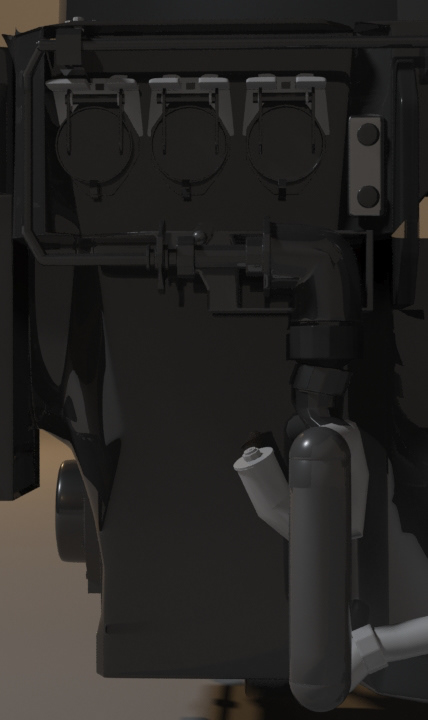
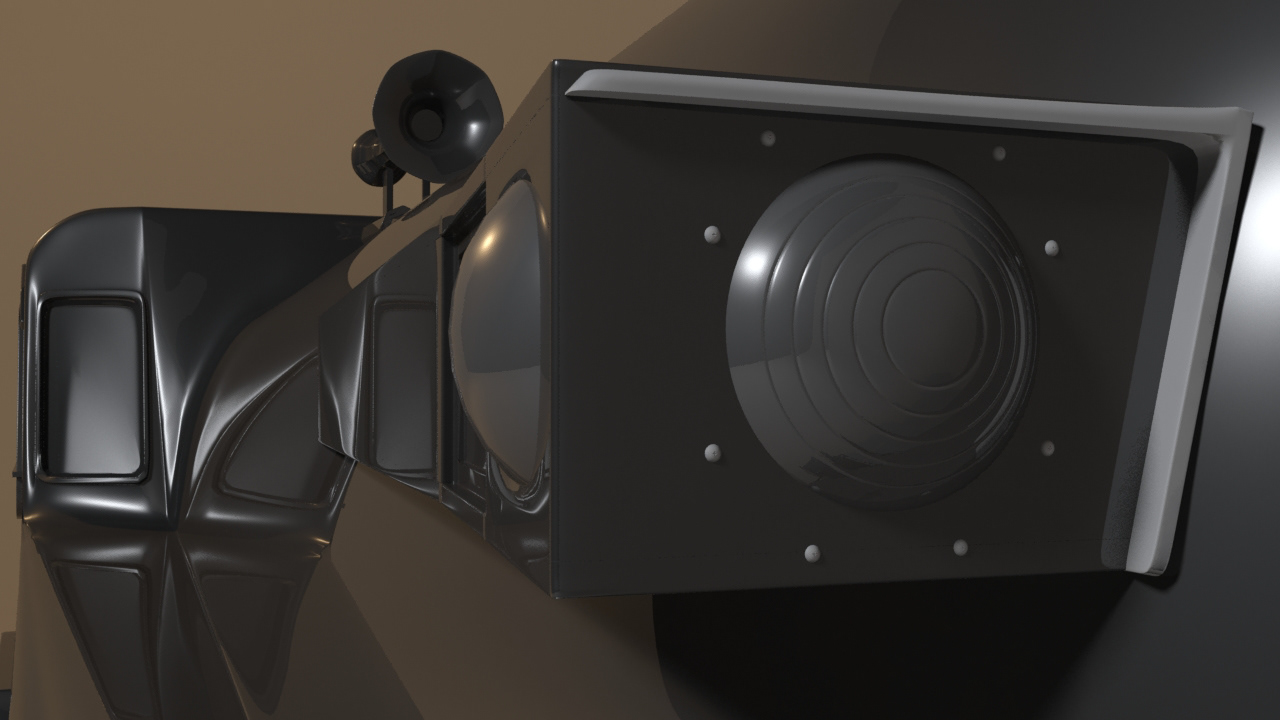
Digitally Rendered in Autodesk 3Ds Max.
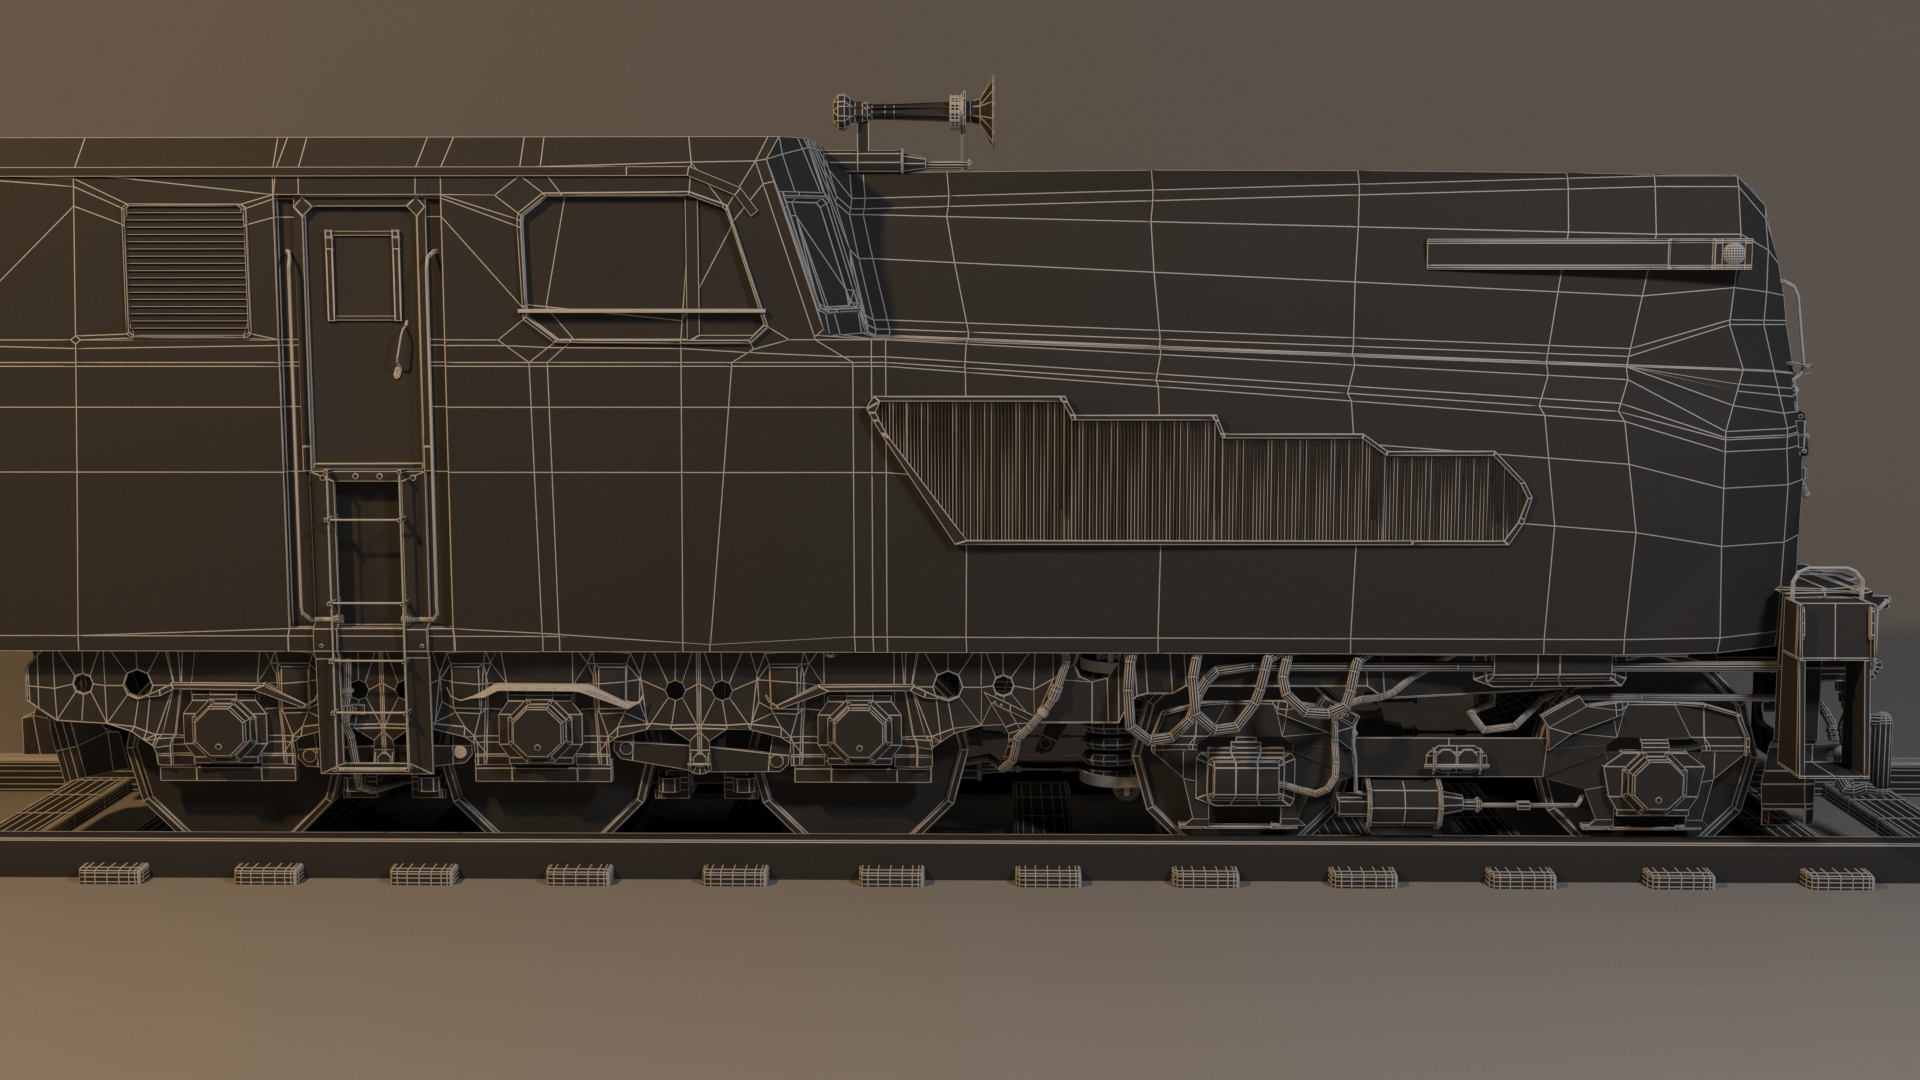
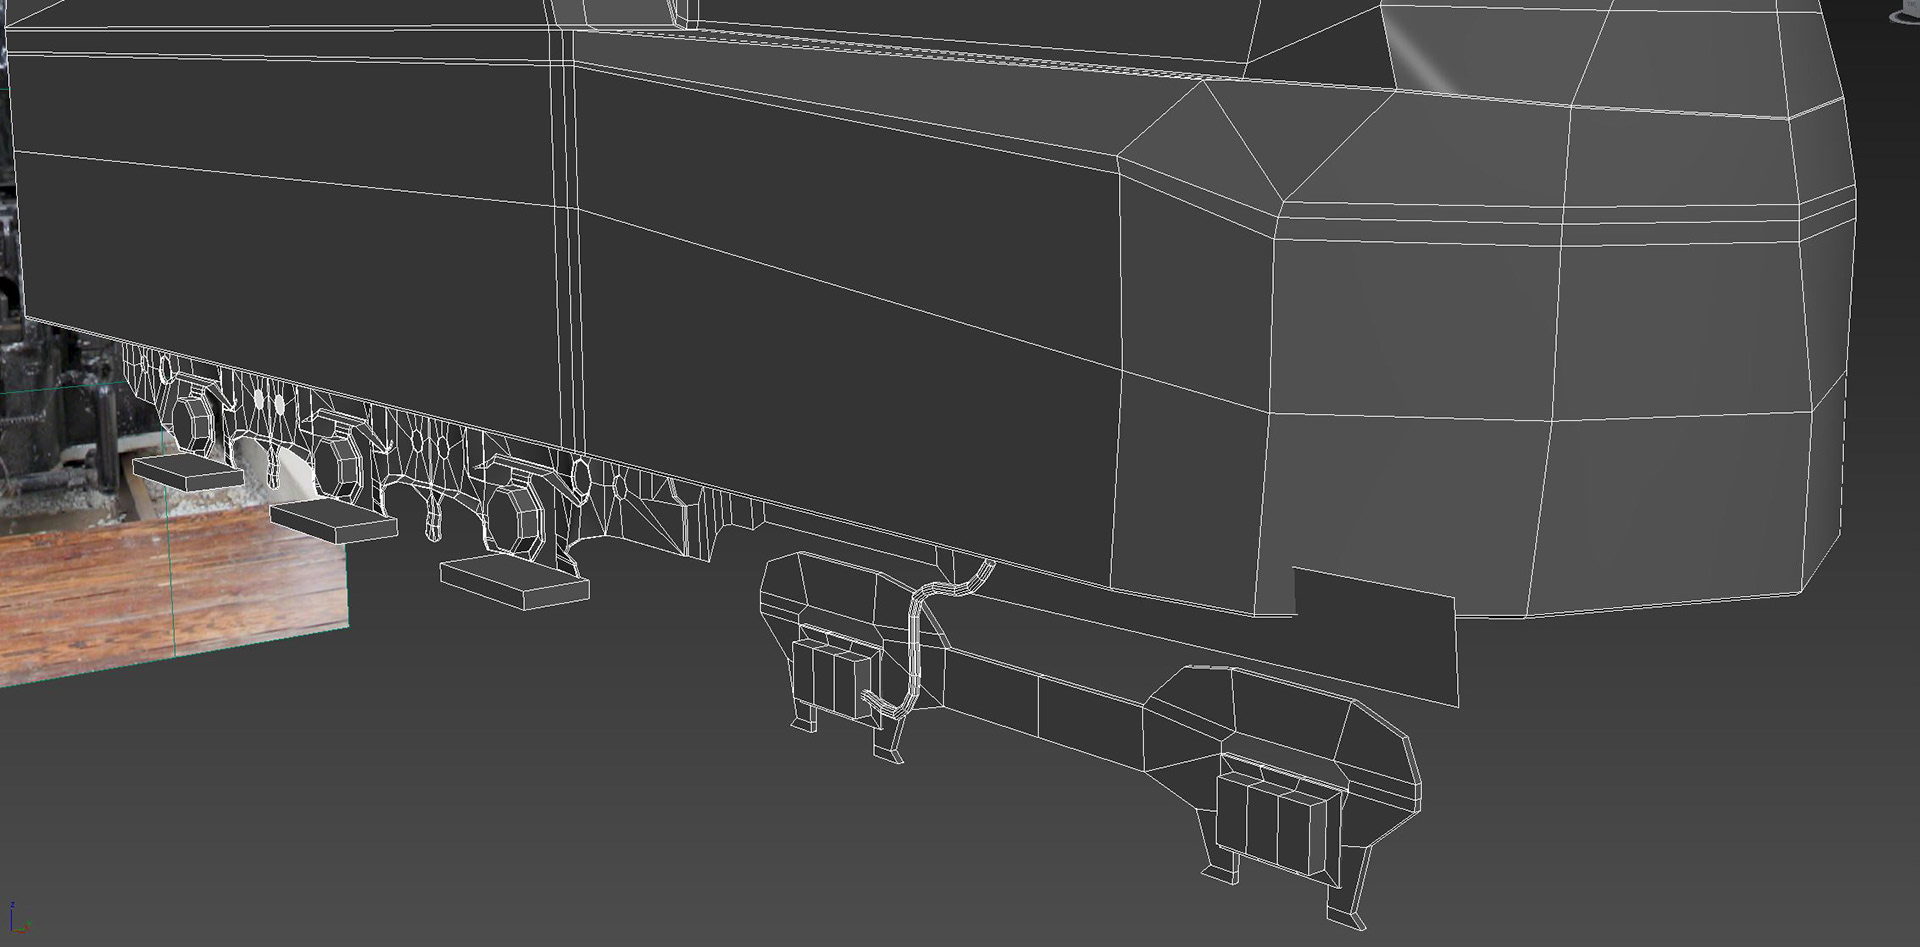
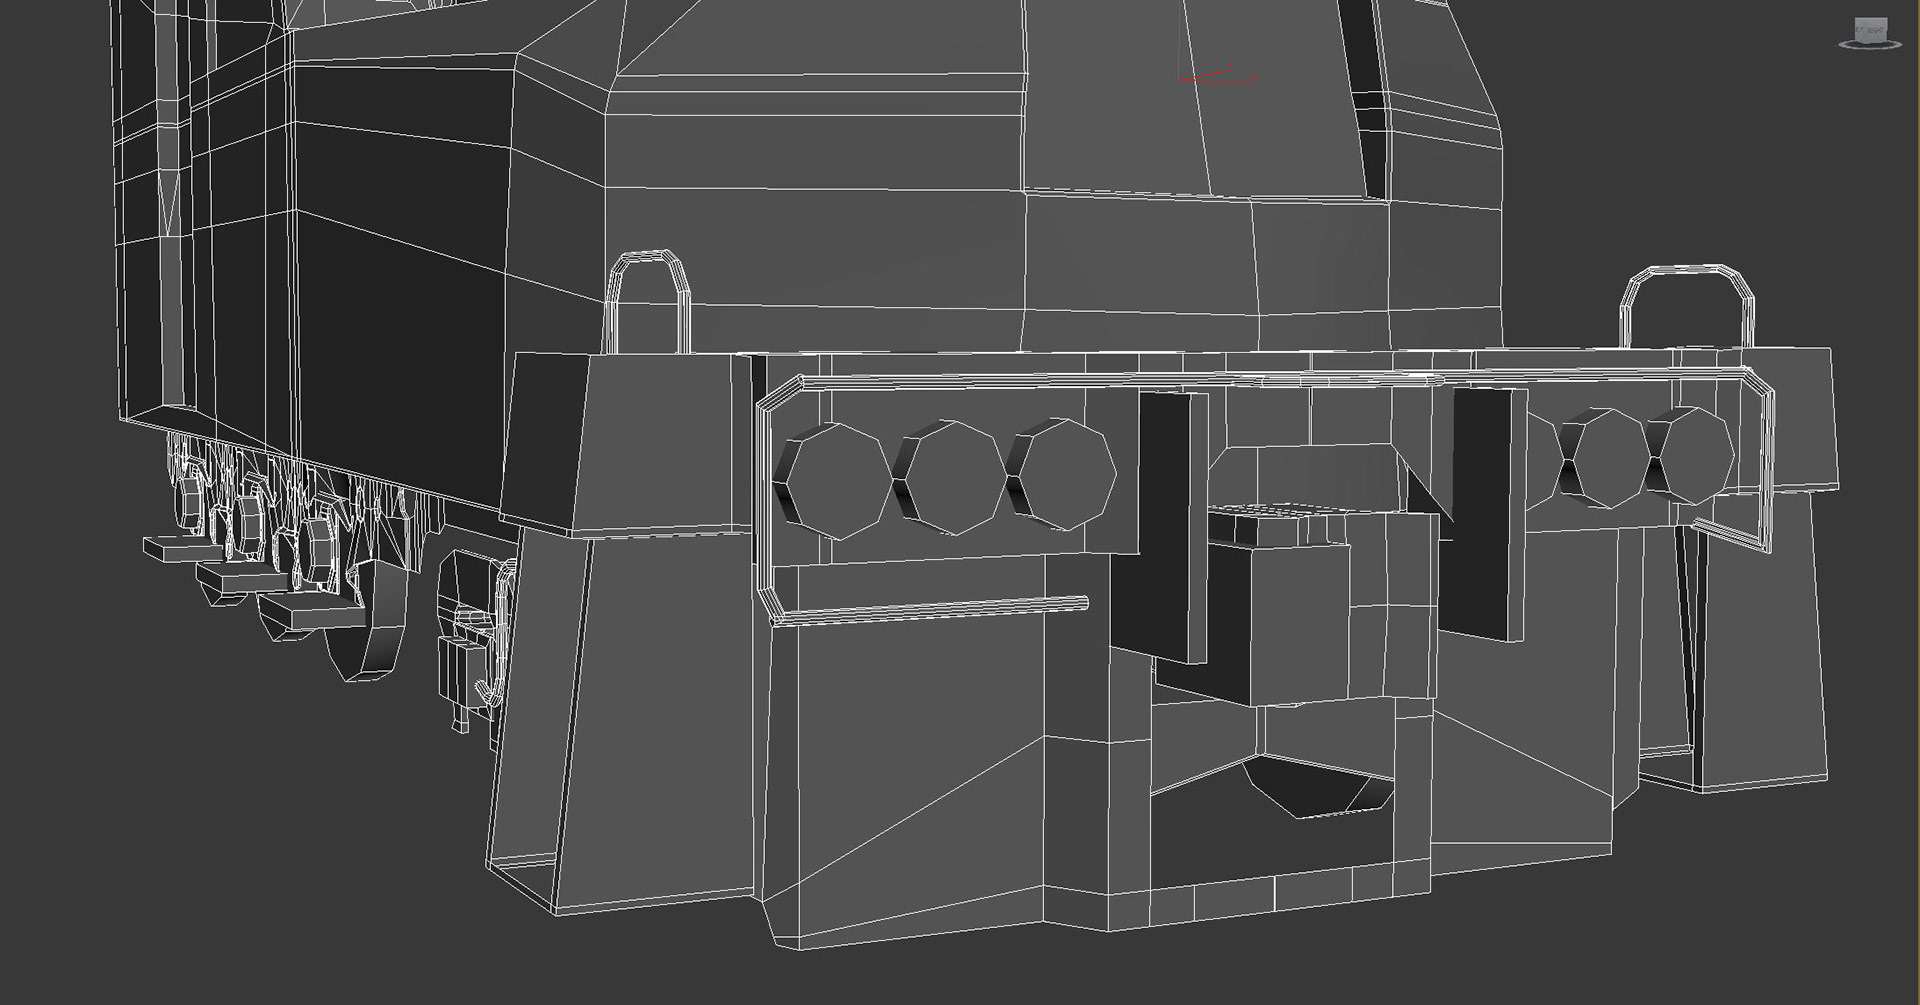
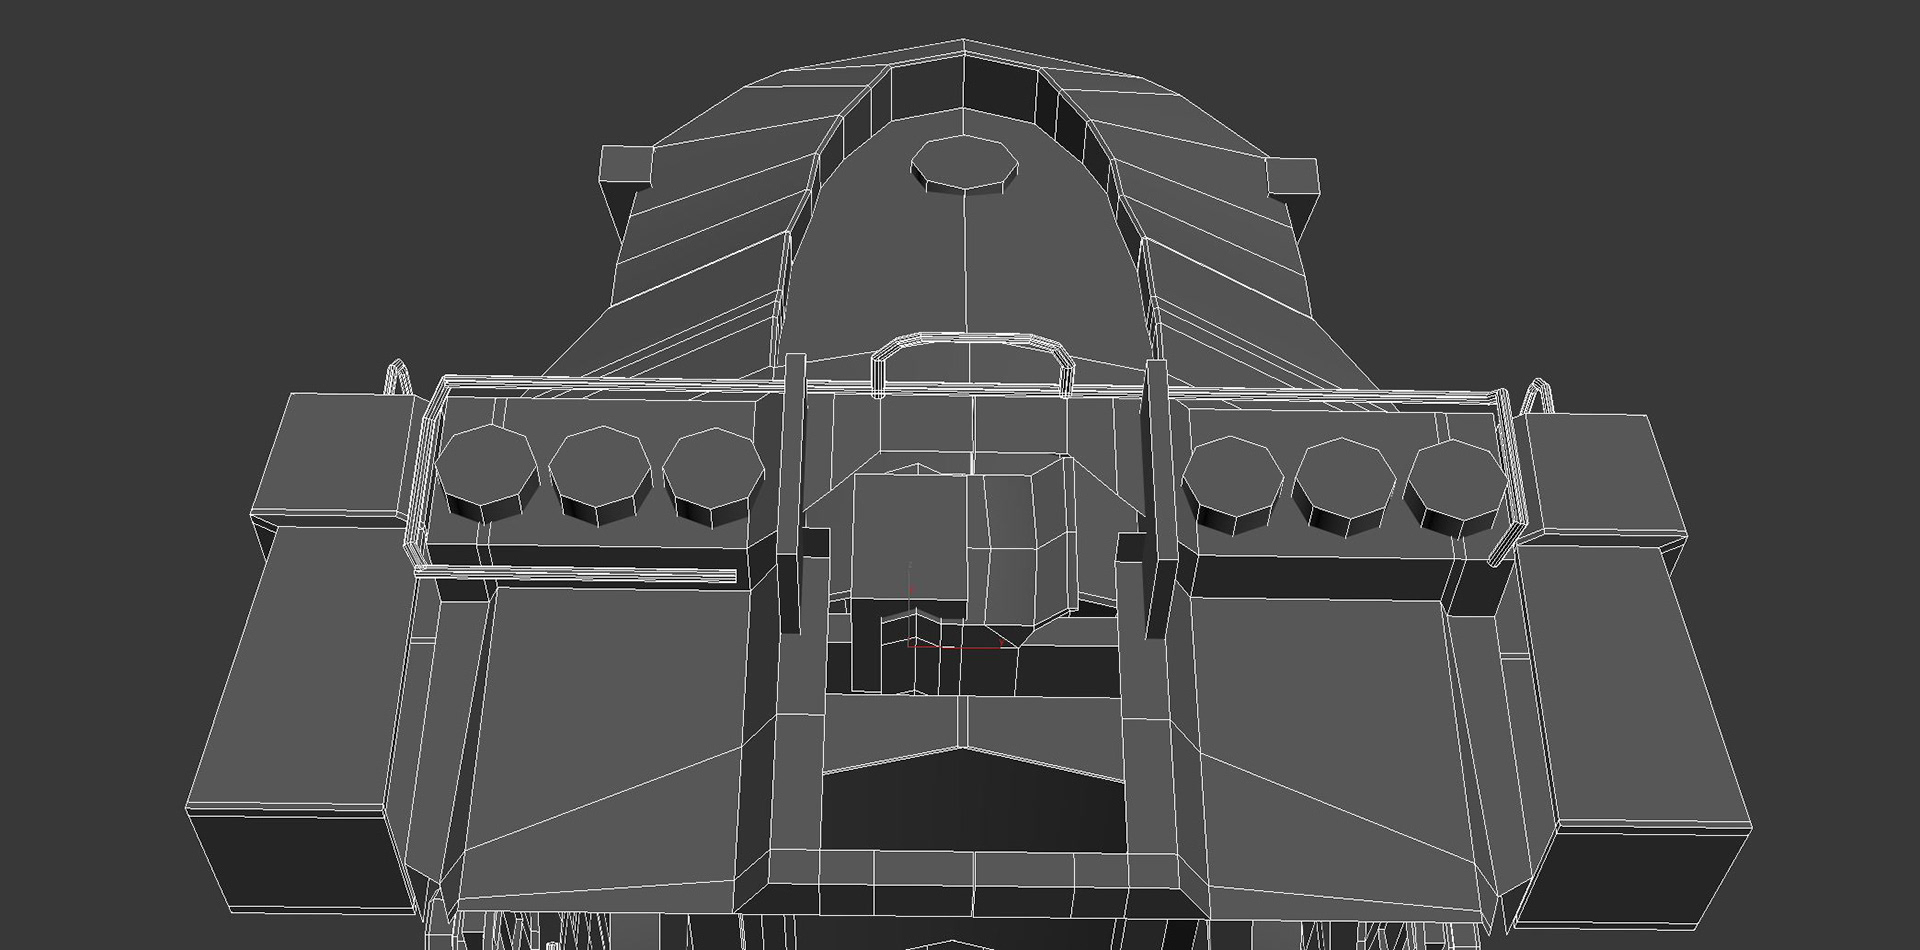
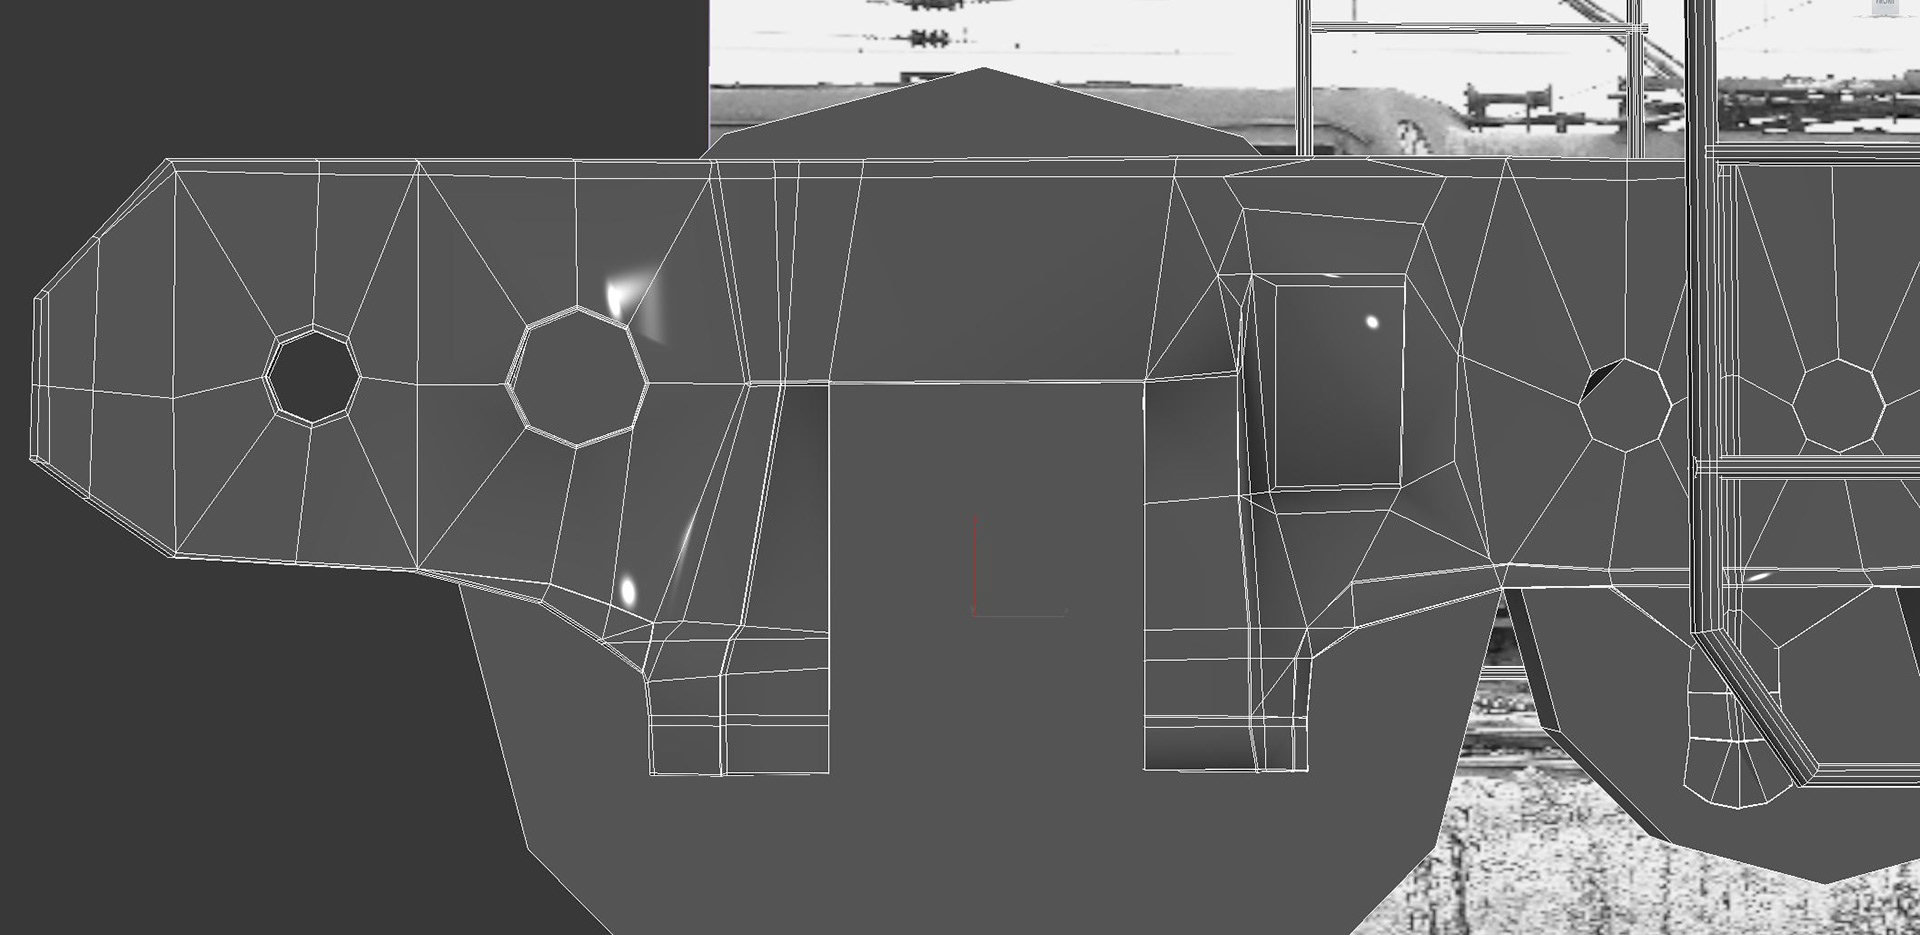
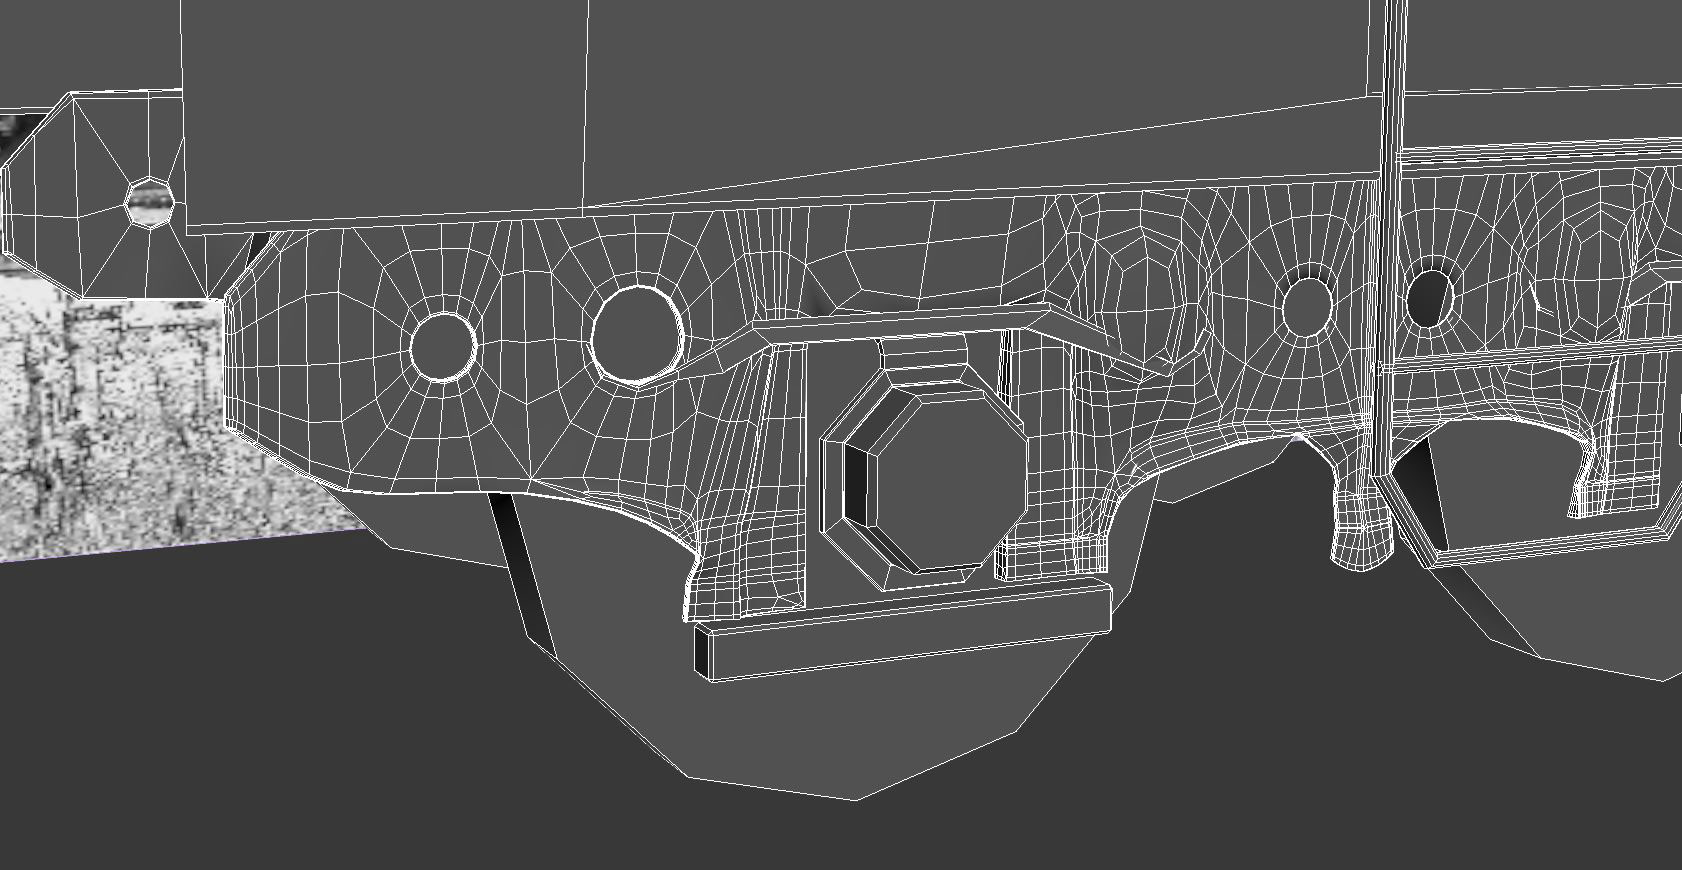
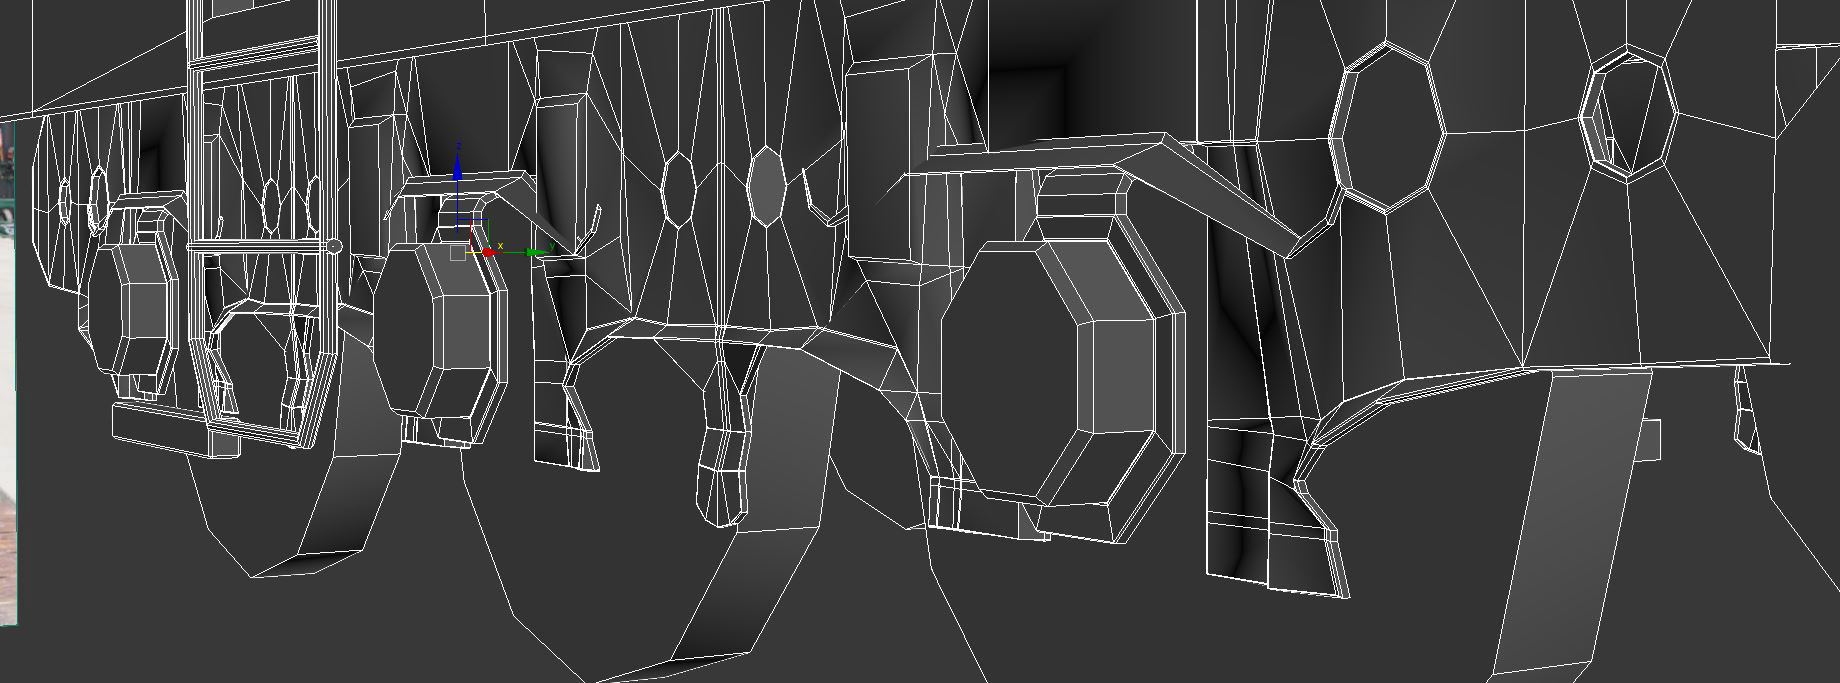
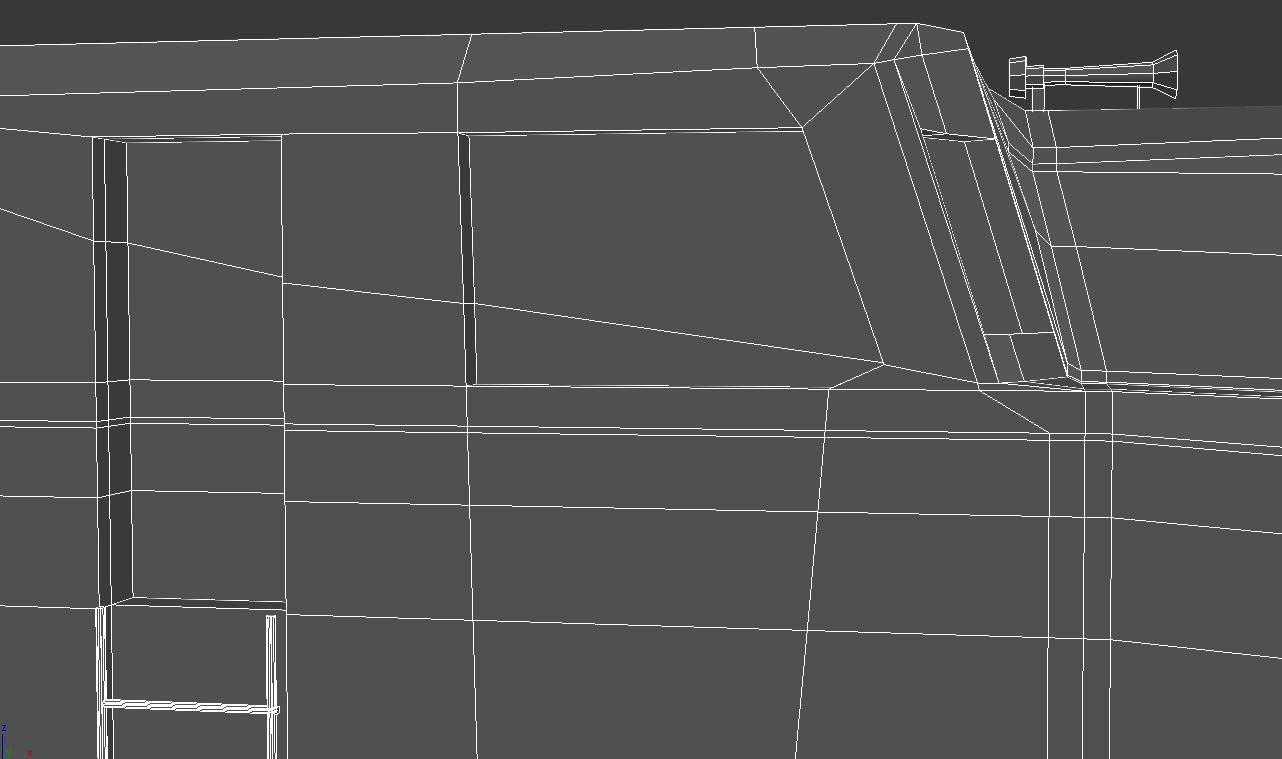
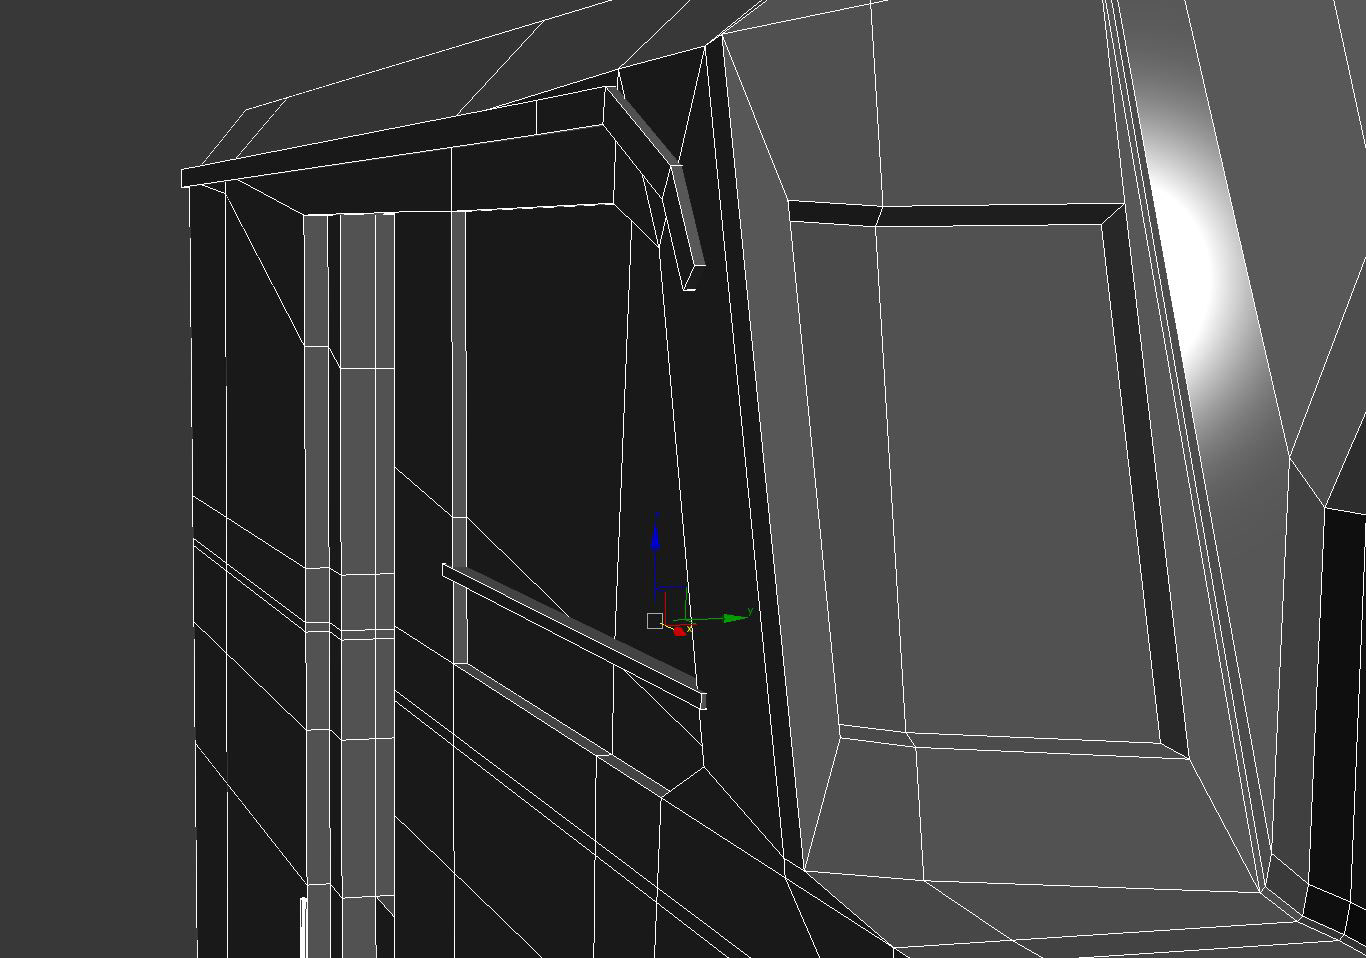
Wireframe.
Digitally Rendered in Autodesk 3Ds Max.

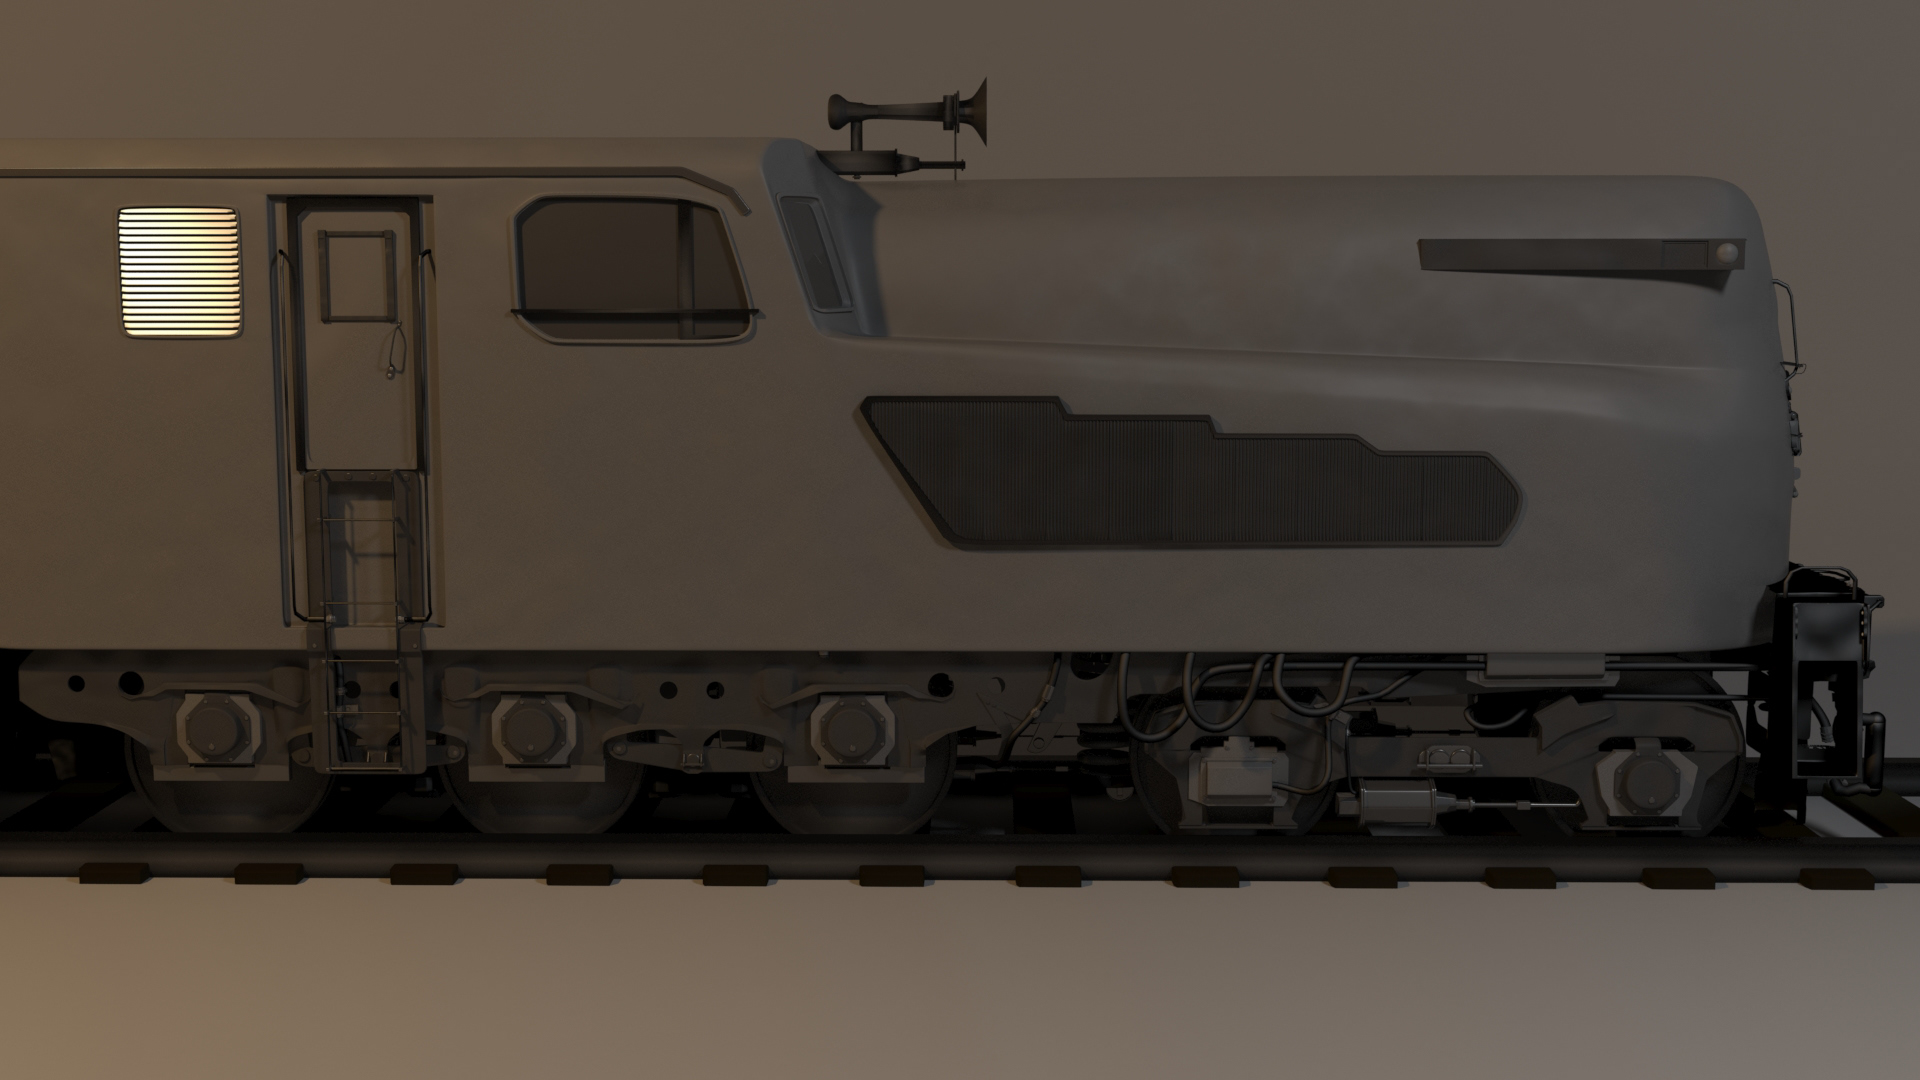
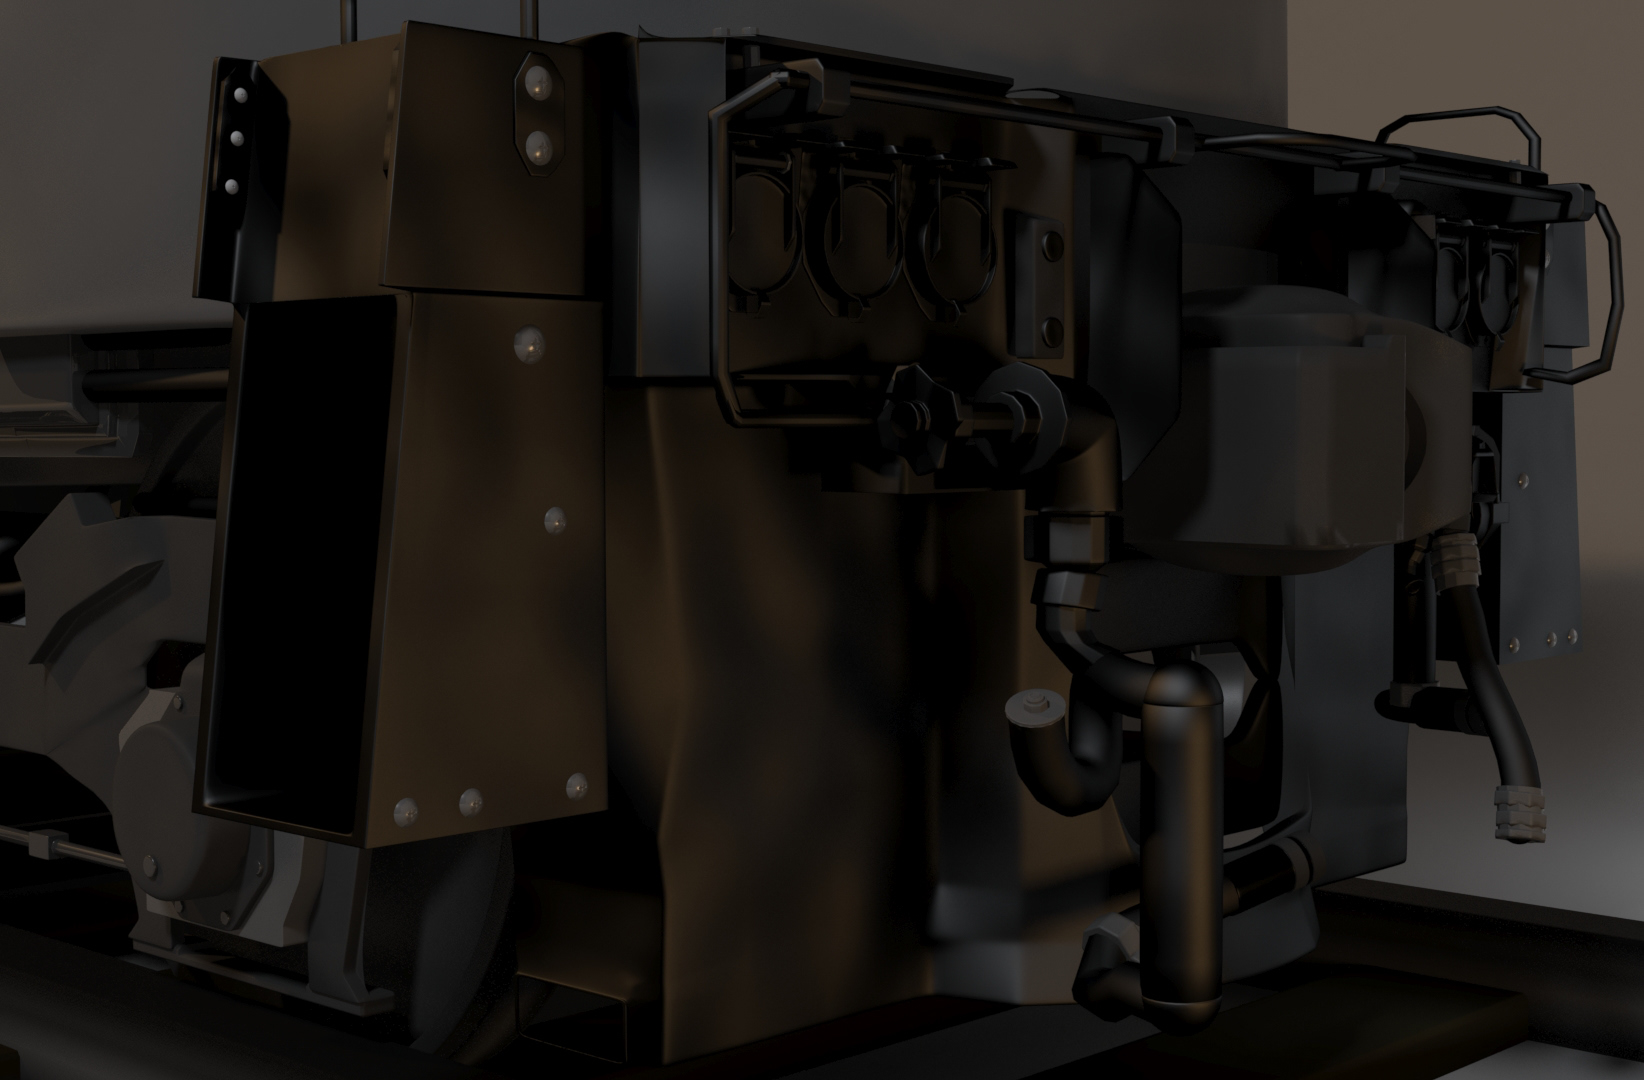
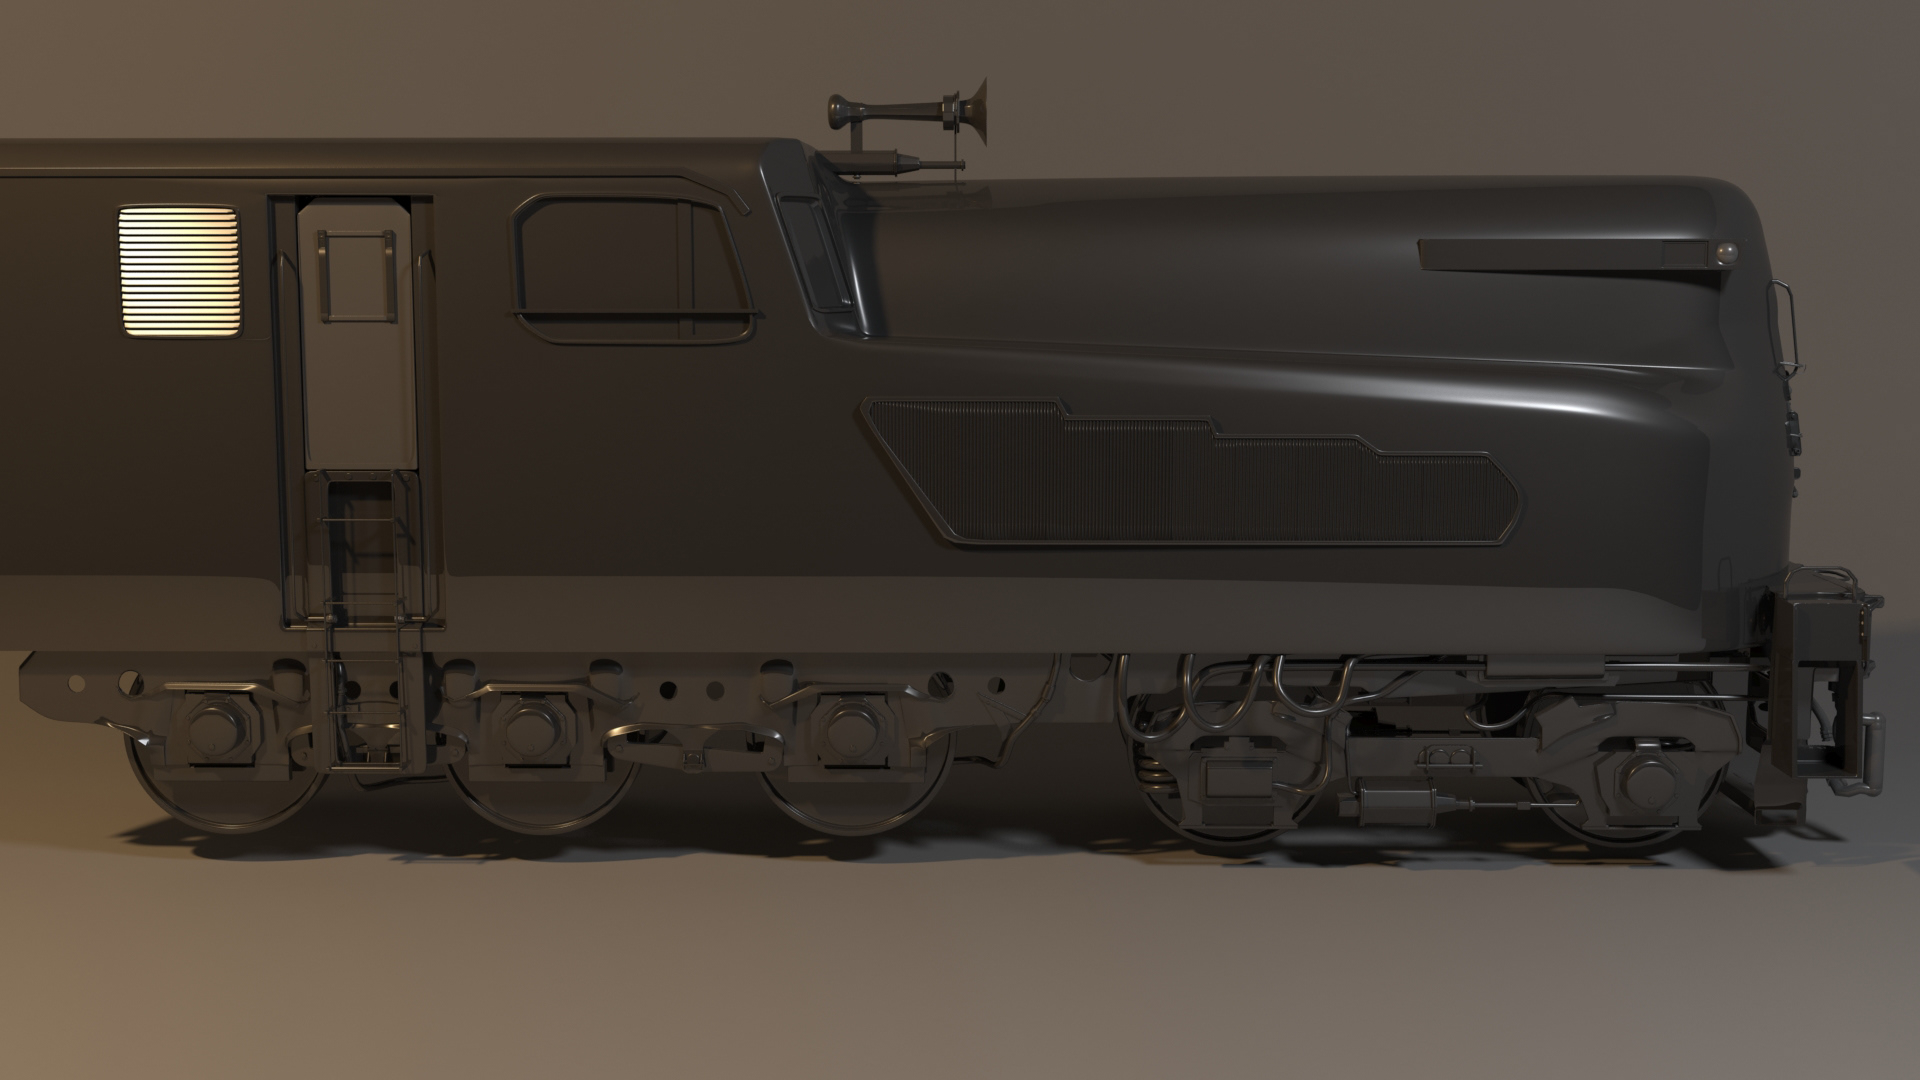
FInal Render 003
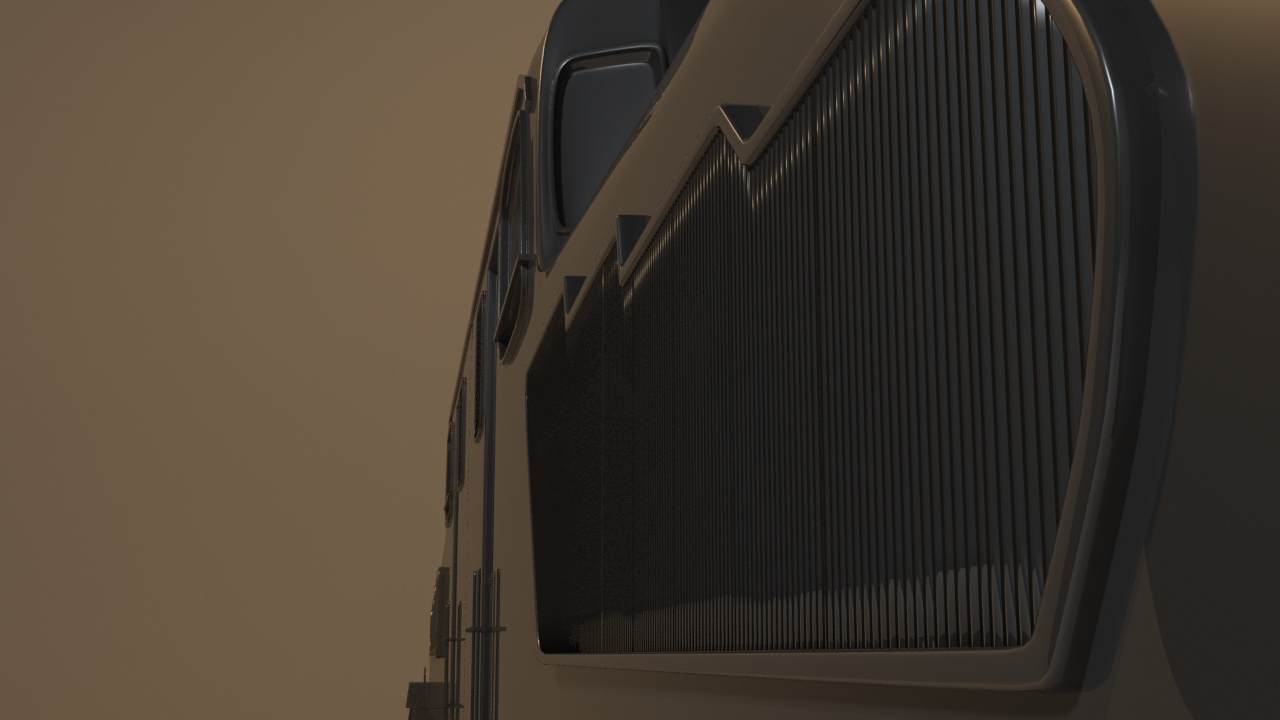
Digitally Rendered in Autodesk 3Ds Max.
Digitally Rendered in Autodesk 3Ds Max.
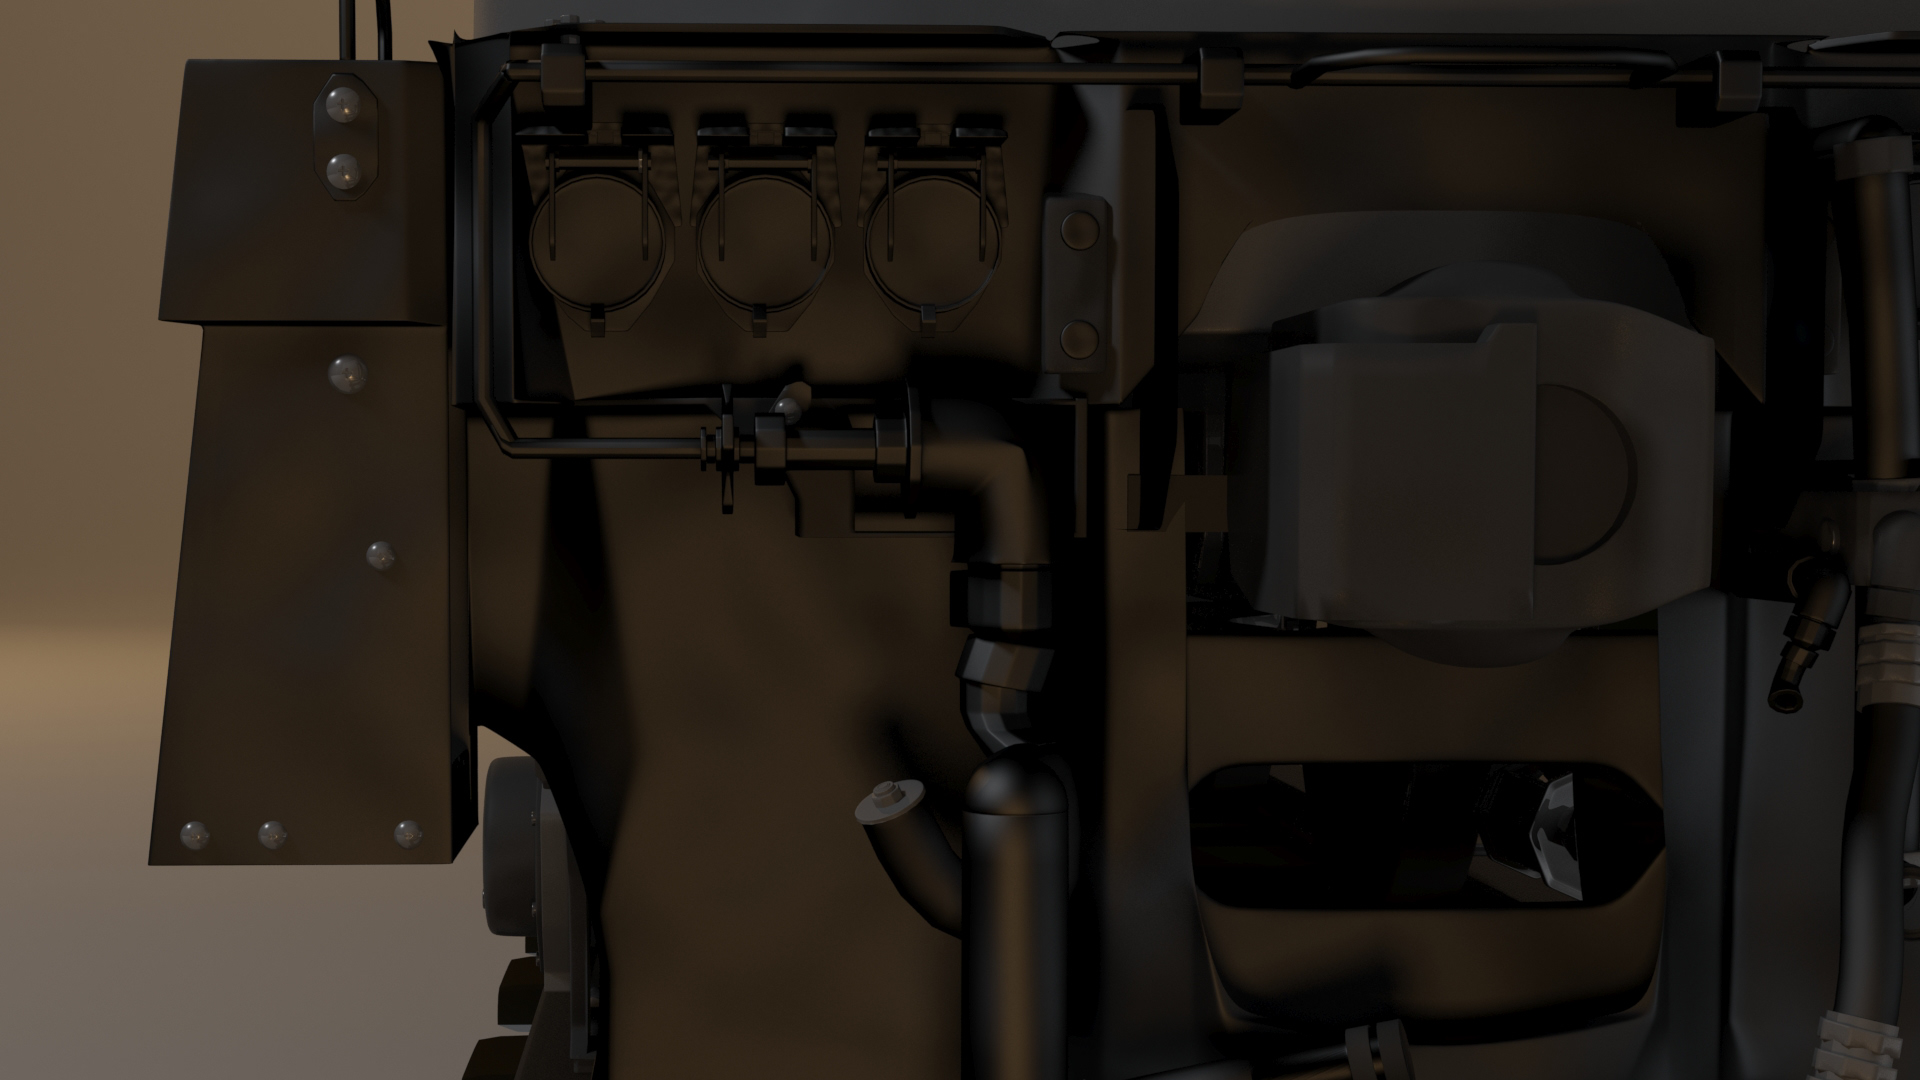
FInal Render 004
Digitally Rendered in Autodesk 3Ds Max.
Digitally Rendered in Autodesk 3Ds Max.

FInal Render 005
Digitally Rendered in Autodesk 3Ds Max.
Digitally Rendered in Autodesk 3Ds Max.

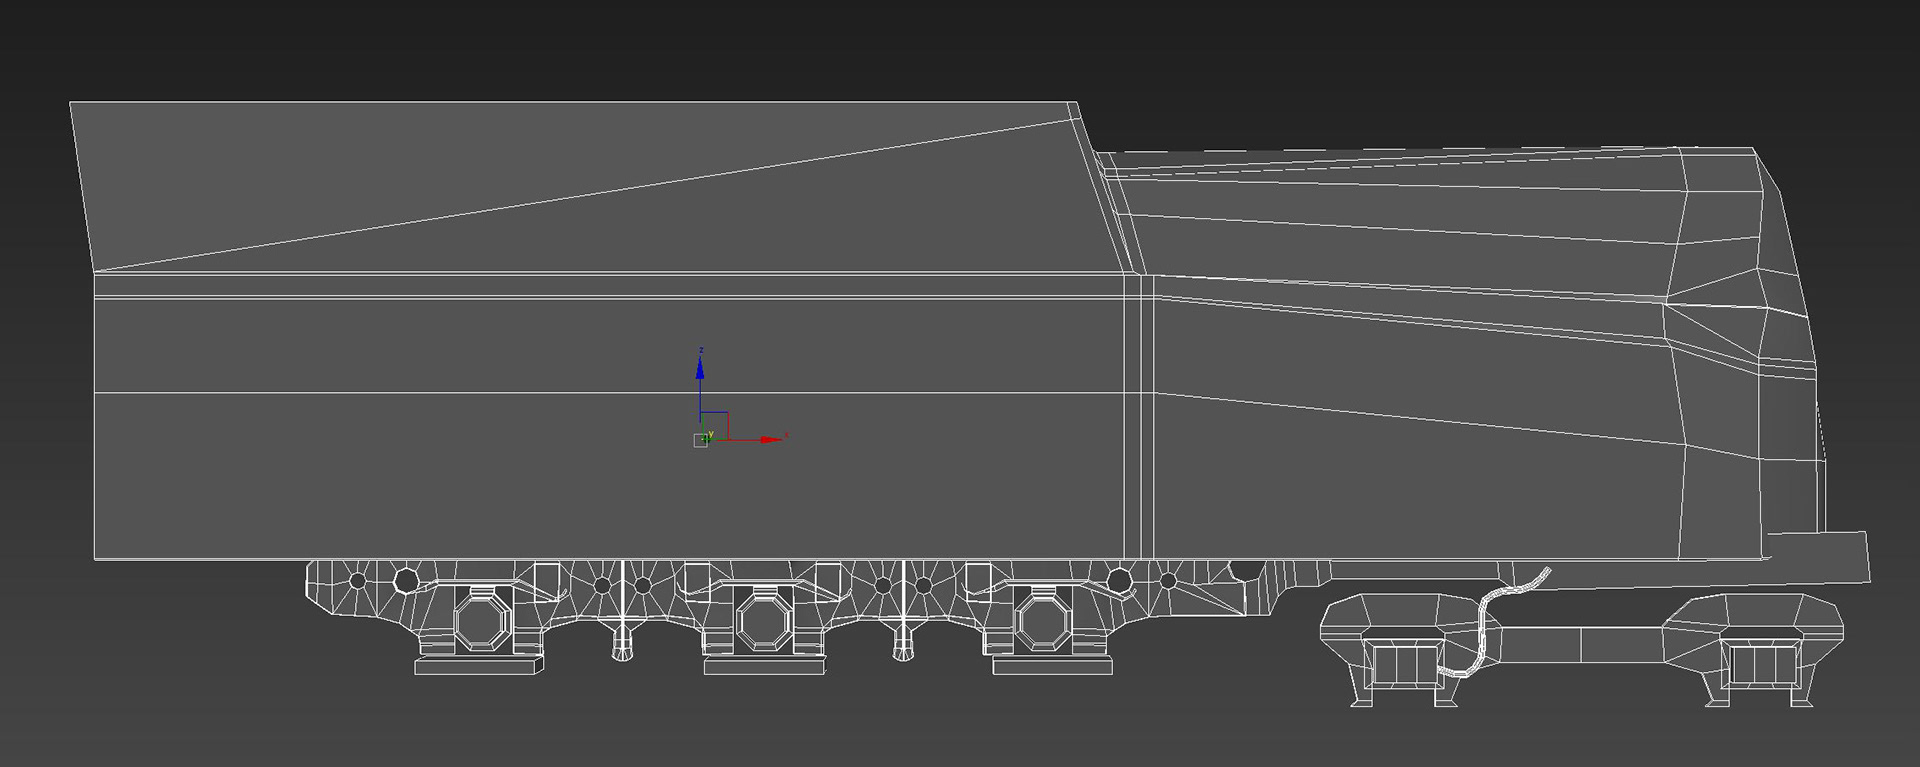
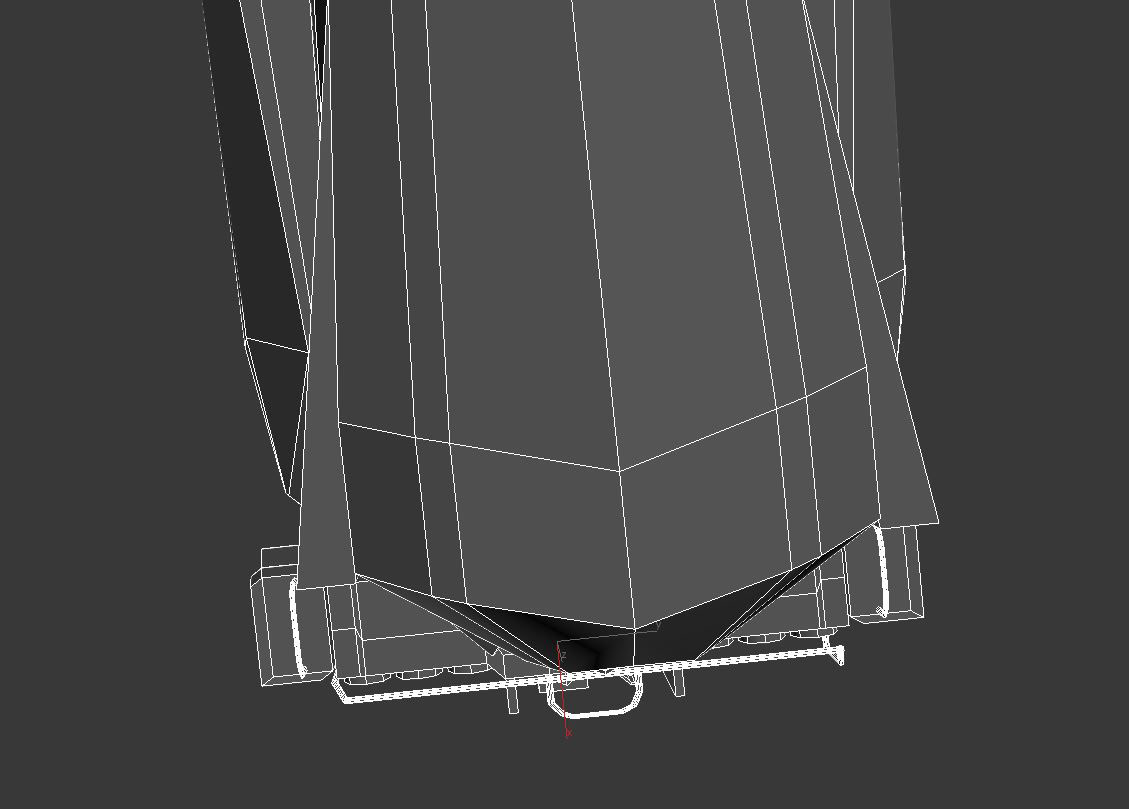
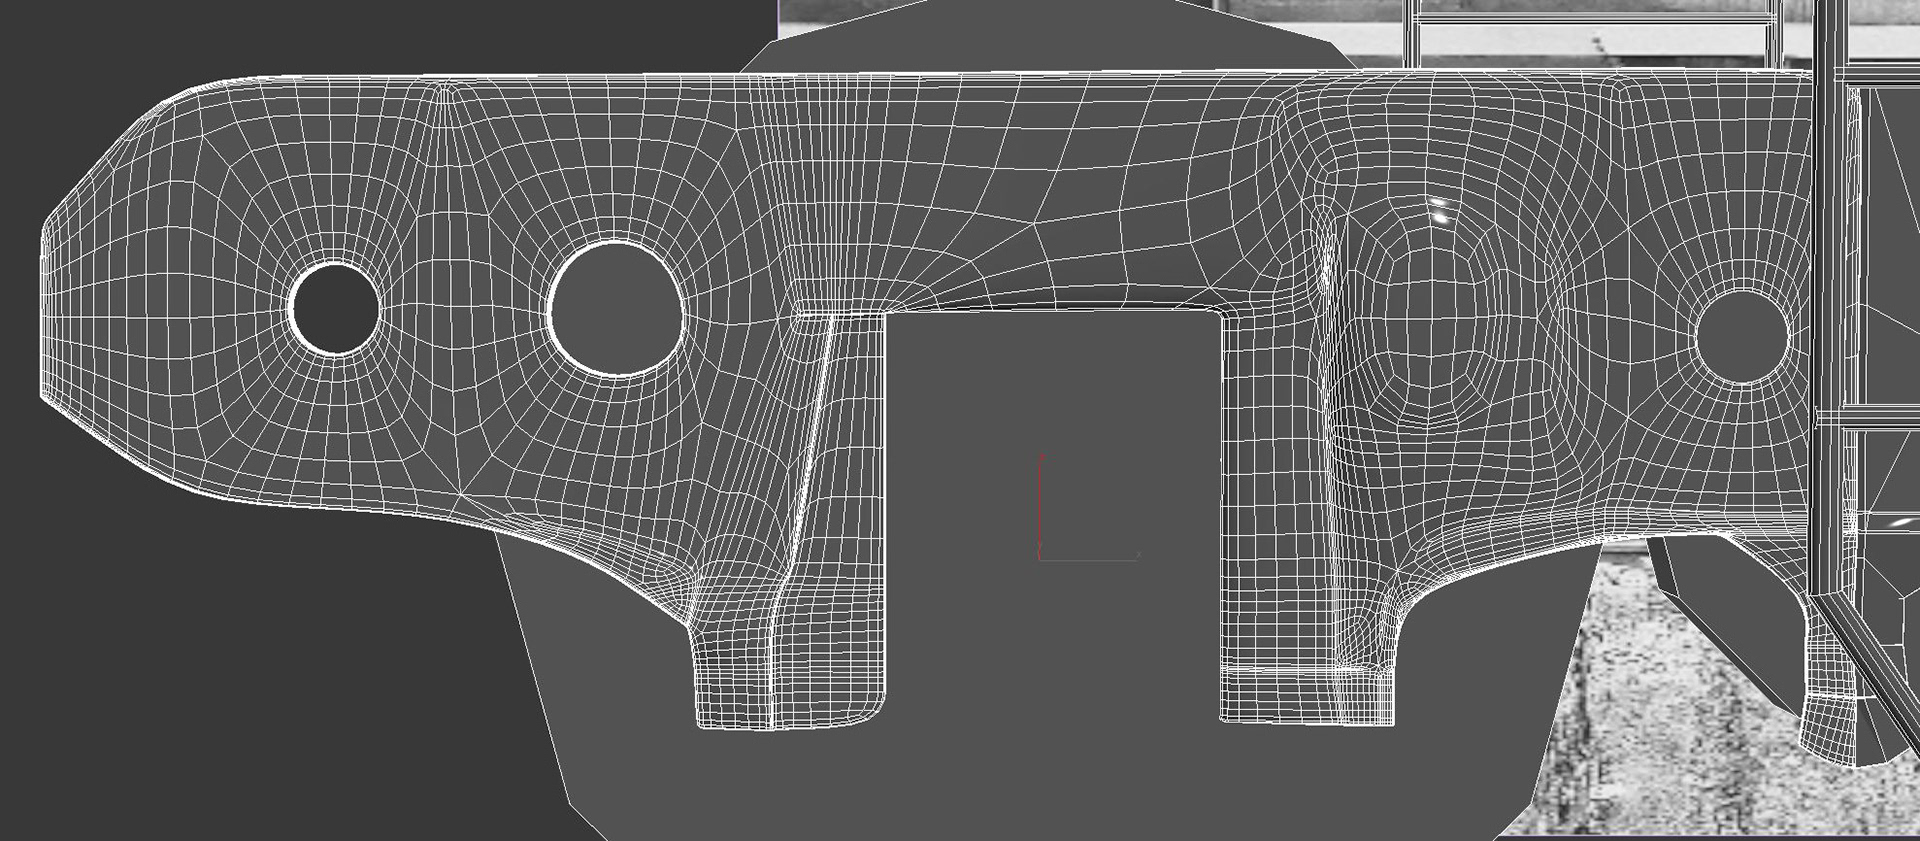
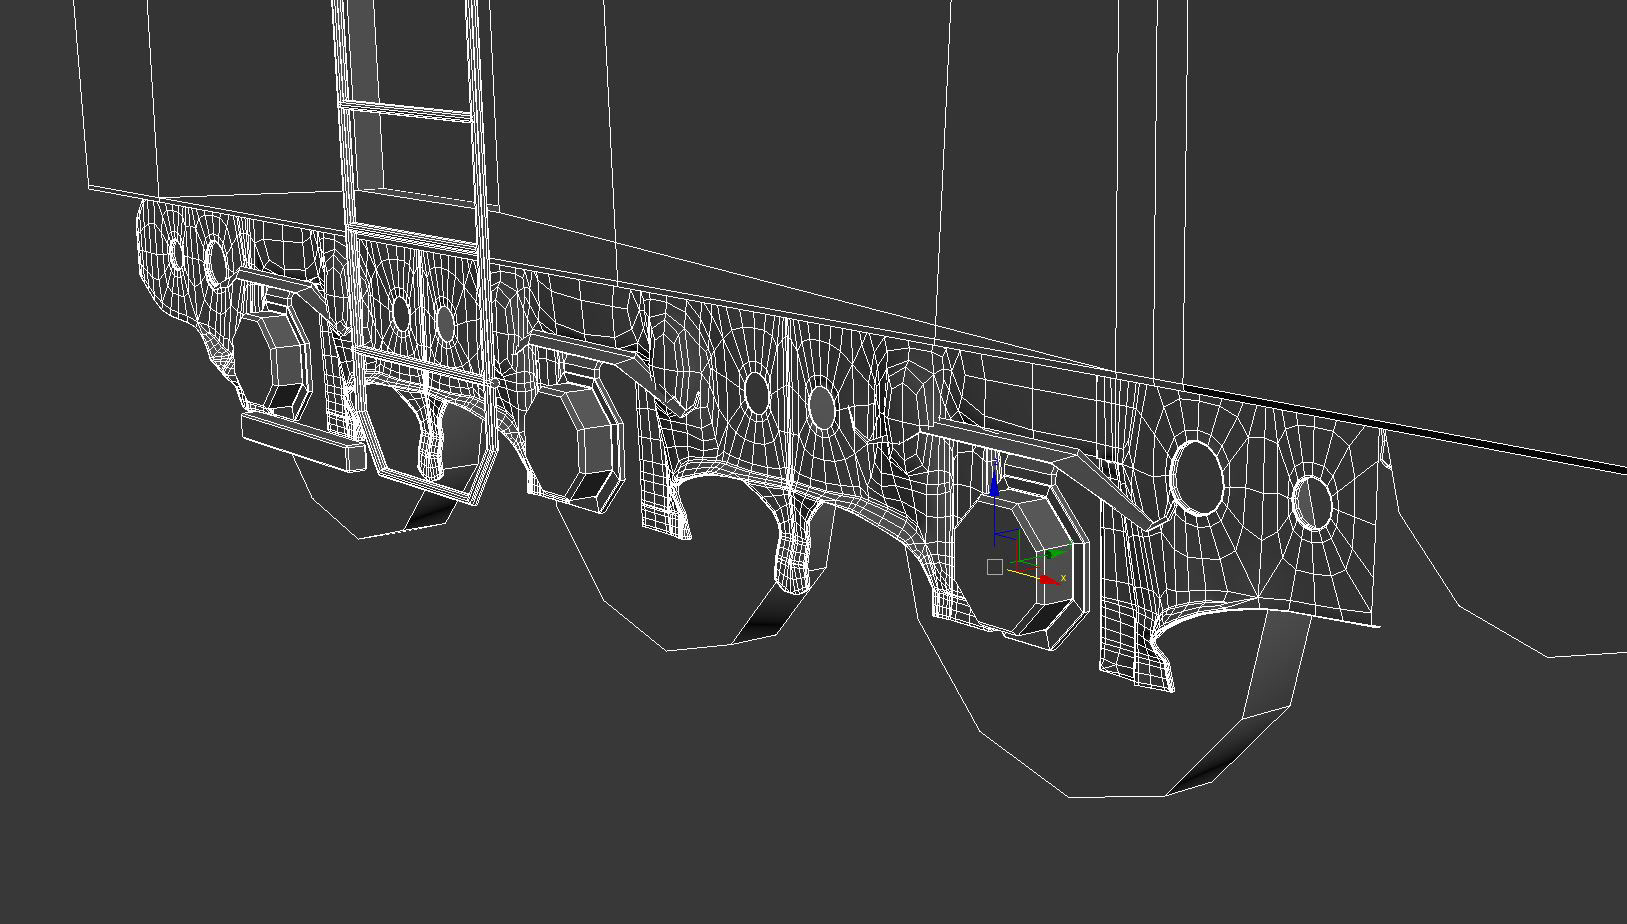
Wireframe.
Digitally Rendered in Autodesk 3Ds Max.
Digitally Rendered in Autodesk 3Ds Max.
FInal Render 006
Digitally Rendered in Autodesk 3Ds Max.
Digitally Rendered in Autodesk 3Ds Max.
FInal Render 007
Digitally Rendered in Autodesk 3Ds Max.
Digitally Rendered in Autodesk 3Ds Max.

FInal Render 008
Digitally Rendered in Autodesk 3Ds Max.
Digitally Rendered in Autodesk 3Ds Max.

FInal Render 009
Digitally Rendered in Autodesk 3Ds Max.
Digitally Rendered in Autodesk 3Ds Max.

FInal Render 010
Digitally Rendered in Autodesk 3Ds Max.
Digitally Rendered in Autodesk 3Ds Max.
FInal Render 011
Digitally Rendered in Autodesk 3Ds Max.
Digitally Rendered in Autodesk 3Ds Max.

FInal Render 012
Digitally Rendered in Autodesk 3Ds Max.
Digitally Rendered in Autodesk 3Ds Max.

FInal Render 013
Digitally Rendered in Autodesk 3Ds Max.
Digitally Rendered in Autodesk 3Ds Max.
FInal Render 014
Digitally Rendered in Autodesk 3Ds Max.
Digitally Rendered in Autodesk 3Ds Max.

FInal Render 015
Digitally Rendered in Autodesk 3Ds Max.
Digitally Rendered in Autodesk 3Ds Max.
FInal Render 016
Digitally Rendered in Autodesk 3Ds Max.
Digitally Rendered in Autodesk 3Ds Max.

FInal Render 017
Digitally Rendered in Autodesk 3Ds Max.
Digitally Rendered in Autodesk 3Ds Max.
FInal Render 018
Digitally Rendered in Autodesk 3Ds Max.
Digitally Rendered in Autodesk 3Ds Max.
FInal Render 019
Digitally Rendered in Autodesk 3Ds Max.
Digitally Rendered in Autodesk 3Ds Max.
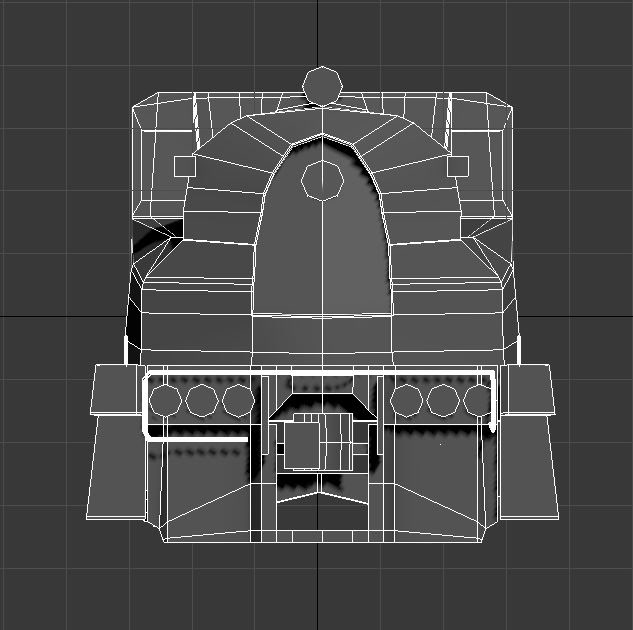
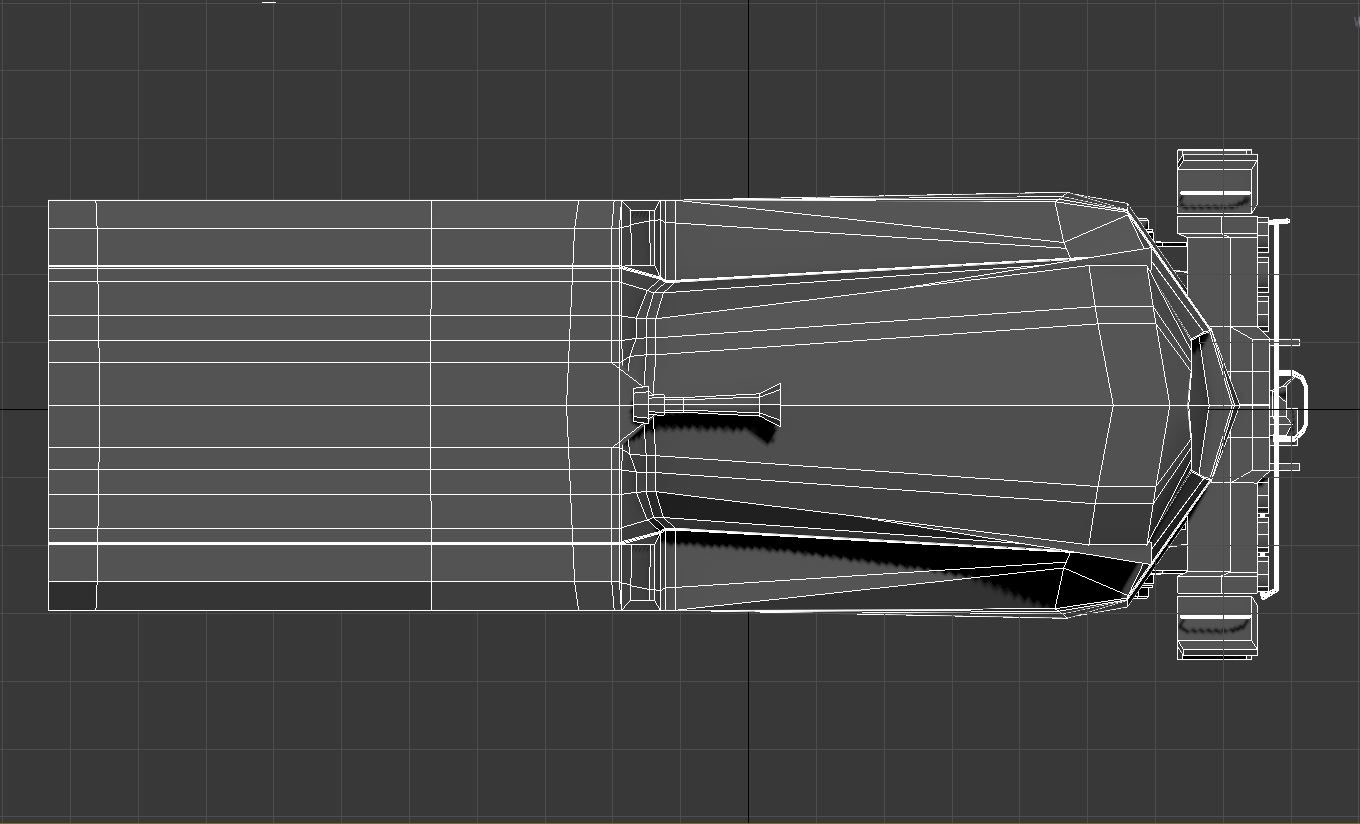
Progression of the Train Model
Blocking
To start off, I used a plane to recreate on of the Metal Slabs from underneath the train using Autodesk 3Ds Max.
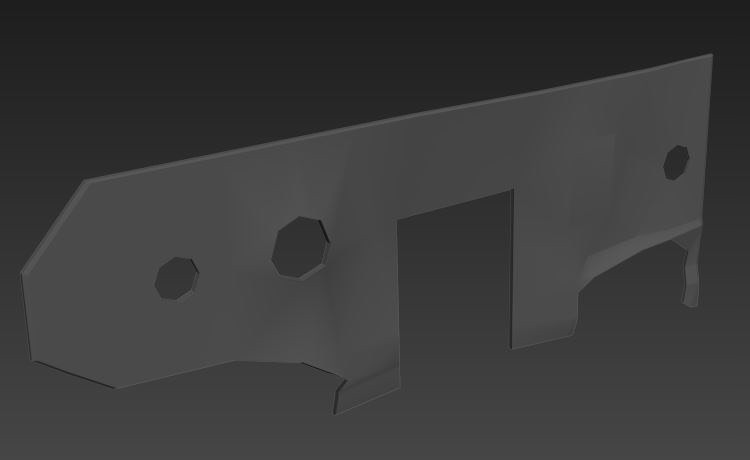
This was also a part of the metal slab, but instead of attempting to figure out a way to make it out of one piece I used another plane to manipulate it into looking as though it were all one object.
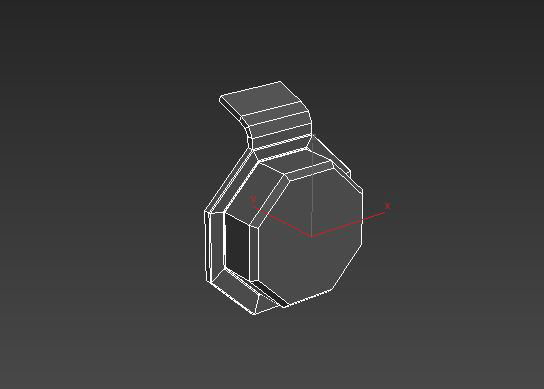
This was I believe created out of a cylinder. Apologies, it has been some time now since I have worked on the blocking with this model.
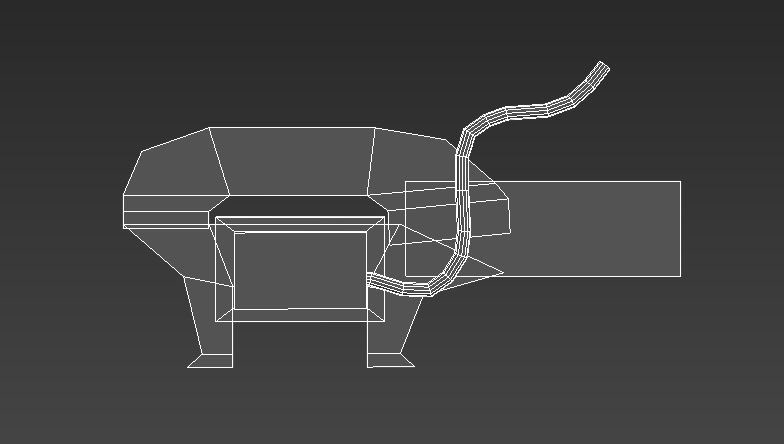
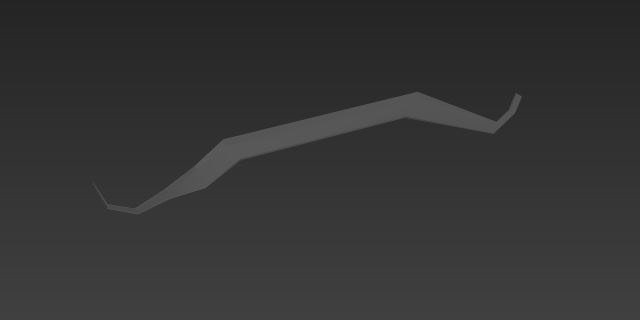
This is, again, multiple planes that were spliced together in order to give the illusion of aonly being one piece. Later on in the modeling I completely revamped this piece to work out of one actual object and not two. The chords were made out of lines that I set to be renderable.
This shell was changed and remade several times as the process went on, but it all started with a plane that a "symmetry" modifier was applied to.
The blocking goes on with simple boxes, planes and cylinders to take the place of the train's parts.
This was a few cylinders and boxes, simply modified.
Moving around and resizing all the pieces to make them fit and hopefully make sense.
At this point I'm starting to really notice how off my sizes are between the shell of the train and its parts down below.
The train at this stage is too bulky and short in comparison to the references images I was basing this model off of.
It was pretty difficult figuring out how things were supposed to be in proportion to each other.
I now set up a psyche wall to accomplish some test renders. Finding out that some of my normals were accidentally faced the wrong way and my lights obviously in need of tweaks.
There were a lot of issues that I needed to work on before moving into the official modeling stage. My light resolution, my staging, and most of all my proportions.
The majority of the rest of my blocking is me simultaneously changing my shapes and size of my existing pieces while also moving onto adding more of the little details to get a better understanding of my model's space.
Blocking out additional smaller pieces that give a better idea of what exactly is breaking up the empty spaces instead of simply having a cylinder or box placed here and there.
Now completely reshaping my front end.
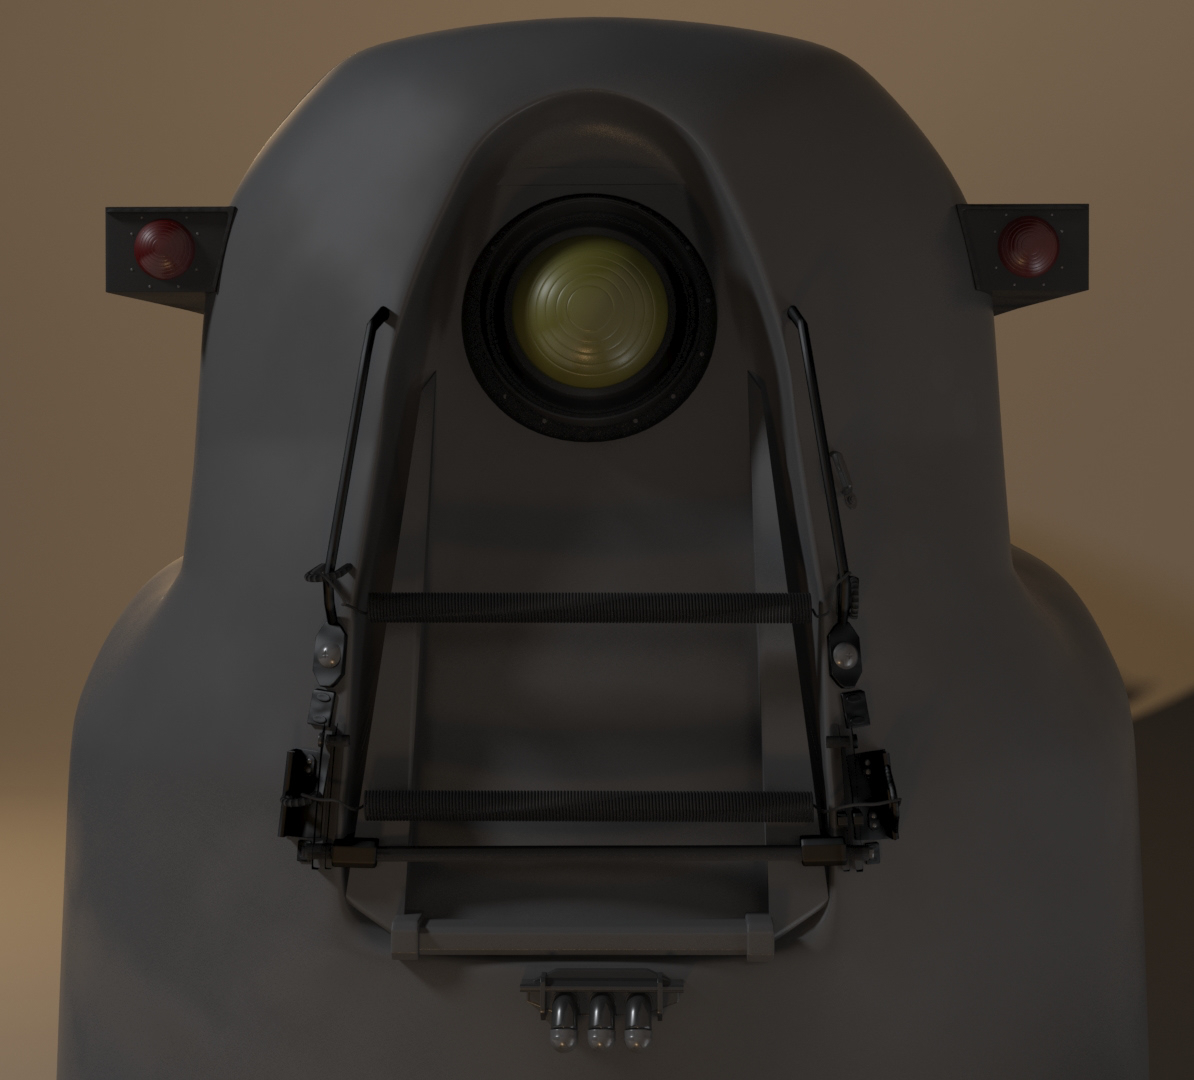
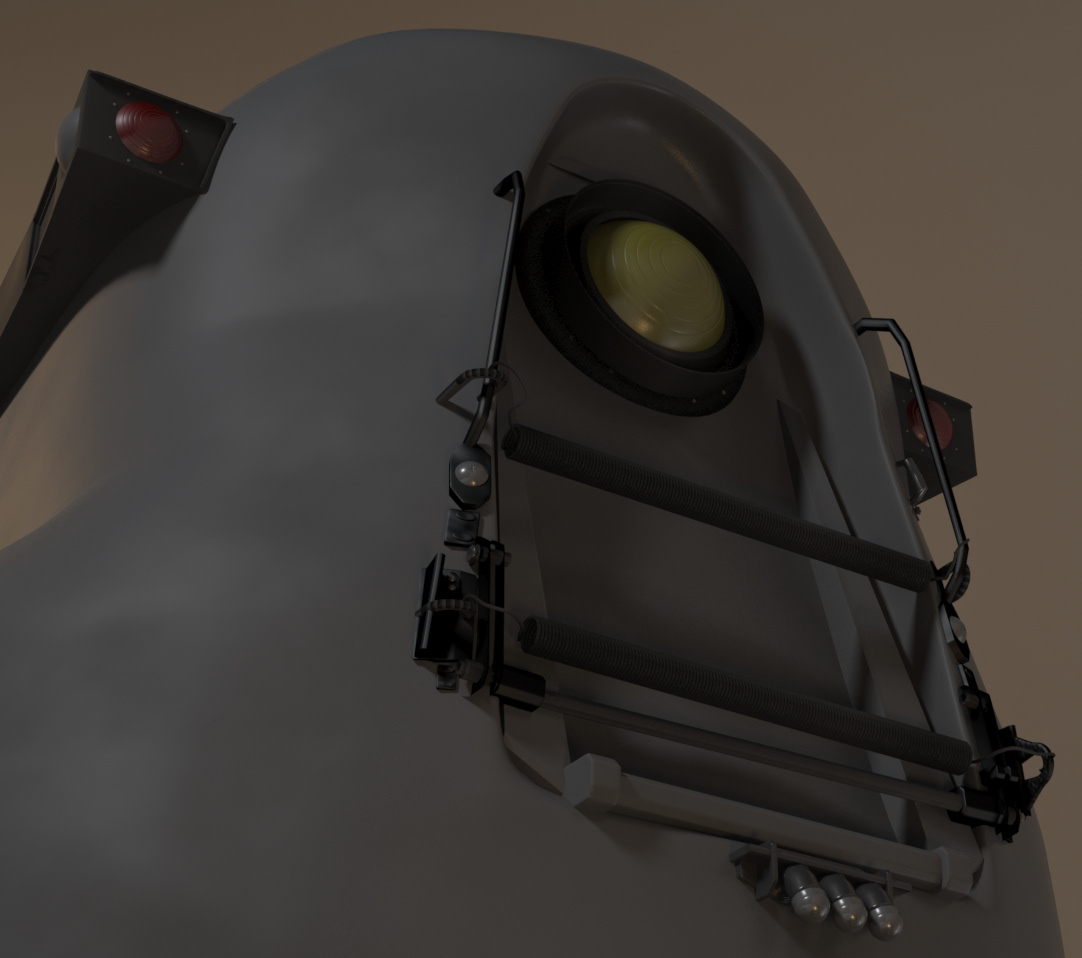
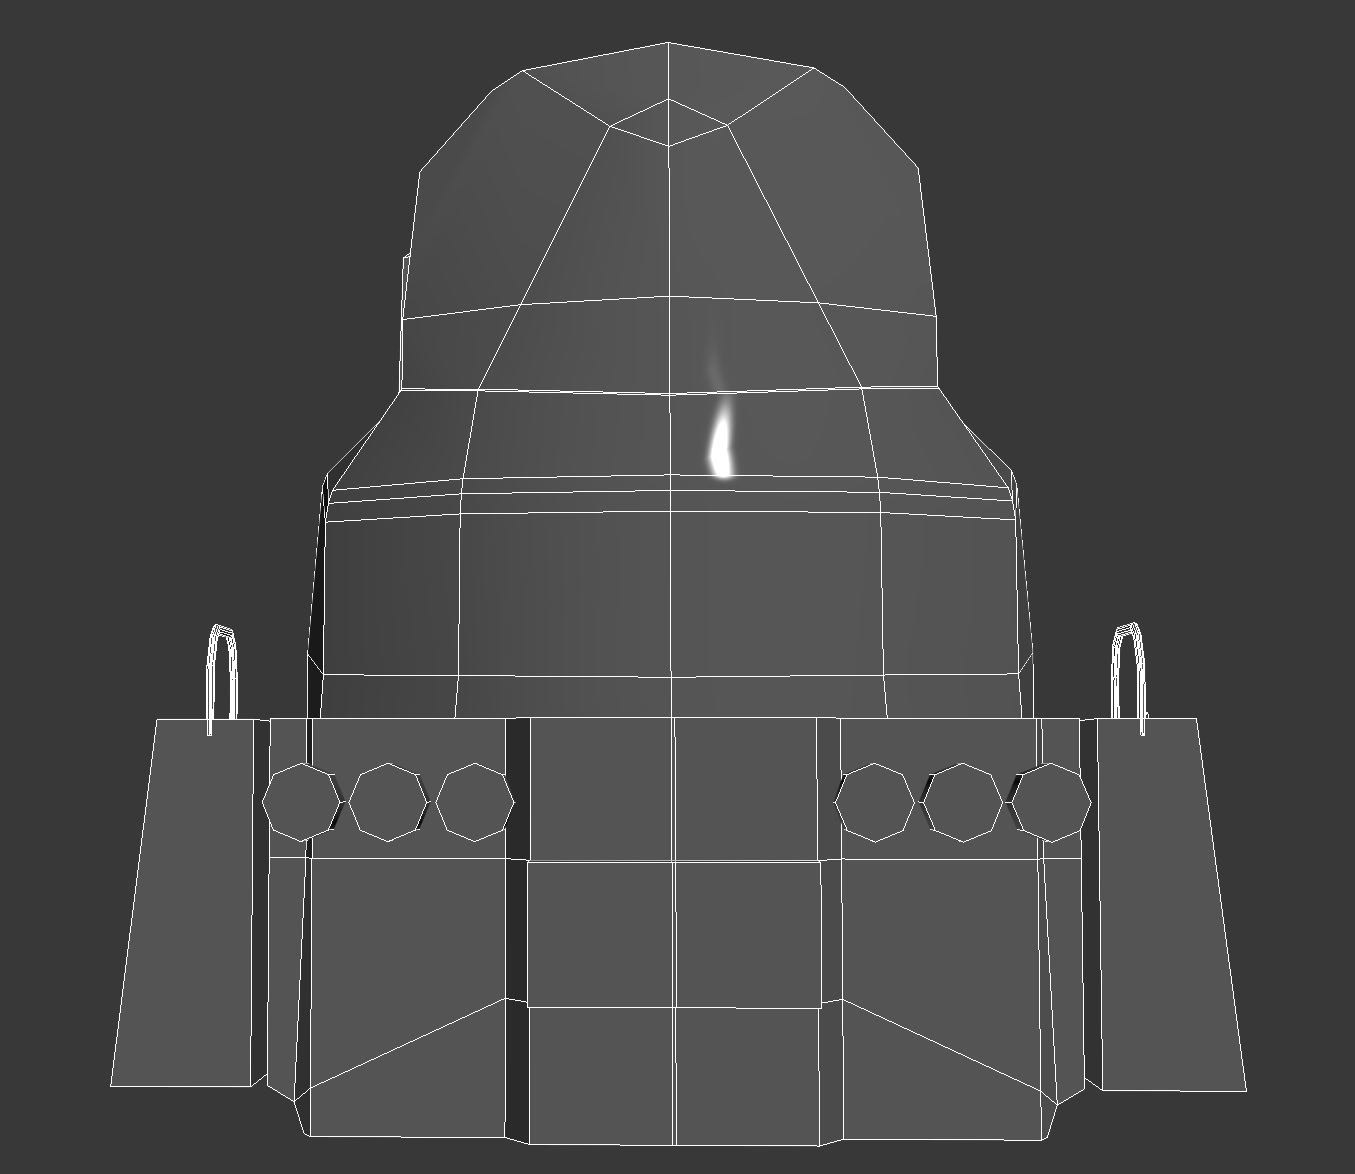
One of the hardest pieces to figure out from this entire model was the locking mechanism that is located at the very front of the train. Looking at several different reference images, doing my best to get a grasp of its shape. Still to this day I find it to be relatively problematic, but I believe that I've solved it for the most part.
Using the simplest of shapes to be the placeholder for the lights on the front of the train, this definitely didn't give the actual end result justice.
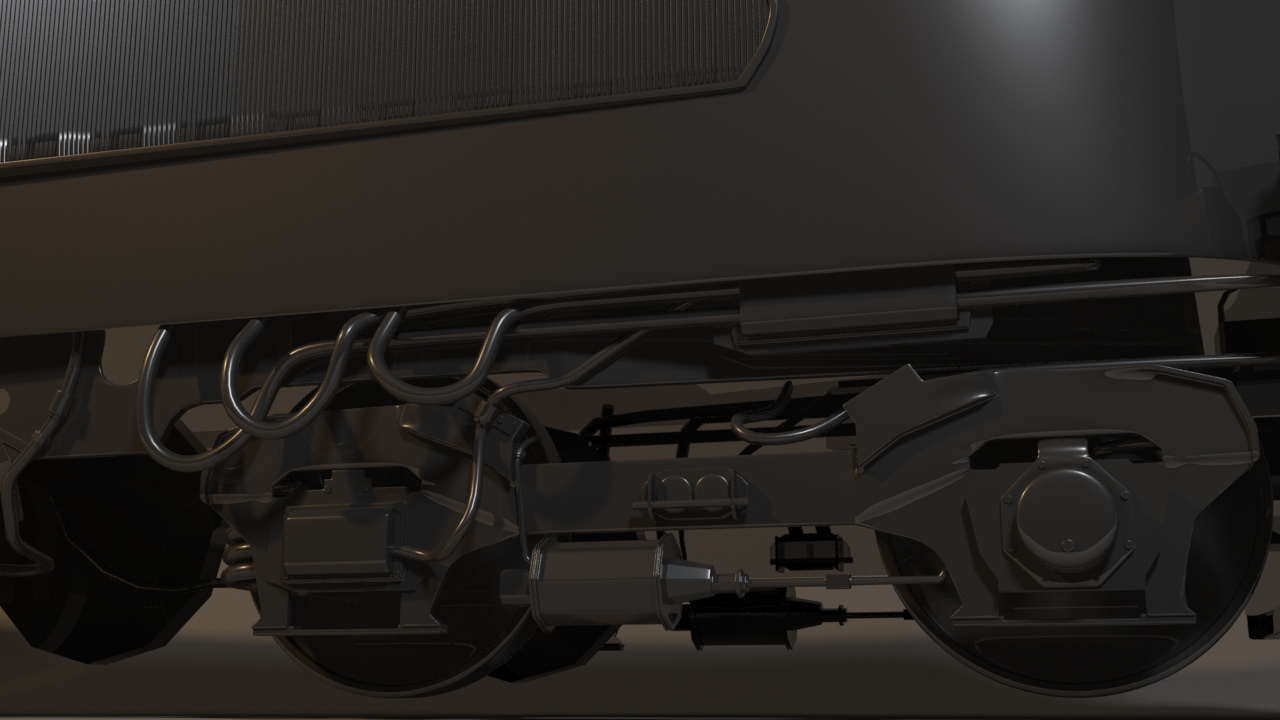
The piping was another slightly difficult piece to get just right, but never took as long as the lock.
At this point I'm trying to improve the geometry of the metal slab below the train and prepare it for being smoothed.
My first test on how it would look like after "turbosmoothing".
Now just trying to make sure that my geometry is at least halfway decent.
After inspecting the geometry, everything seemed to be just fine so I moved onto test renders to see if I may have any issues that I can't see prior.
Front View Blocking Render.

Side View Blocking Render.
Now that I have improved my lighting resolution and placed the lights where I think suites the model best, it is time to move right into the nittty gritty of modeling.
Modeling
From here on out it becomes a lot of trial and error for what works for giving the model a satisfying amount of detail and what doesn't.
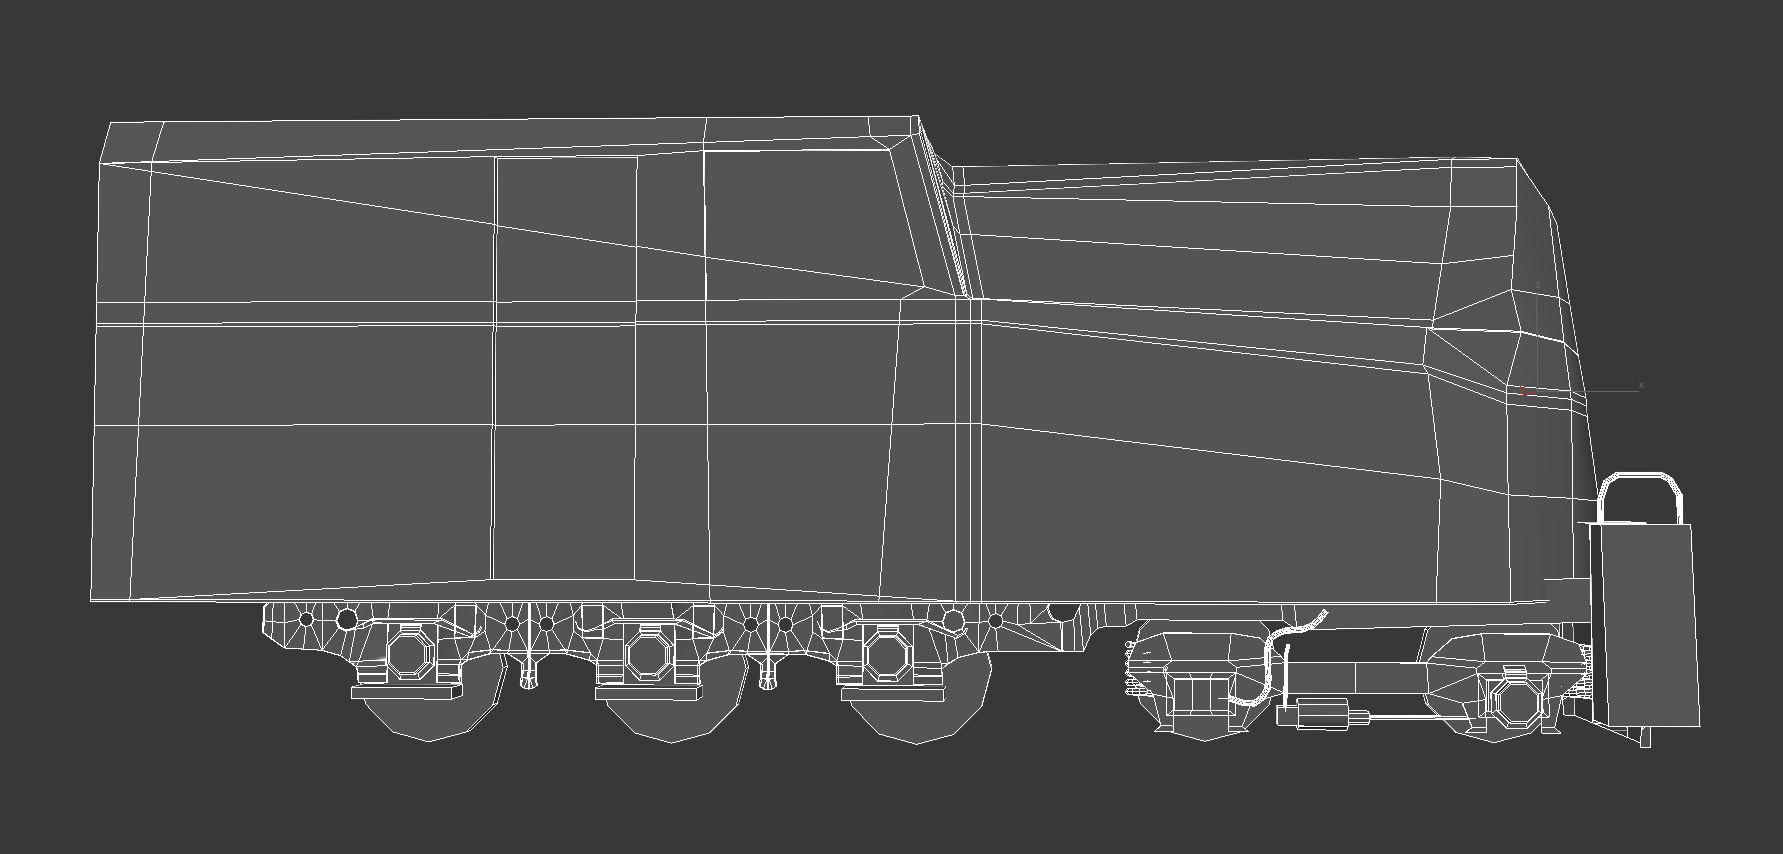
Under even closer inspection I come to realize that the placement of my wheels aren't quite right so start moving around parts to hopefully better match up with my reference image.
Everything seems fine except for the latter, which I end up making several improvments to as the process goes along.
This is my first try in changing the latter's shape.
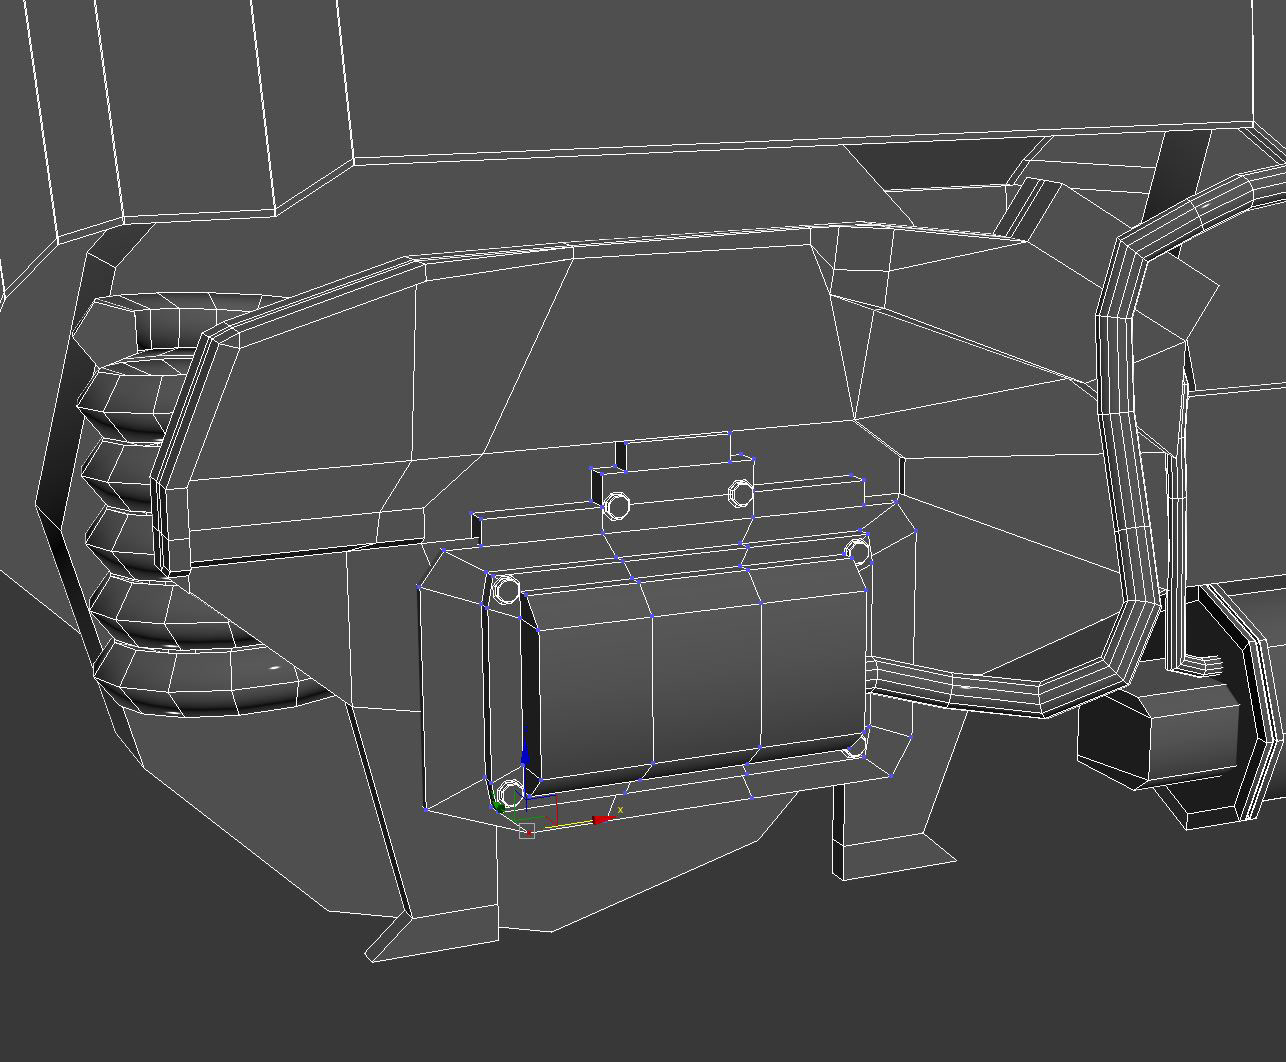
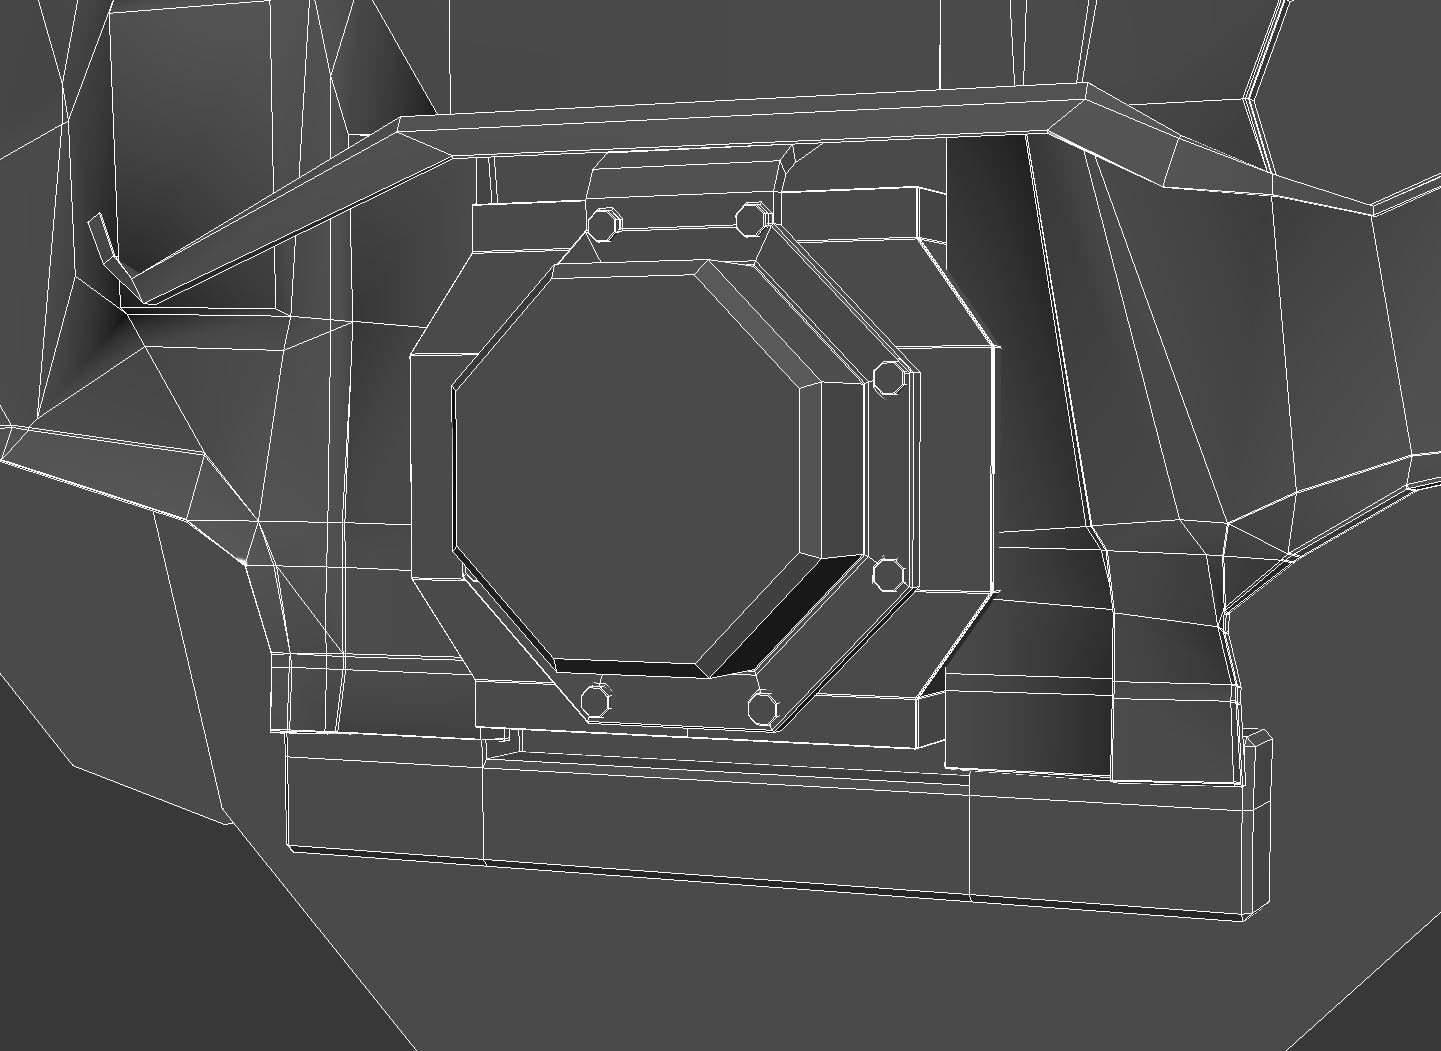
Now is the time I put in the little details to make it shine with bolts, screws, etc.
The windows were rather tricky getting just right in the beginning.
Doesn't seem to be any problems going on with the "normals" in my renders, I still need work on placement of the undercarriage parts.
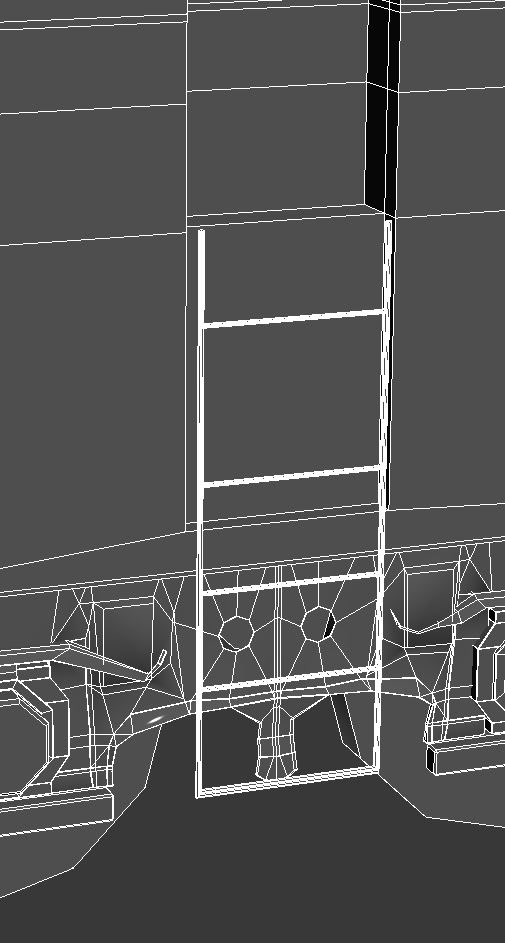
Still trying to figure out that latter at under the doorway.

Second latter try.

Third latter try.

After hours upon hours more of modeling and reshaping and rethinking we arrive to this point of meeting the tiny details of what makes up this model.

Still a substantial amount missing to call it complete at this point, but still getting close.
Still in need of various tweaks to give it a much more refined look.

Side windows too rounded and rubbery.

This part was actually quite fun seeing come to life with simply duplicating a thin box several times over.


Finally figured out that latter.

Still need to readjust a few of the bolts sizes.

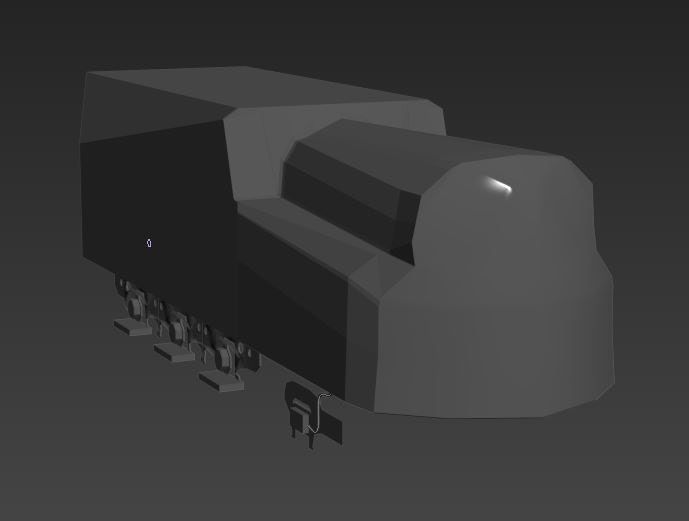
After months of leaving this project on the backburner I came back to add in the missing pieces. Now much wiser about modeling, I know my way around getting into making a hopefully great looking product.

Obviously not quite finished in the modeling section, but not far from finishing either.

The majority of where my attention needs to be focused to resides towards the front end of the train mainly.
Too rounded to feel believable, but the parts to go on the front should help with that to give the right mechanical feel to it.

At least a couple dozen missing pieces, but shouldn't take too long to populate with all the right detail.
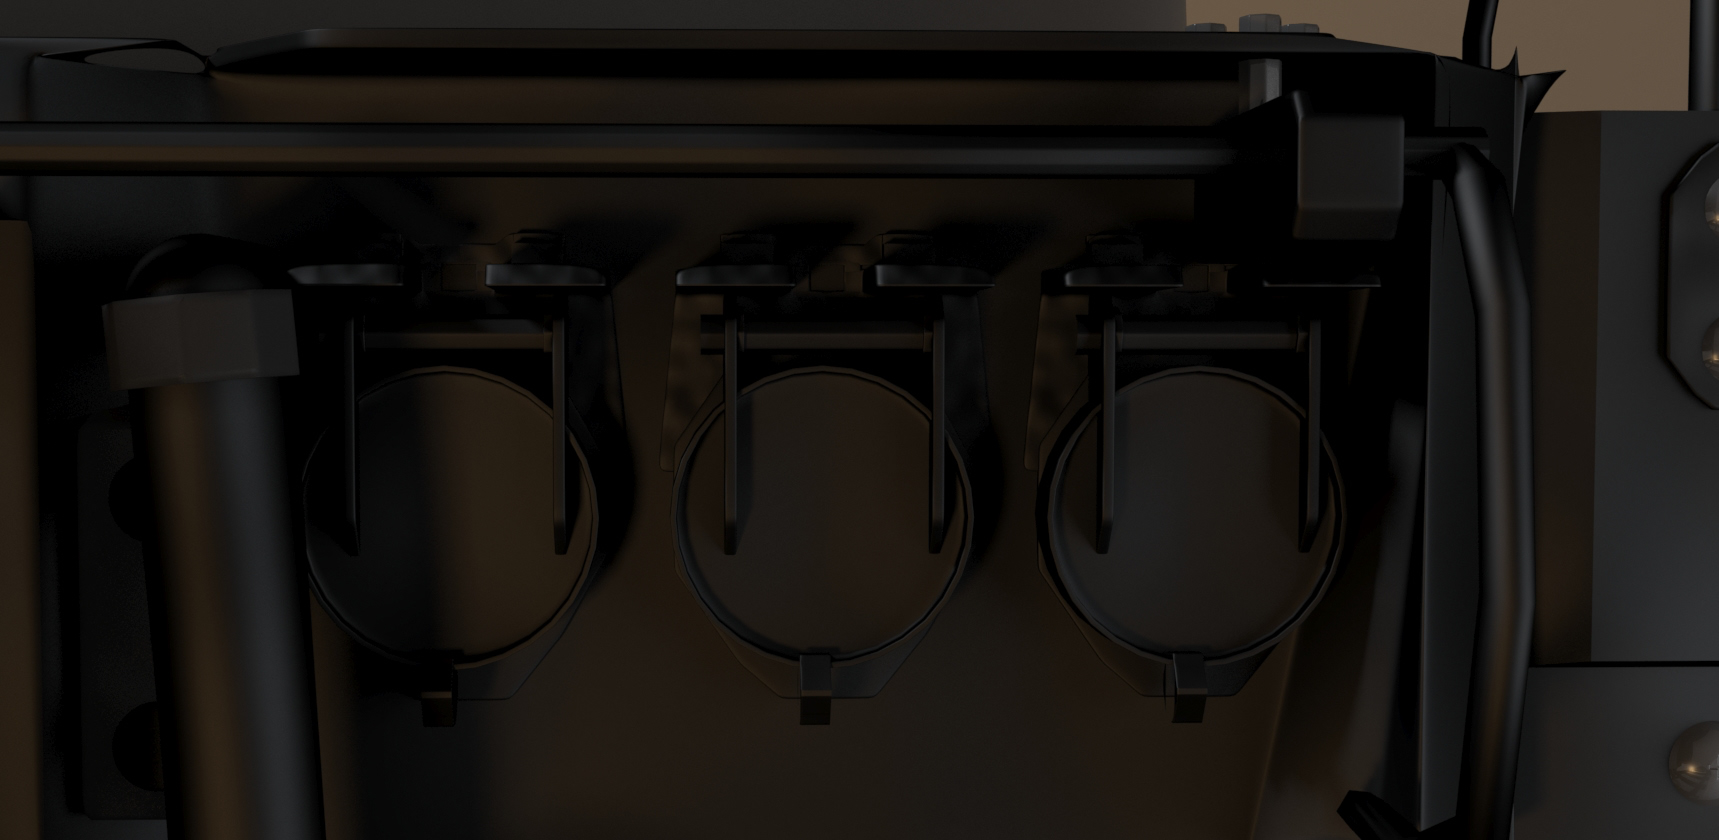
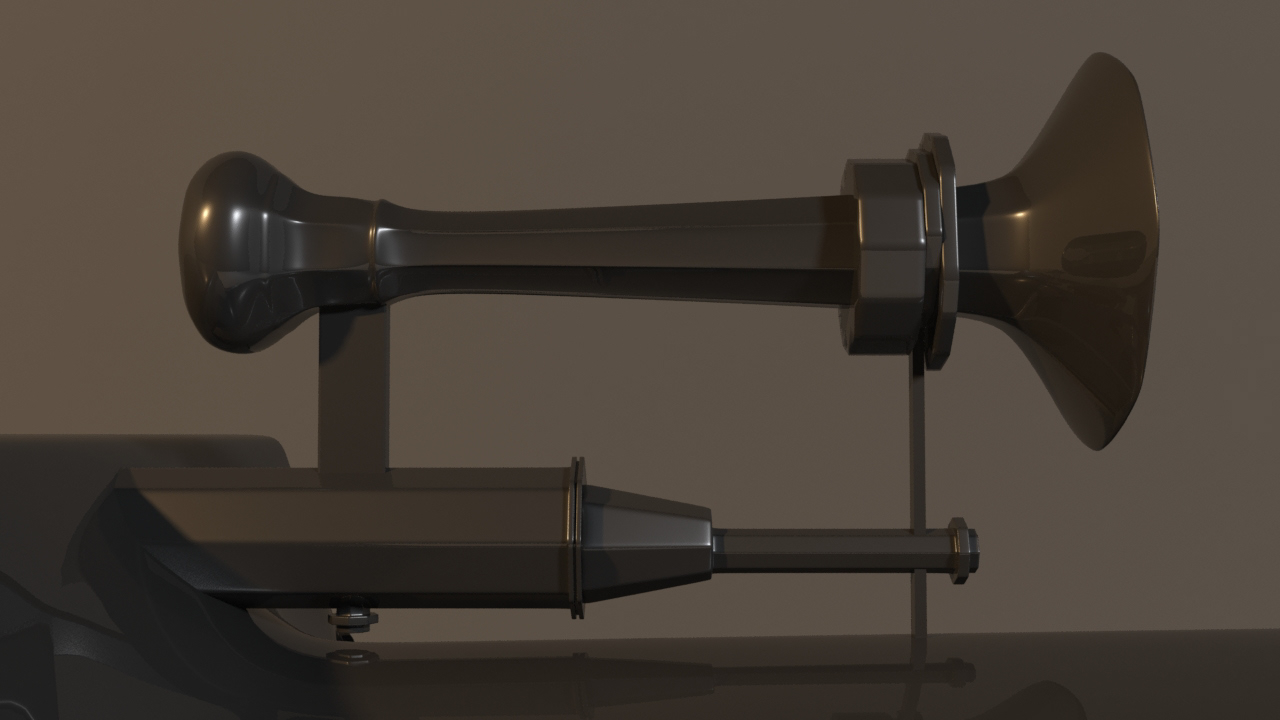
Most of these parts were recreated out of past objects that I had made for another project that can also be found on my site, "The Projector".

Modeled & Rendered in Autodesk 3Ds Max.
Modeled & Rendered in Autodesk 3Ds Max.

Modeled & Rendered in Autodesk 3Ds Max.
Modeled & Rendered in Autodesk 3Ds Max.

Modeled & Rendered in Autodesk 3Ds Max.
Modeled & Rendered in Autodesk 3Ds Max.

Modeled & Rendered in Autodesk 3Ds Max.
Modeled & Rendered in Autodesk 3Ds Max.

Modeled & Rendered in Autodesk 3Ds Max.
Modeled & Rendered in Autodesk 3Ds Max.
The Final Stages


Modeled & Rendered in Autodesk 3Ds Max.