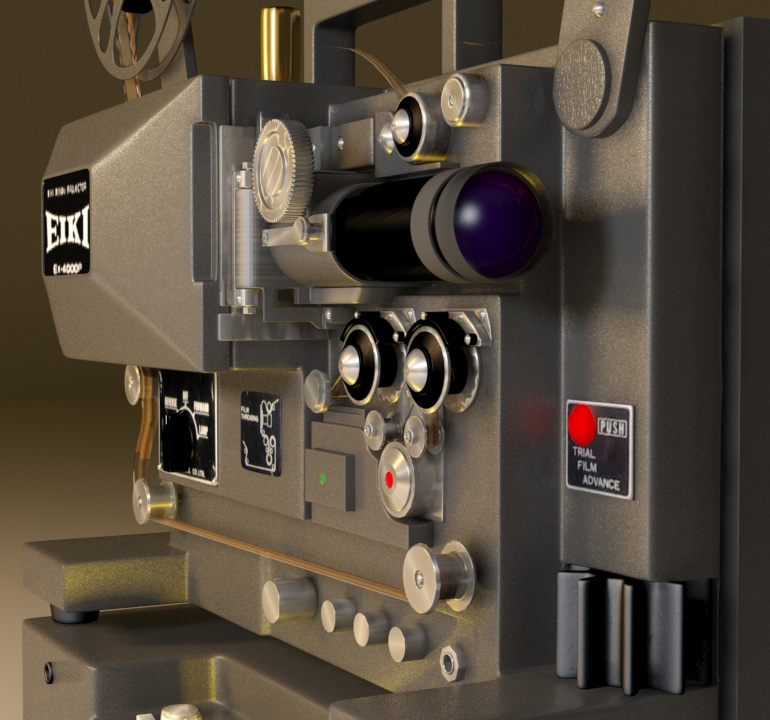
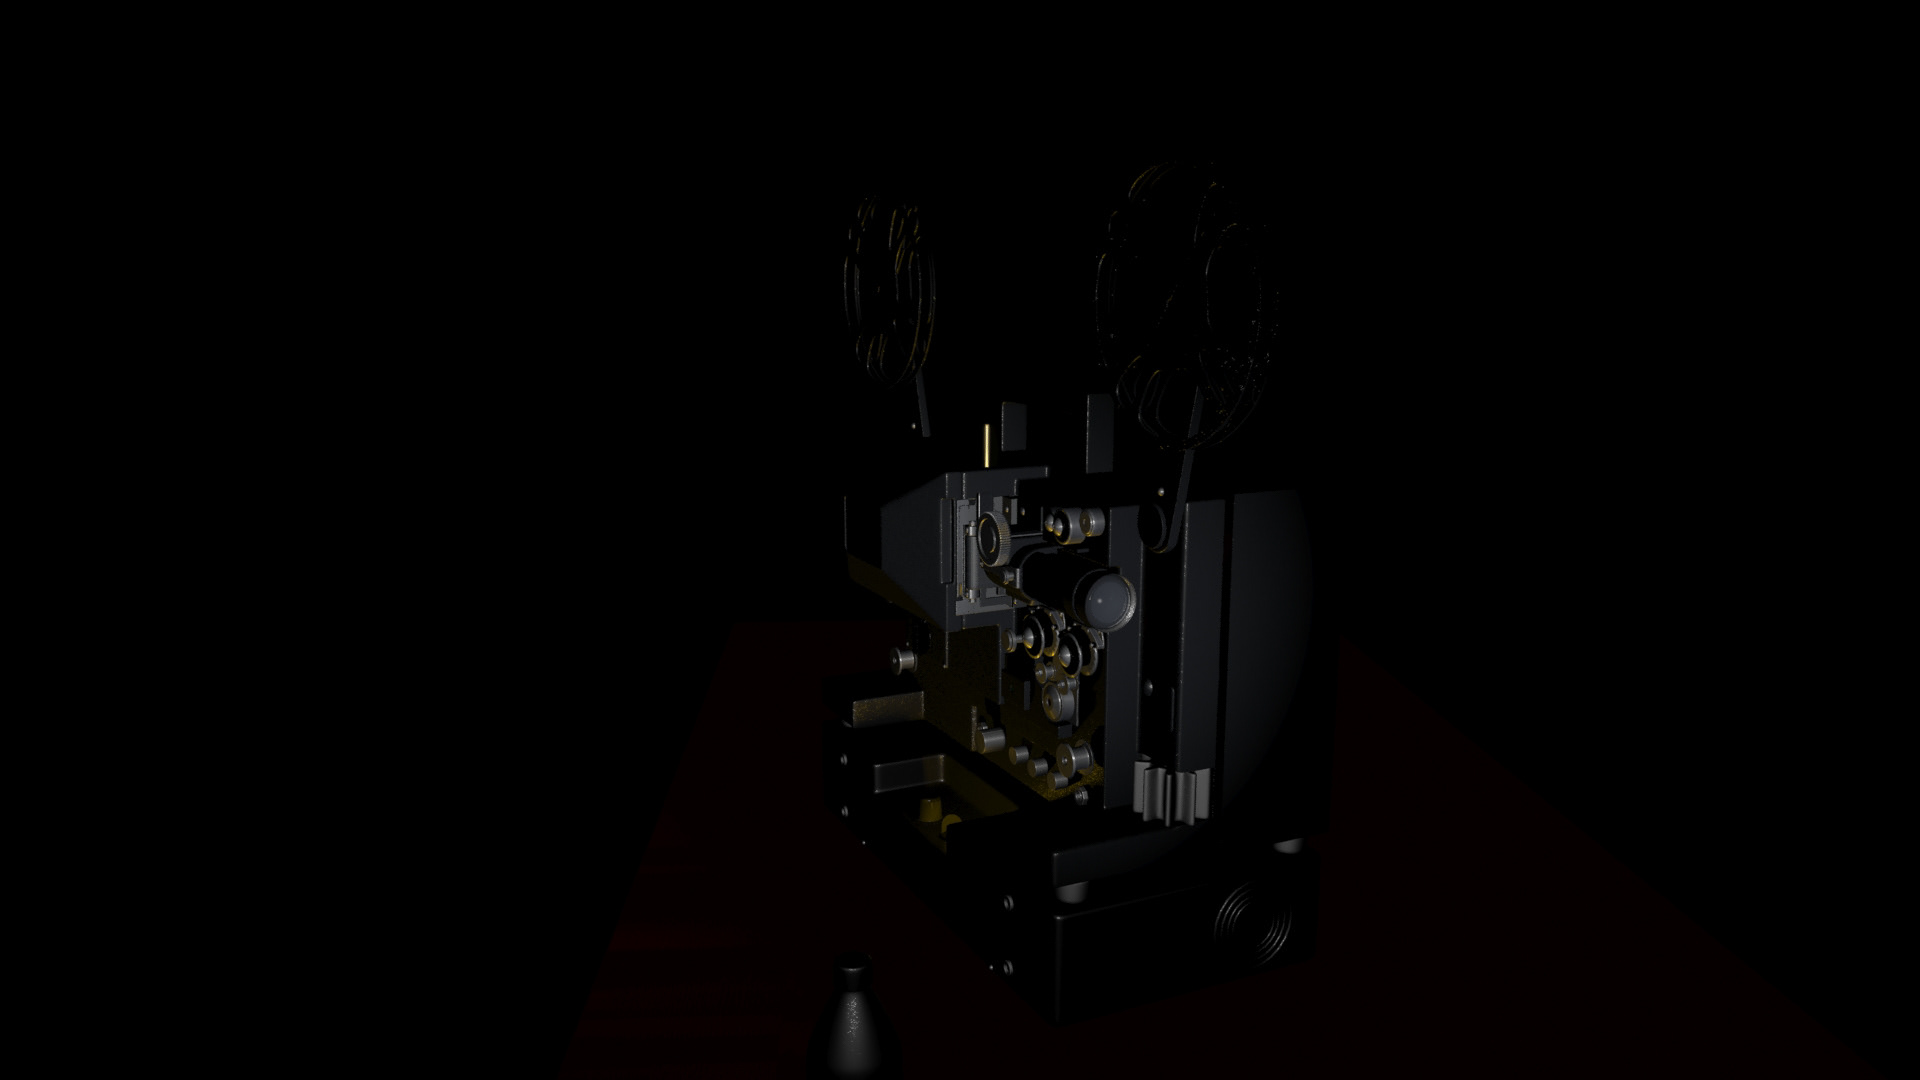
Projector (Final Render)
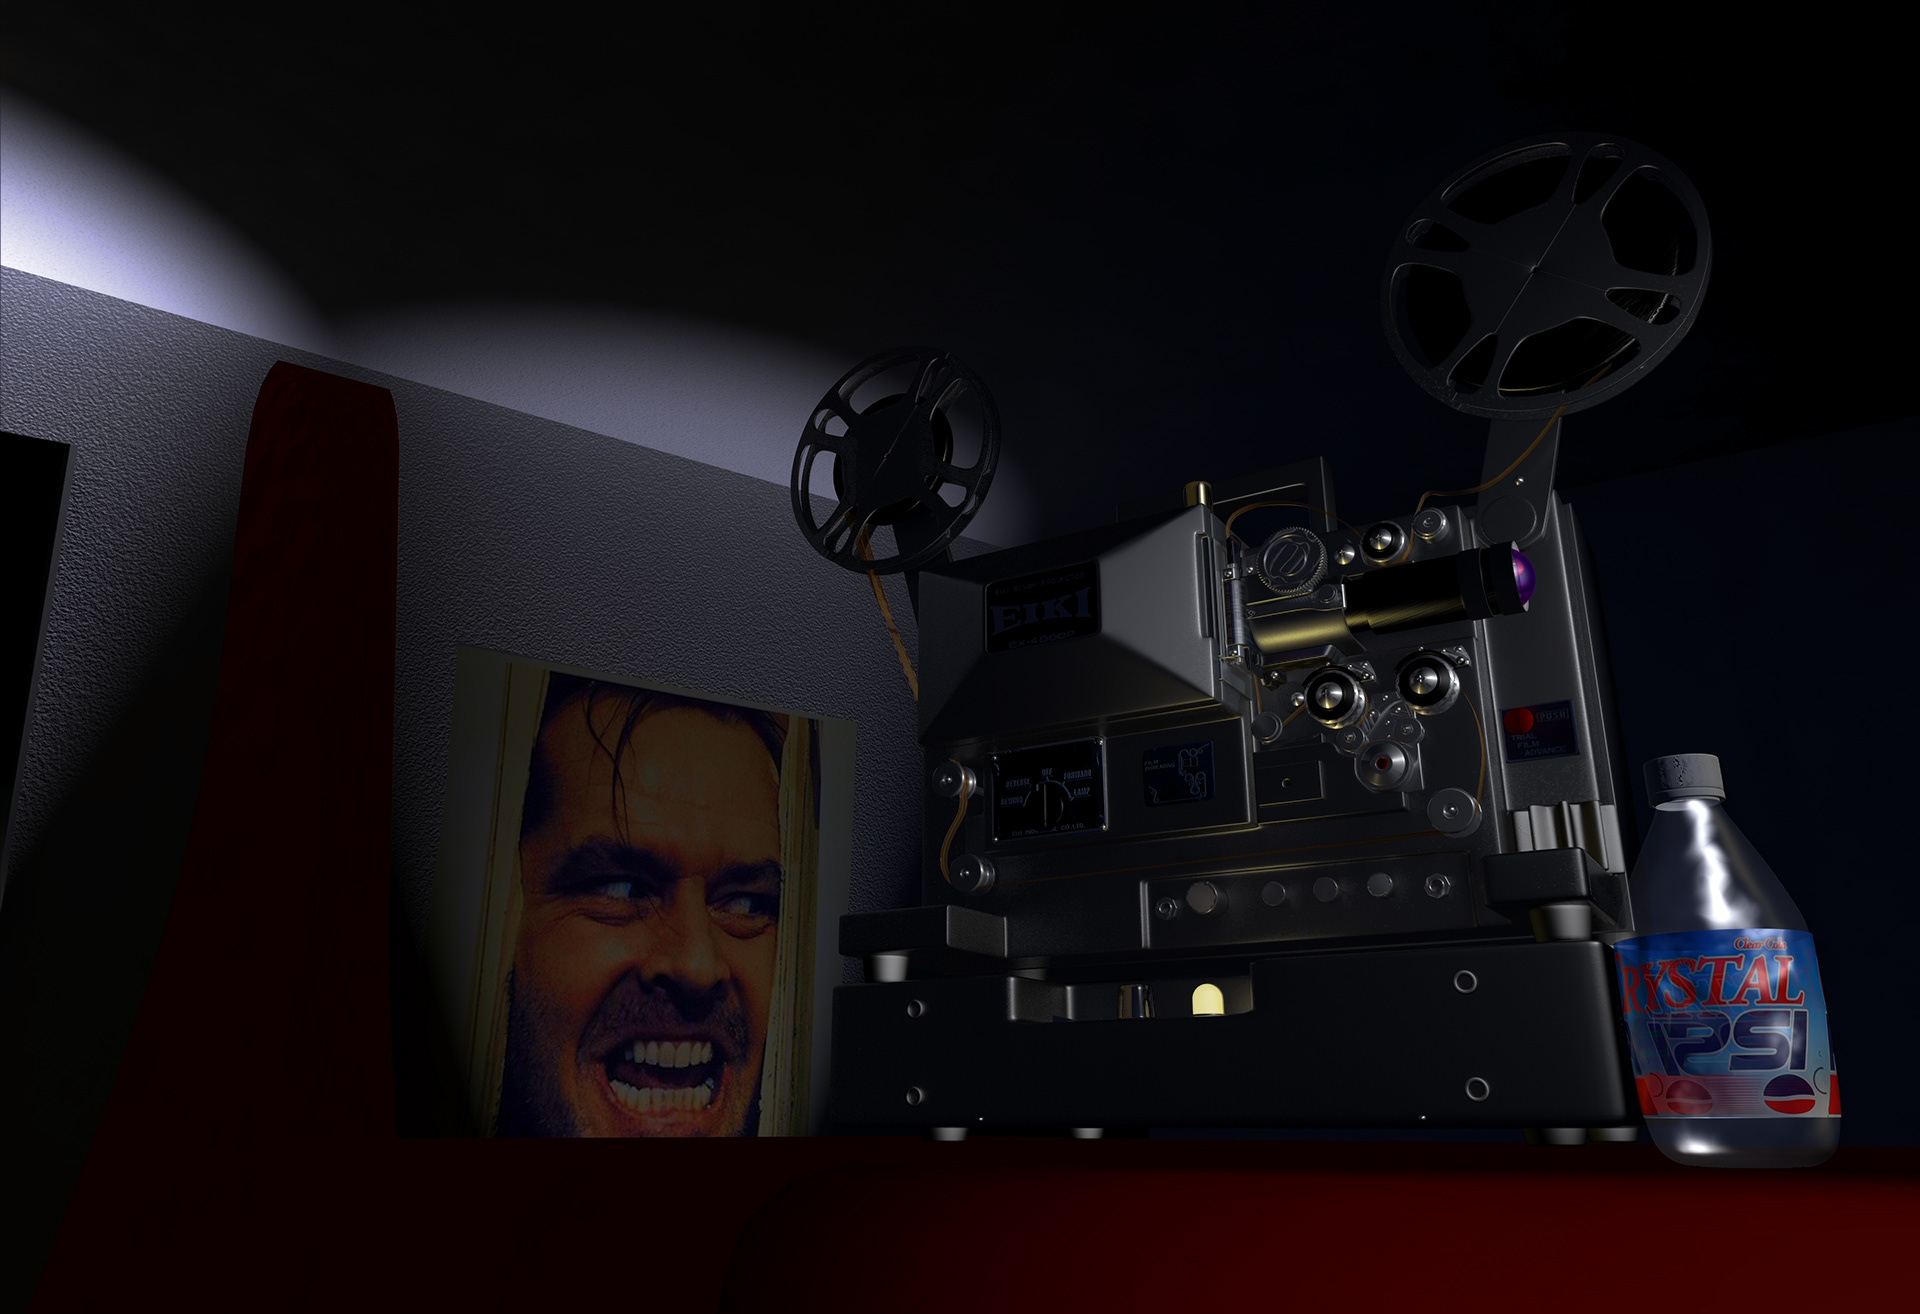
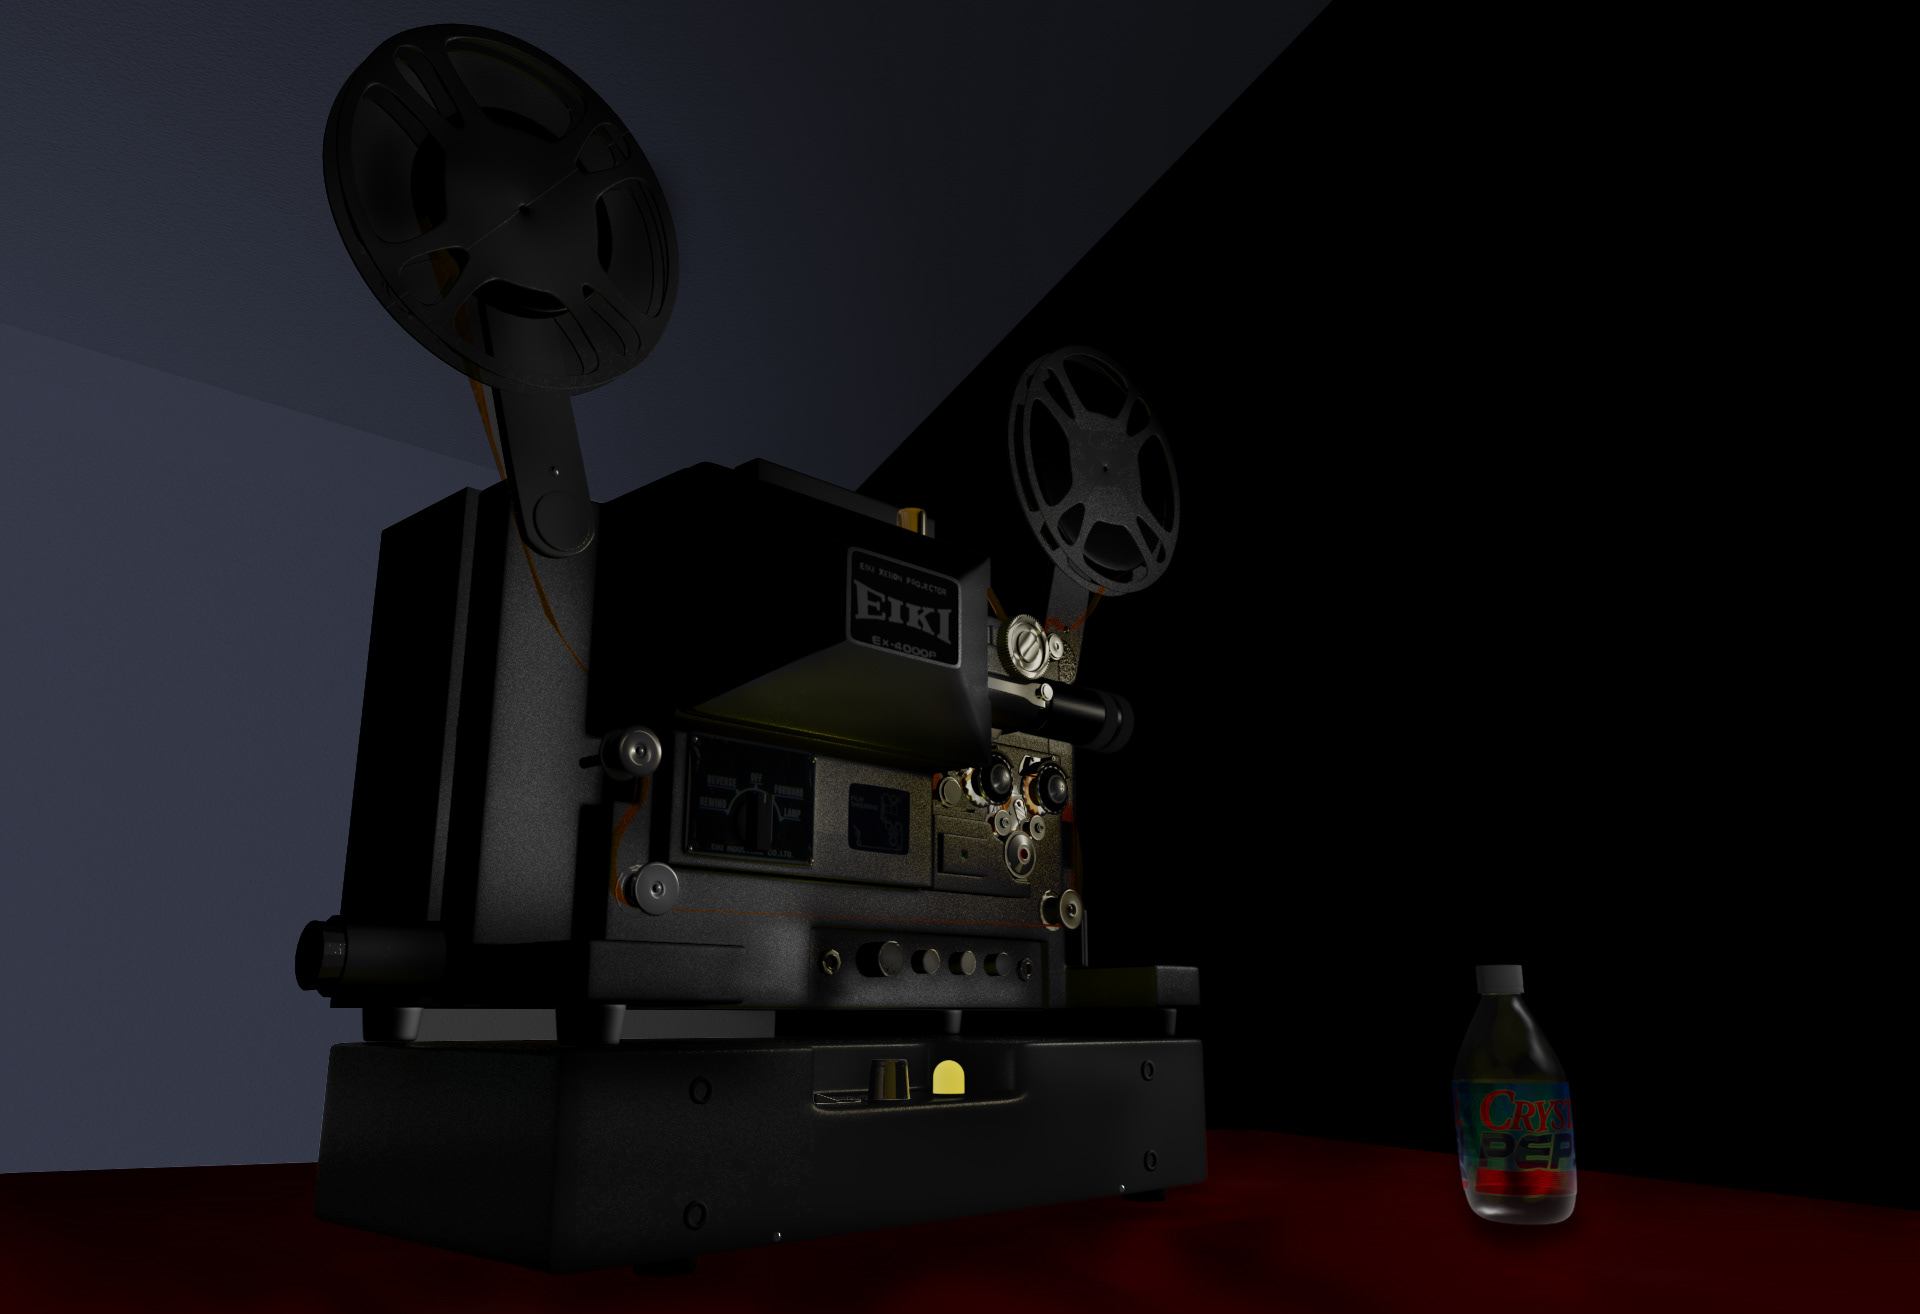
[Without Backdrop]

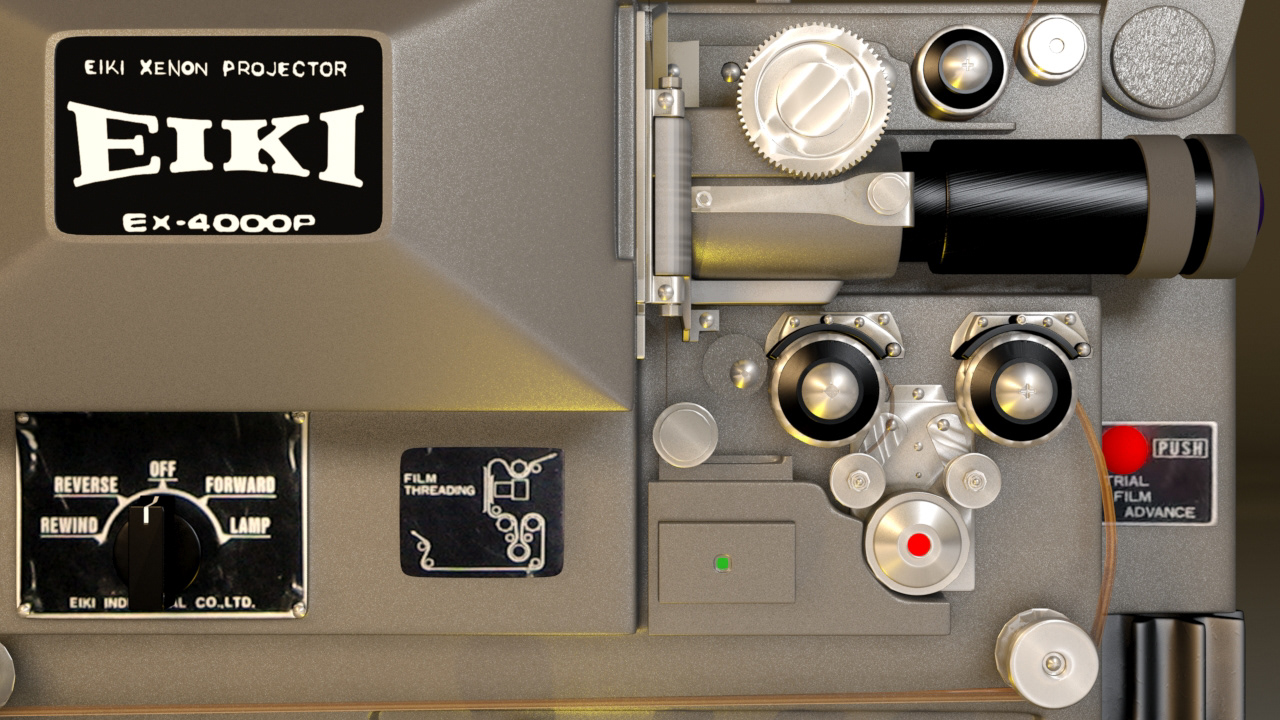
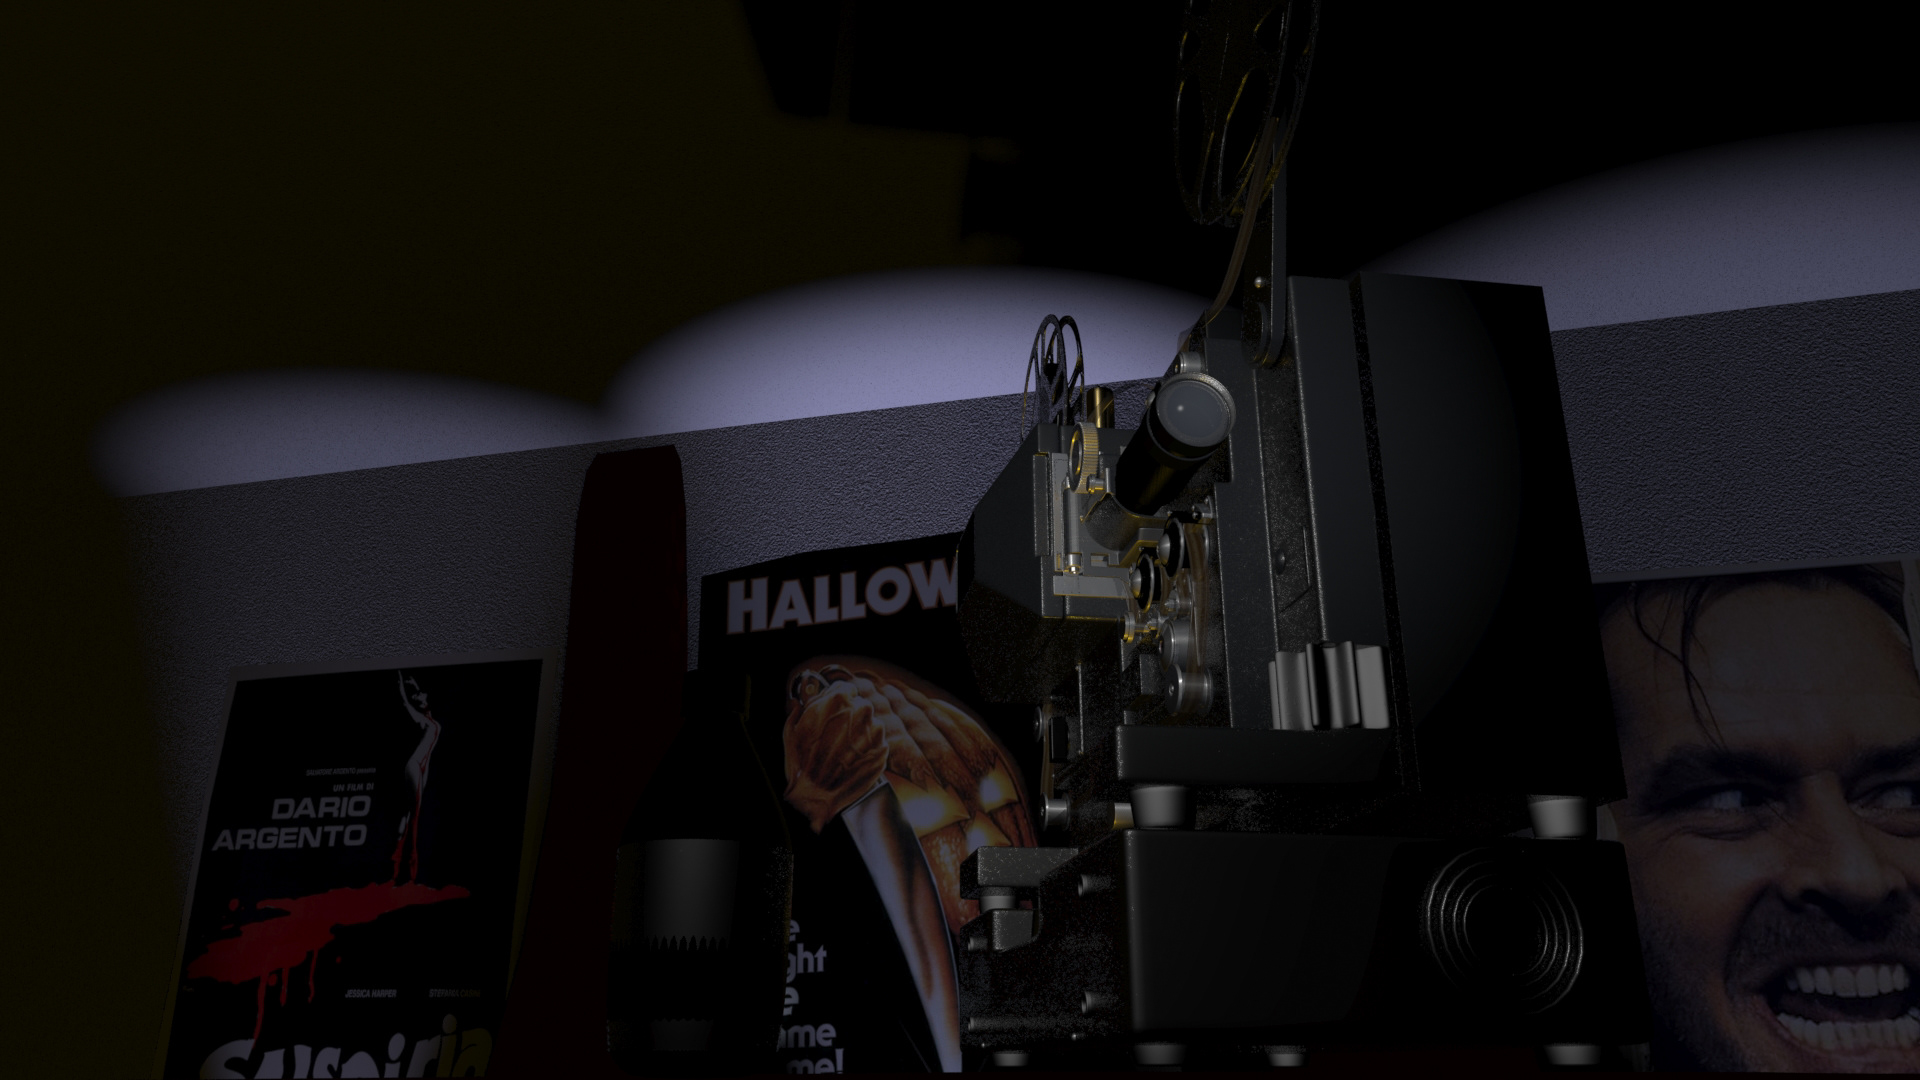
Final Render 001
Digitally Rendered in Autodesk 3Ds Max.
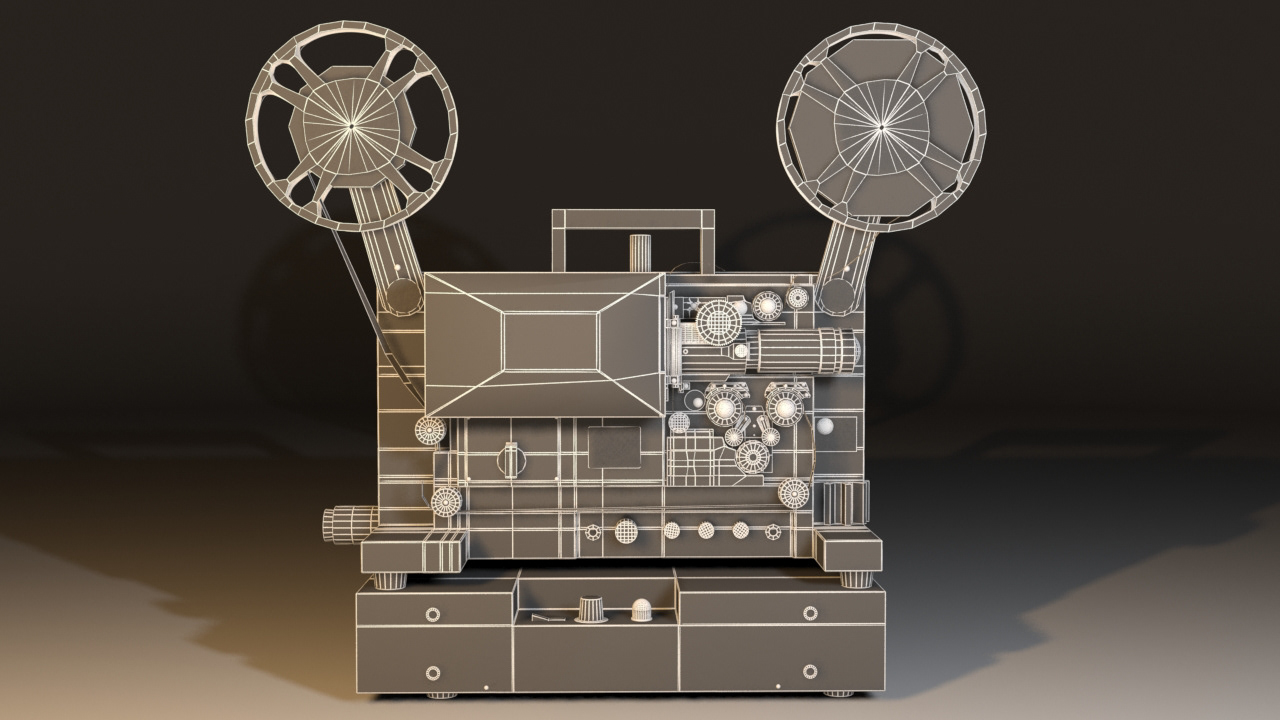
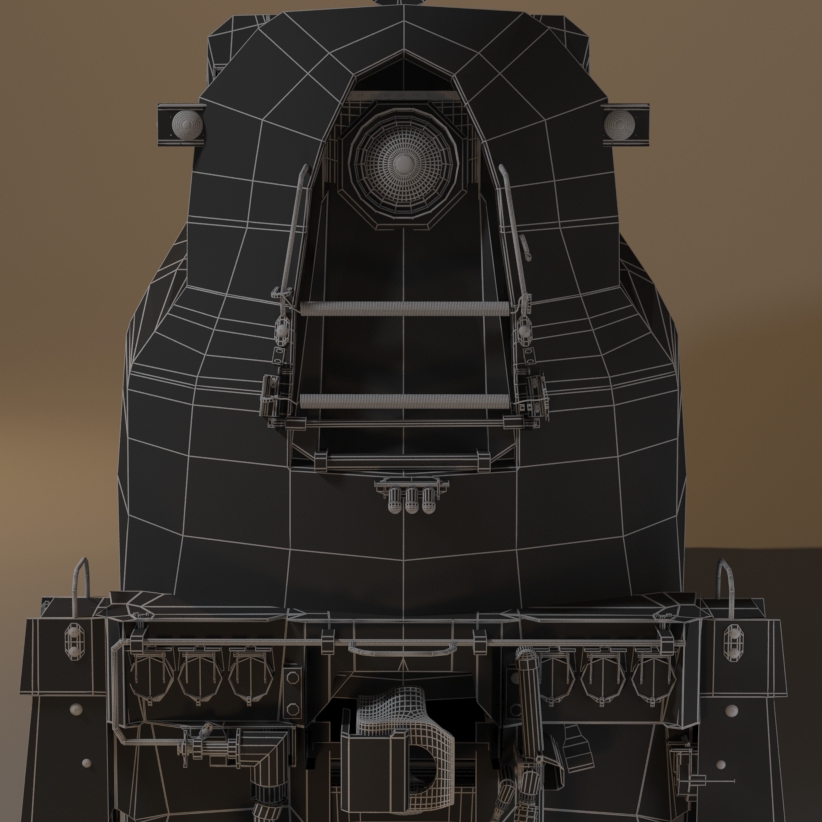
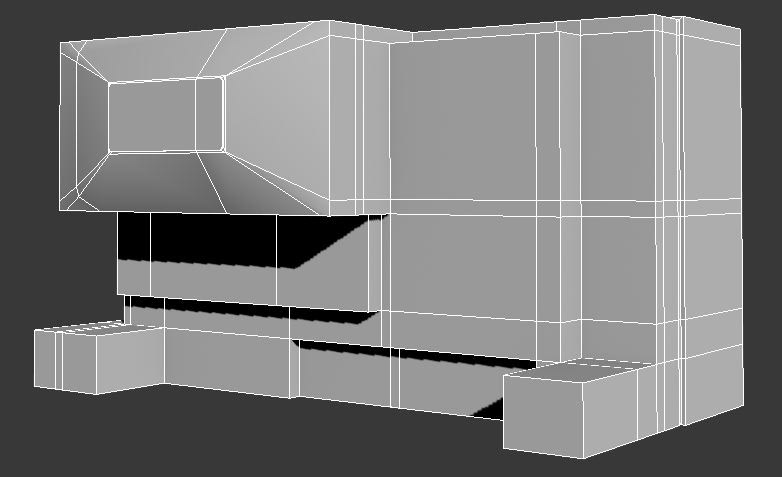
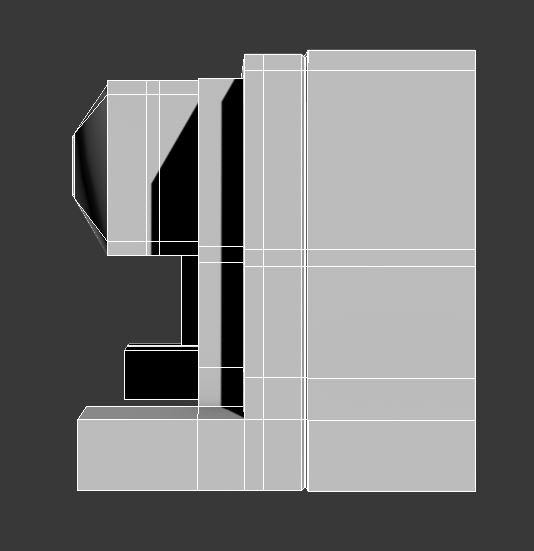
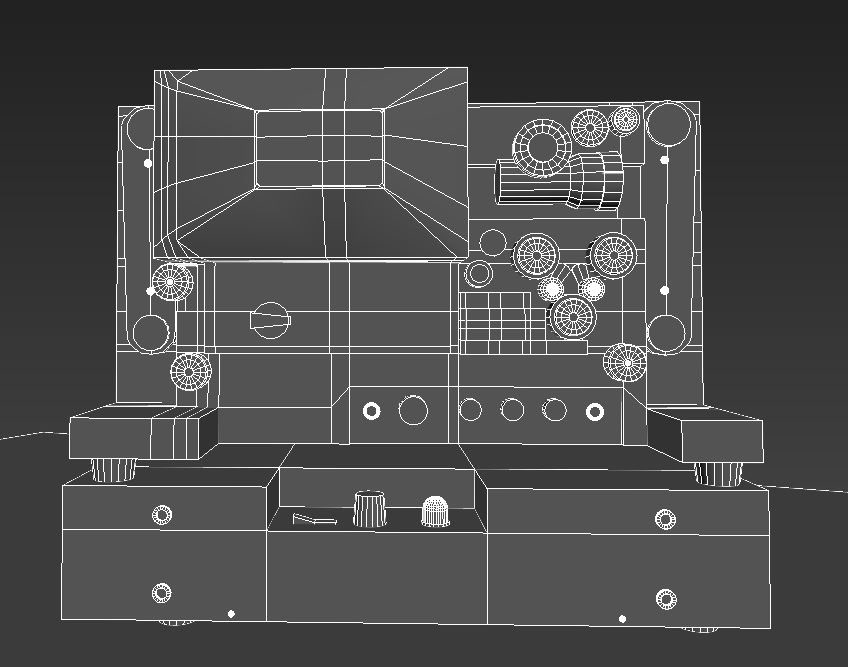
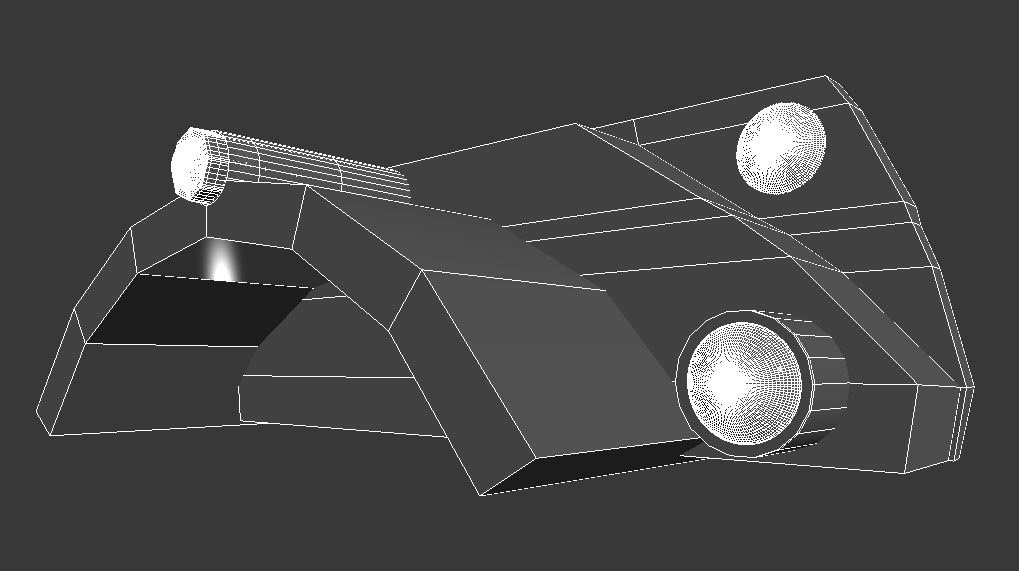
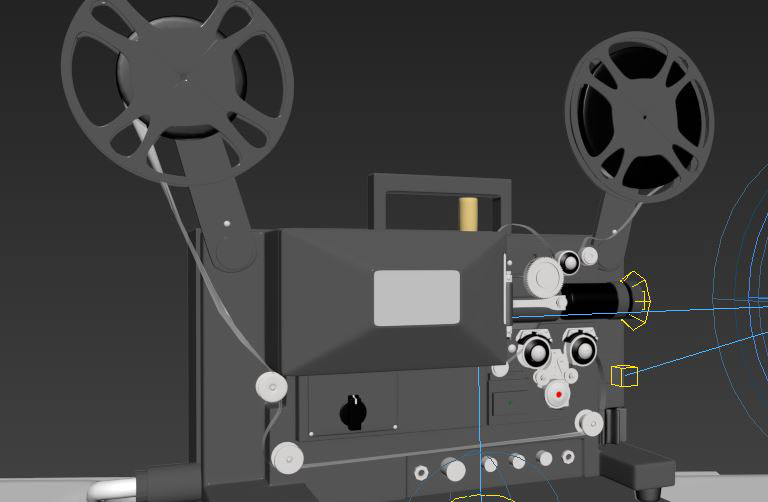
Wireframe.
Digitally Rendered in Autodesk 3Ds Max.
Digitally Rendered in Autodesk 3Ds Max.
Final Render 002
Digitally Rendered in Autodesk 3Ds Max.
Digitally Rendered in Autodesk 3Ds Max.

Final Render 003
Digitally Rendered in Autodesk 3Ds Max.
Digitally Rendered in Autodesk 3Ds Max.

Final Render 004
Digitally Rendered in Autodesk 3Ds Max.
Digitally Rendered in Autodesk 3Ds Max.

Final Render 005
Digitally Rendered in Autodesk 3Ds Max.
Digitally Rendered in Autodesk 3Ds Max.
Final Render 006
Digitally Rendered in Autodesk 3Ds Max.
Digitally Rendered in Autodesk 3Ds Max.
Progression of the Projector Model
Blocking
To start off, it all began with modifying a single box to construct the base shape of my projector in Autodesk 3Ds Max.
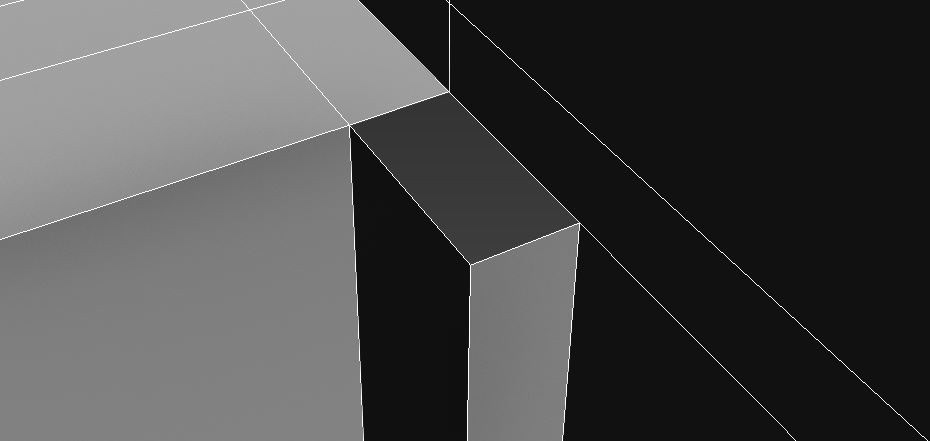
Coming across a few issues here and there with some verts not combining quite right after extrusion.

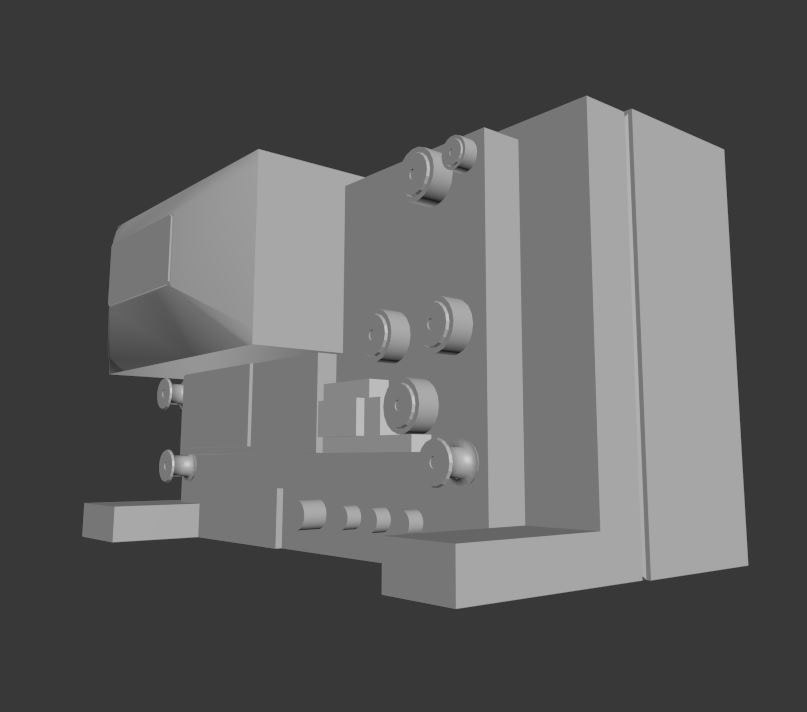
Continuing on with adding more geometry in order to get closer to the shape I am going for.
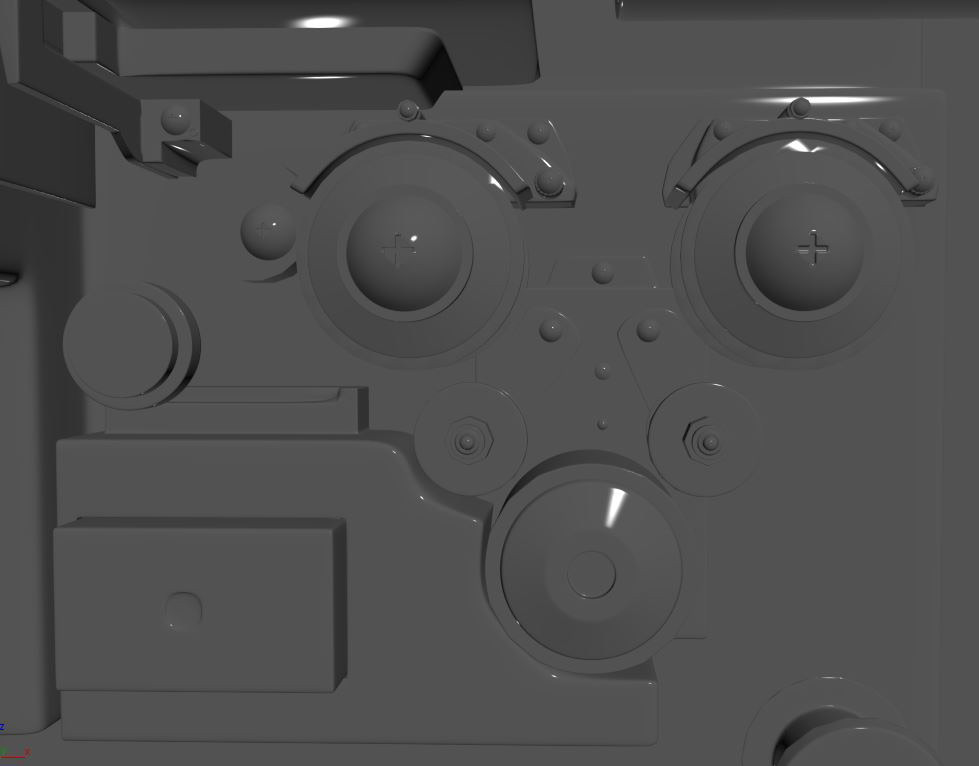
After completeing the basic form of the projector, I moved on to making the assets such as the tiny knobs, bottons, dials, etc. that go onto the model.
Starting off extremely basic and then down the line adding more detail to them whether through additional geometry or textures.
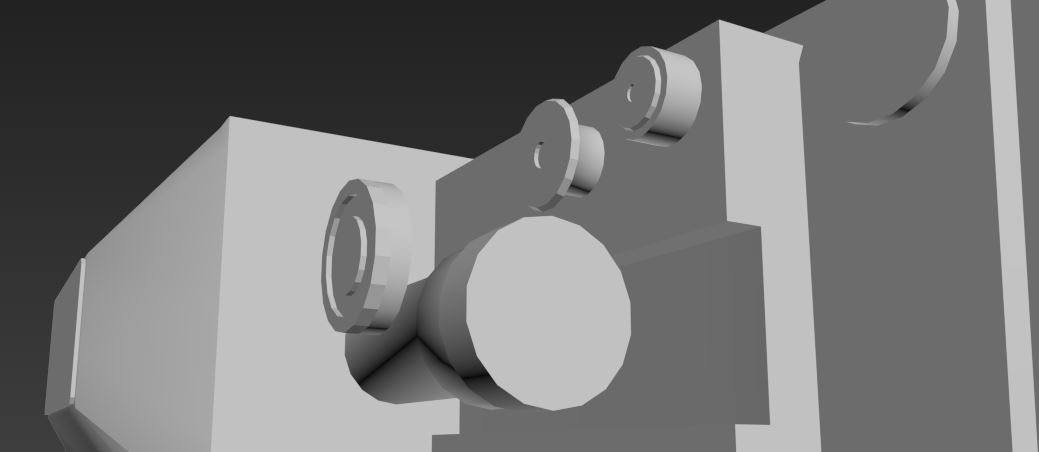
Since the majority of knobs that spin on the model are so similarly shaped it was a breeze to get through this stage because I could use the same model over and over; simply modifying it in its shape or size to better represent the original parts from the source reference.
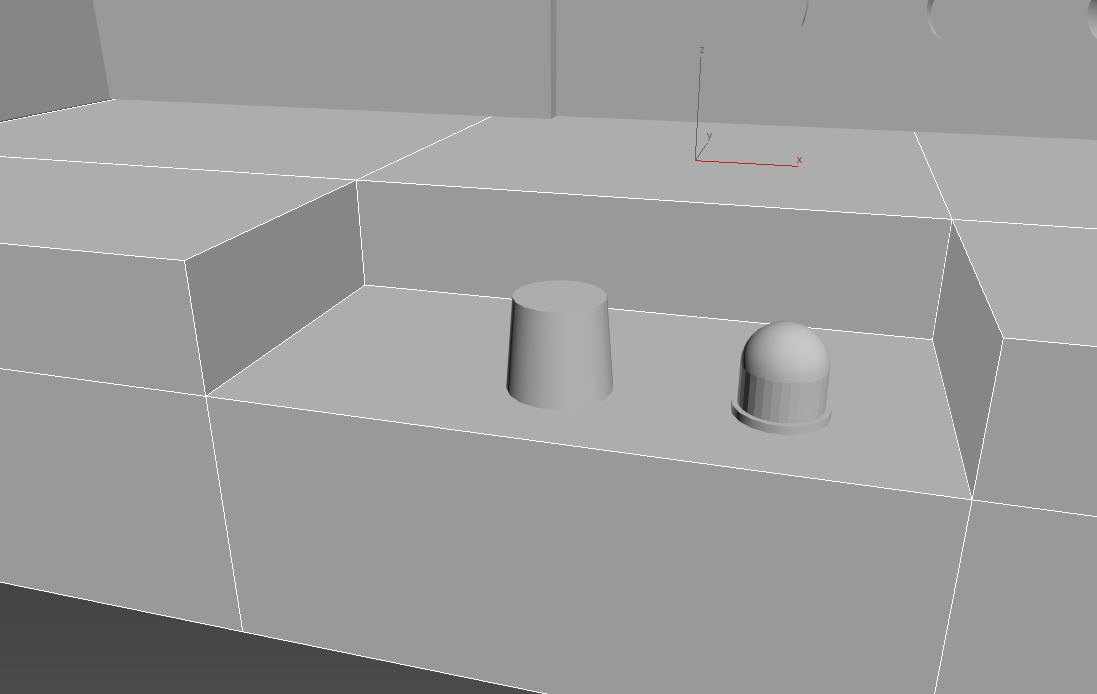
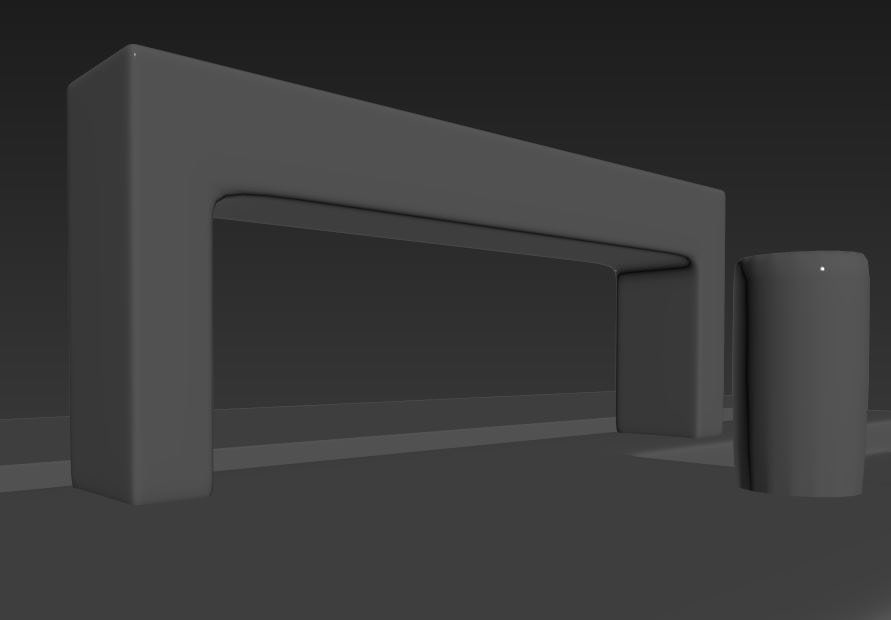
Again modeling out the most basic of shapes in my blocking stage to get a base ready to really sink my teeth into once I am in the later stages.
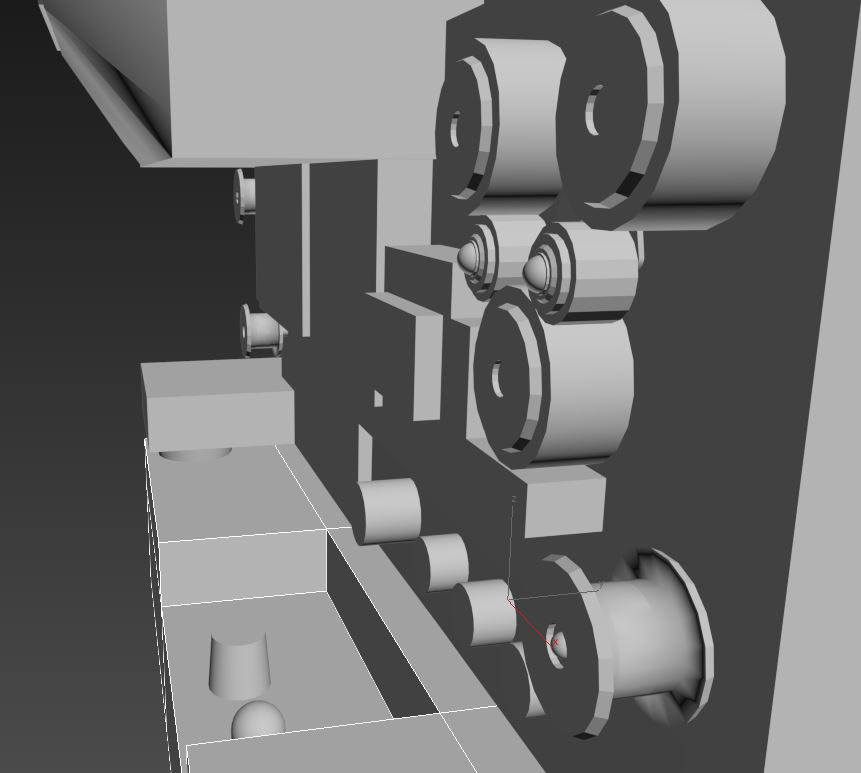
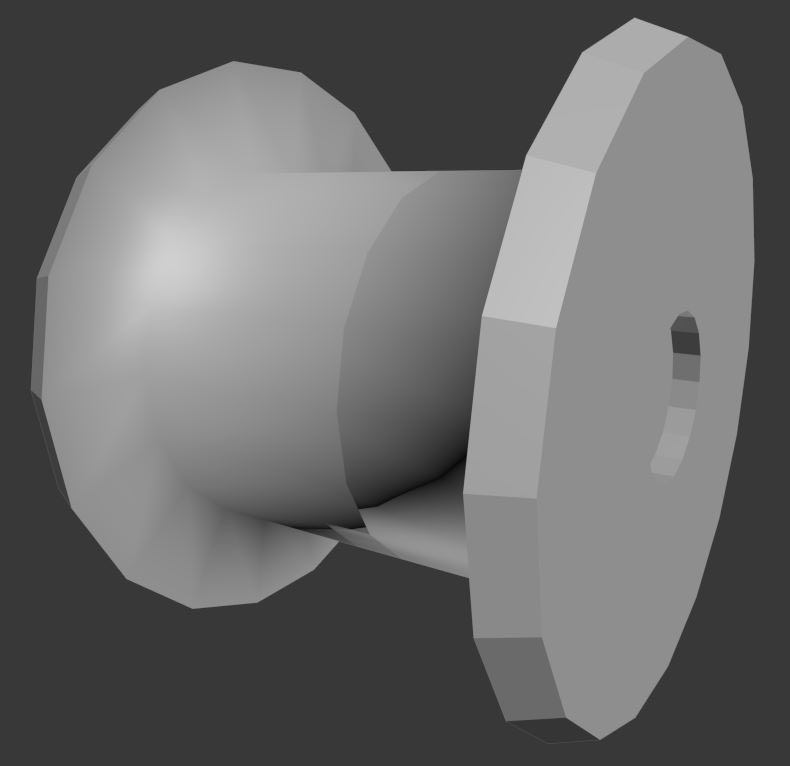
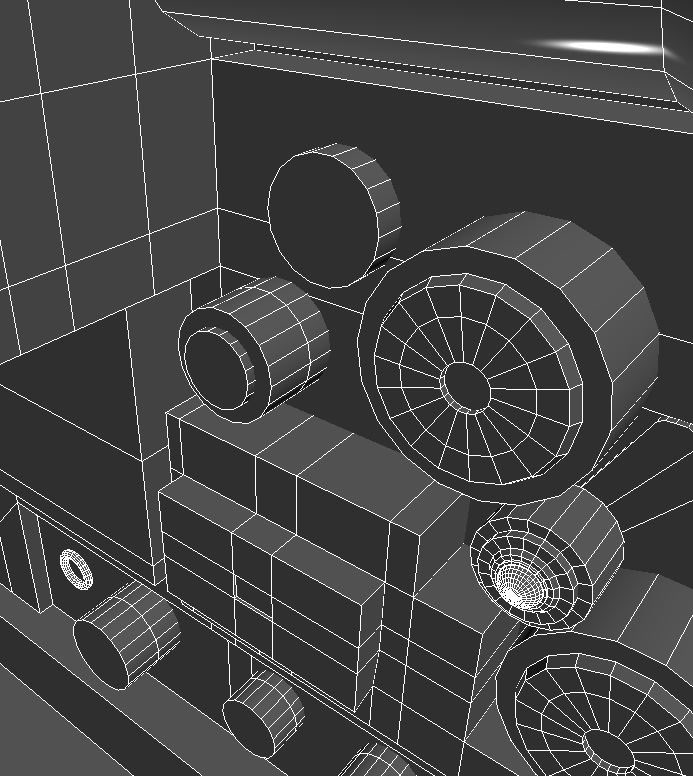
The majority of the assets can be easily broken down in one shape, cylinders. If you take a quick glance I'm sure that you have noticed that the majority of shapes that have gone onto the model or either cylinders or simply modified cylinders.
Modifying even more cylinders to now start shaping the projector's lense.
For the most part it seemed that I was nearing the end of the blocking stage.
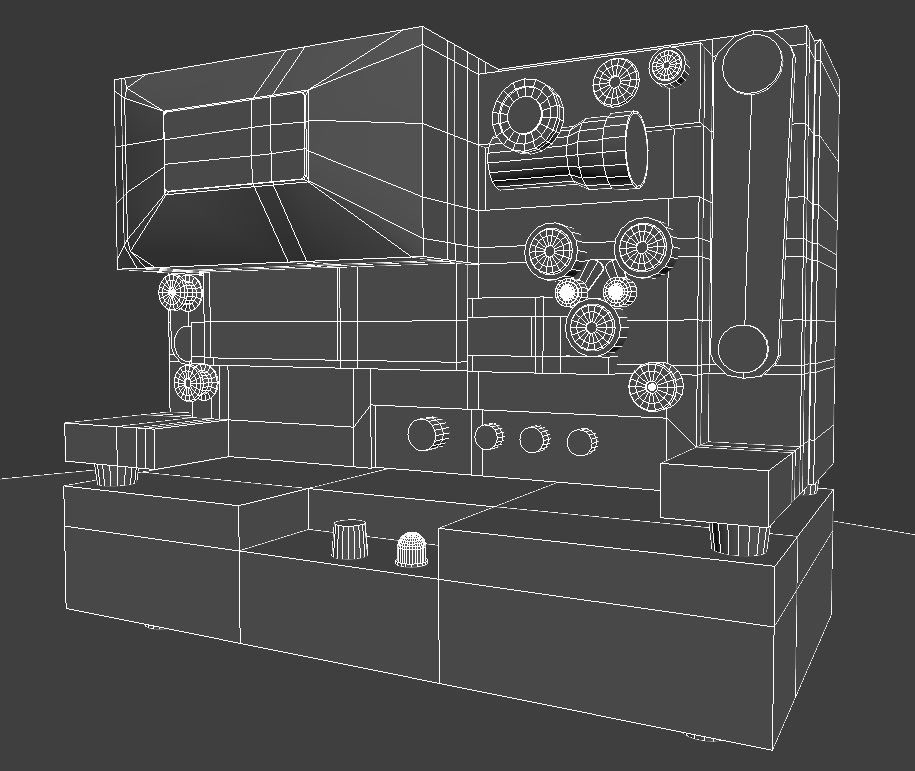
After viewing the wire frame of the model though I did notice some irregularities between my model and the reference image I was basing it off of. Such as the size of the lens as well as some missing parts like the handle and rotors on top, plus some dials and labels that should be placed throughout.
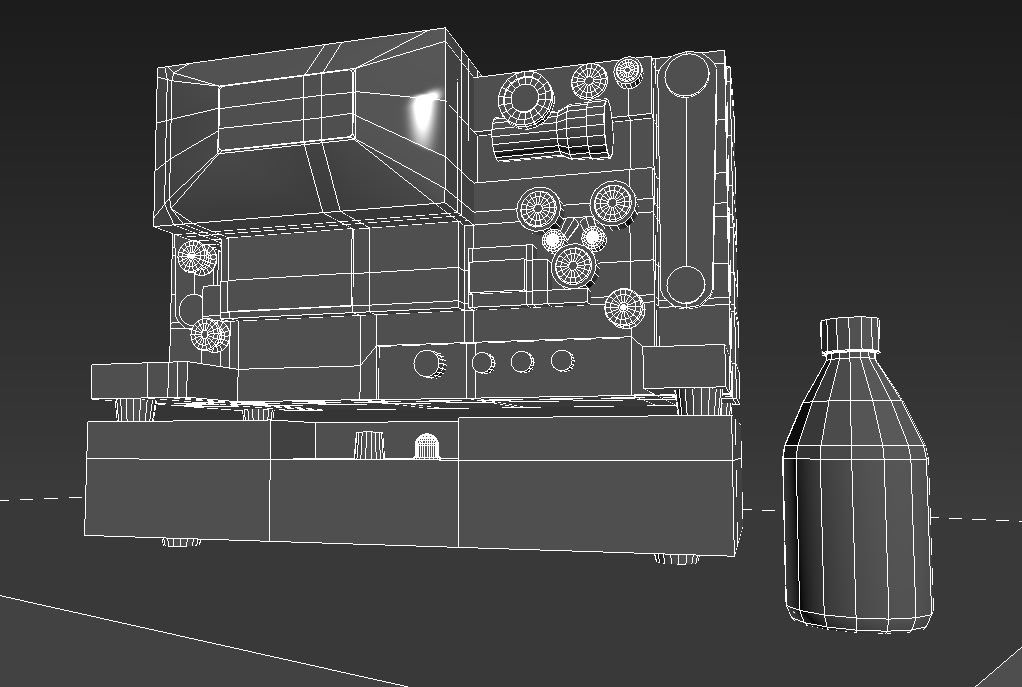
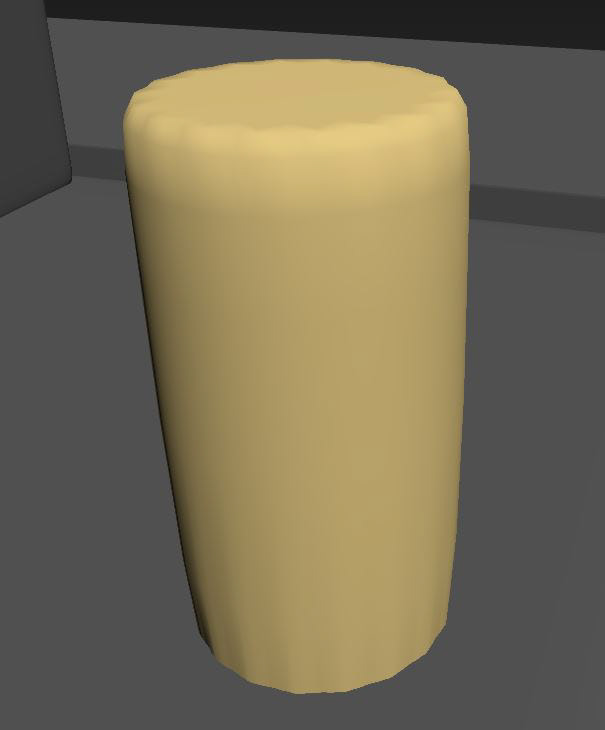
I was also required to add an additional asset to the scene to go along with the projector, which I decided on an empty soda bottle.

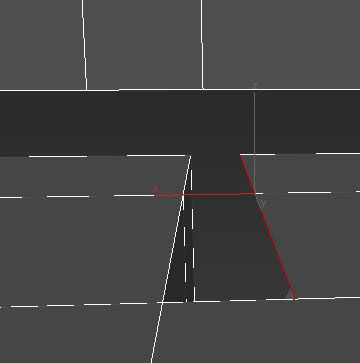
Blocking the dial.
Blocking where the screws will go.

Blocking the switch.
Blocking out more knobs.
Putting in more depth into my blocking.
While the blocking is not quite perfect, I am slowly moving onto officially modeling the piece in order to save up on time to supply the final product to my employer.
Not going too fully detailed, while still trying to maintain my mindset of perfecting as much of the blocking stage as possible. Yet also throwing in the minor touches that will give the model more believability in the end.

Working on some of my blocked elements to appear a little more realistic, slowly but surely.
I also ended up re-blocking some of my objects to better represent the official image after noticing major differences between the two.
Still remaining in the blocking stage, but adding the little touches to make the model pop hopefully.
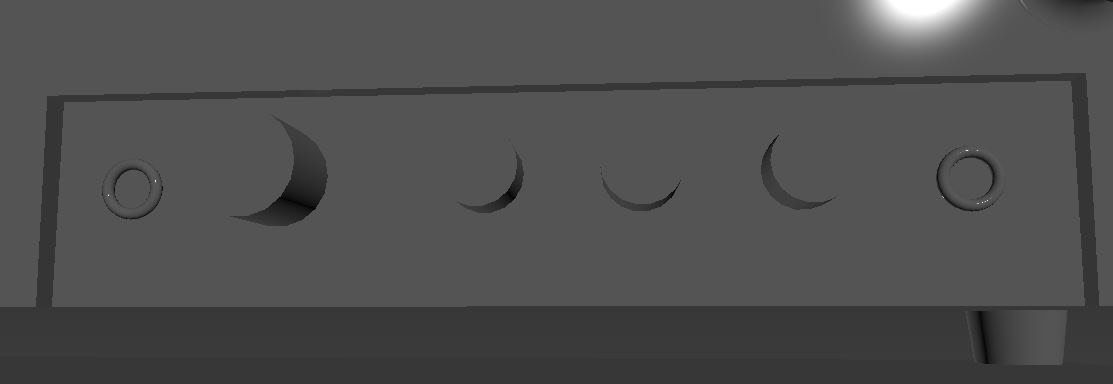
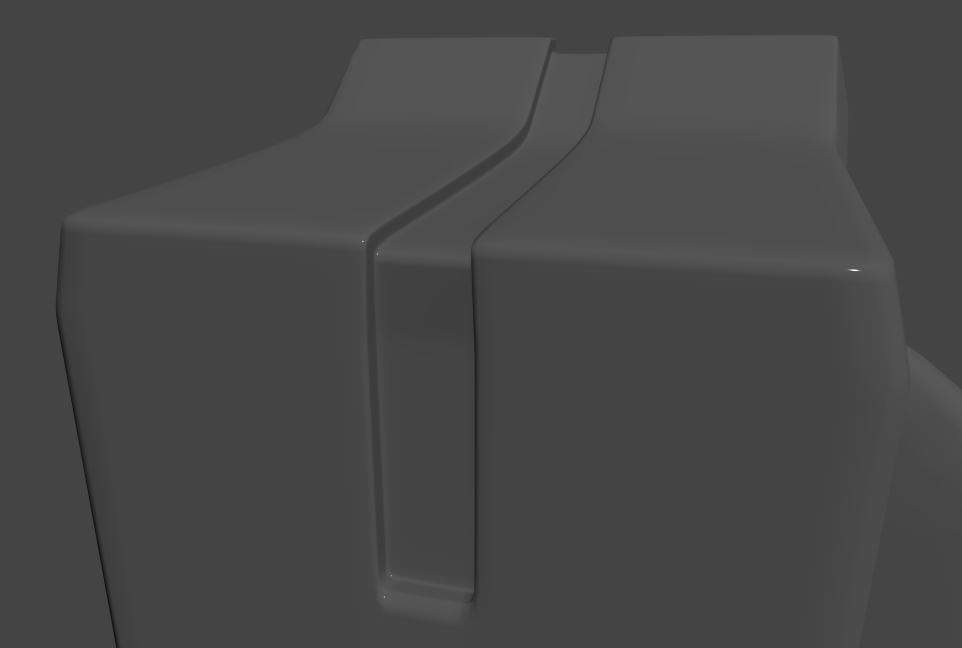
Constantly working on this box shaped button to look as close to the actual reference as possible, but always coming up seemingly short early on in the blocking stages.
Aslo blocking out pieces that may or may not be scene in the final images and videos, just in case there was a different angle that were to be use. Although highly unlikely since the hero shots of the projector mainly reside on the other side of the model.
Third itteration of the blocking for the rotors that spin above the projector feeding the film.
Extremely basic blocking for the metal apparatus that hangs on the right side of the projector.
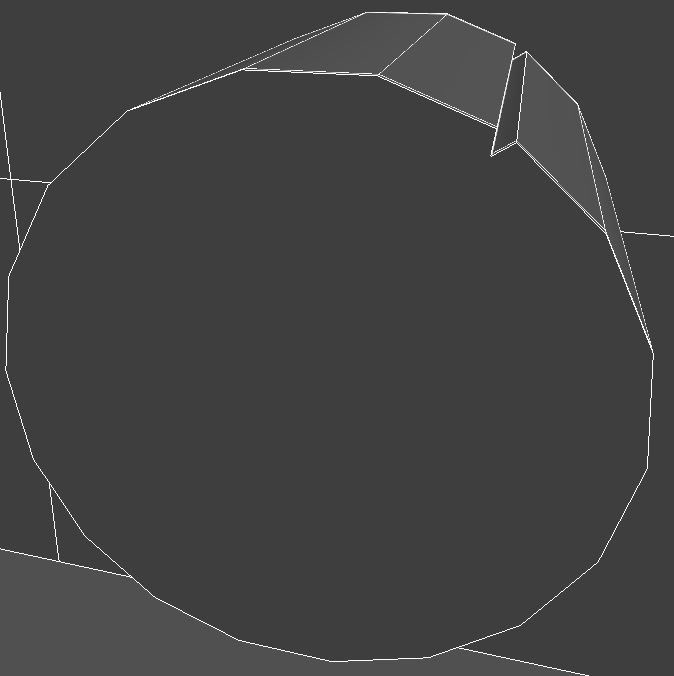
Repairing some issues that were not noticed earlier in my process before moving into the official modeling. Some extra, unnecessary vertecies and geometry that complicated the model too drastically; so I ended up deleting a lot of geometry in order to go back in again to bridge all the gaps.
Modeling
Now finally starting with the first part of the modeling. Getting all the shapes to represent their counterparts exactly as shown in my reference image.
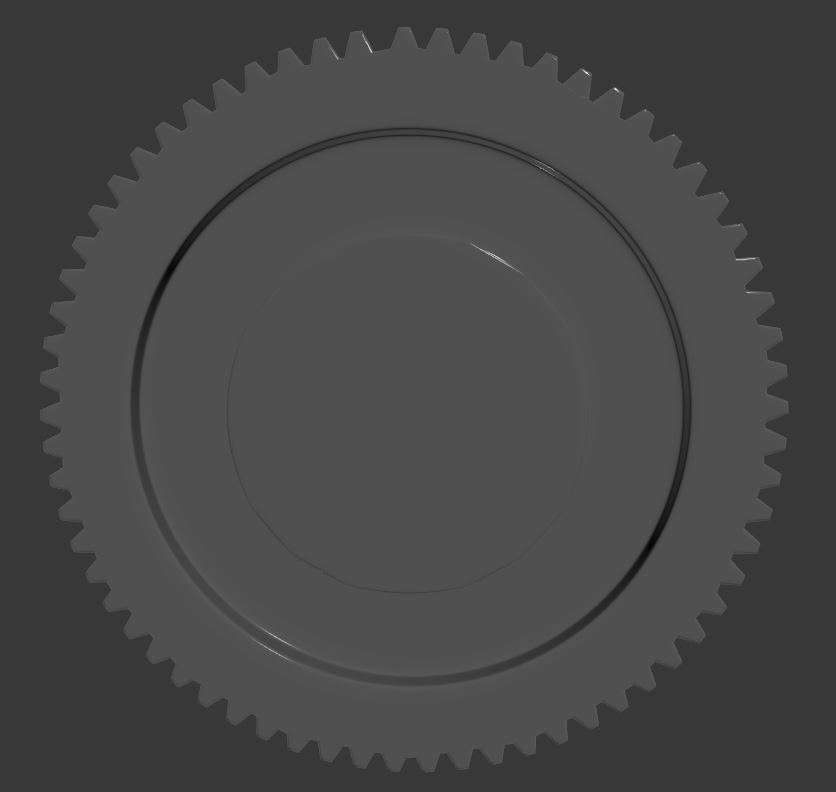
Dial modeled, untextured.
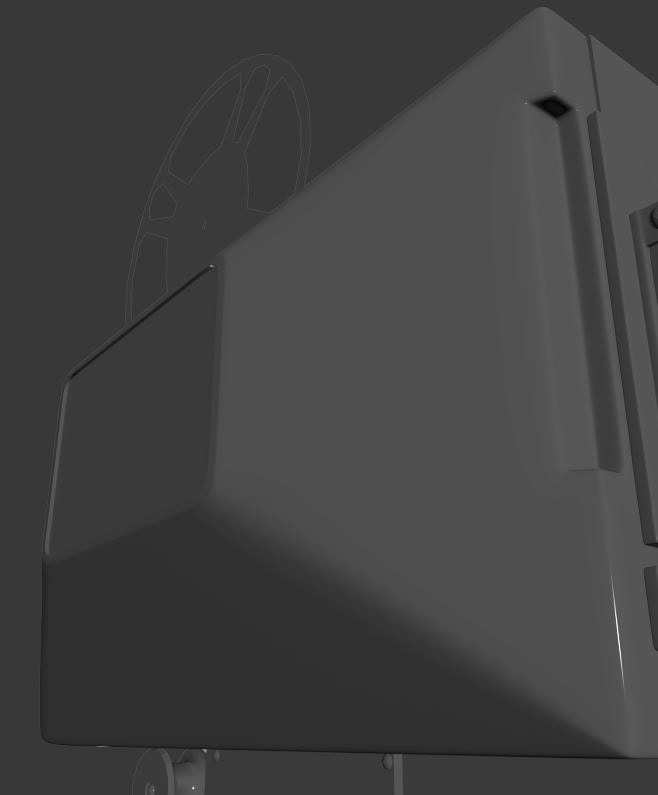
Defining the front of the projector.
Power cord still in blocking.
Found yet another issue, so I deleted more geometry and brigdged the missing pieces.
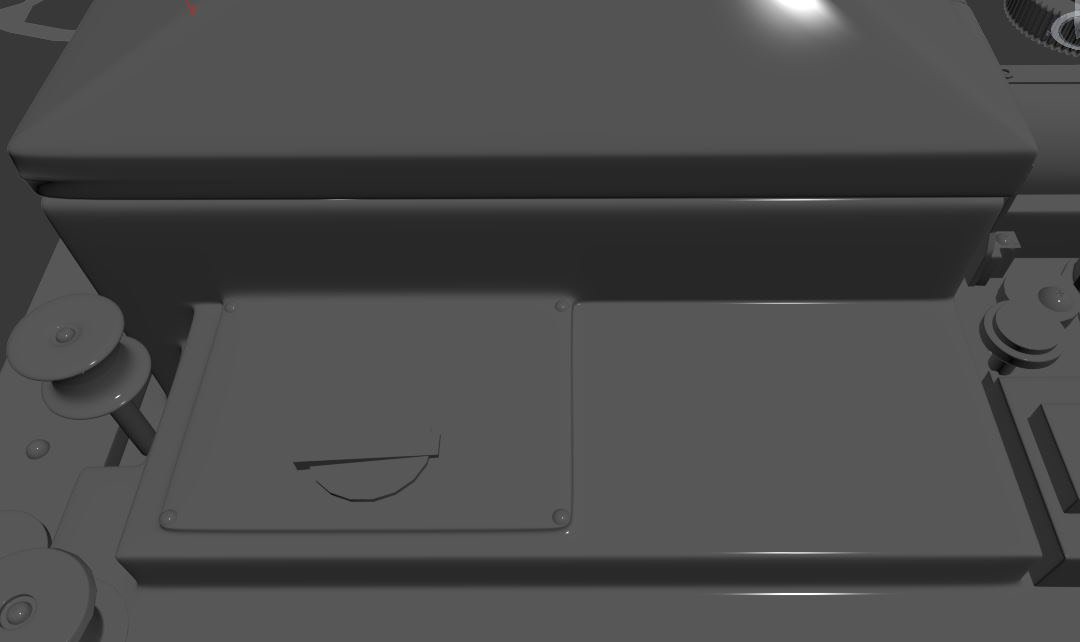
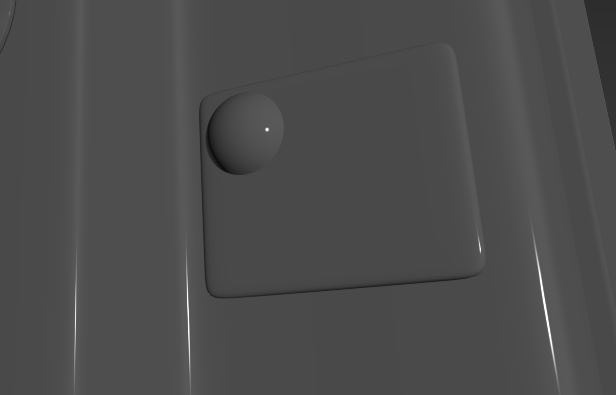
Small cover with screws I had forgot to add to the model, still in its blocking stage here.
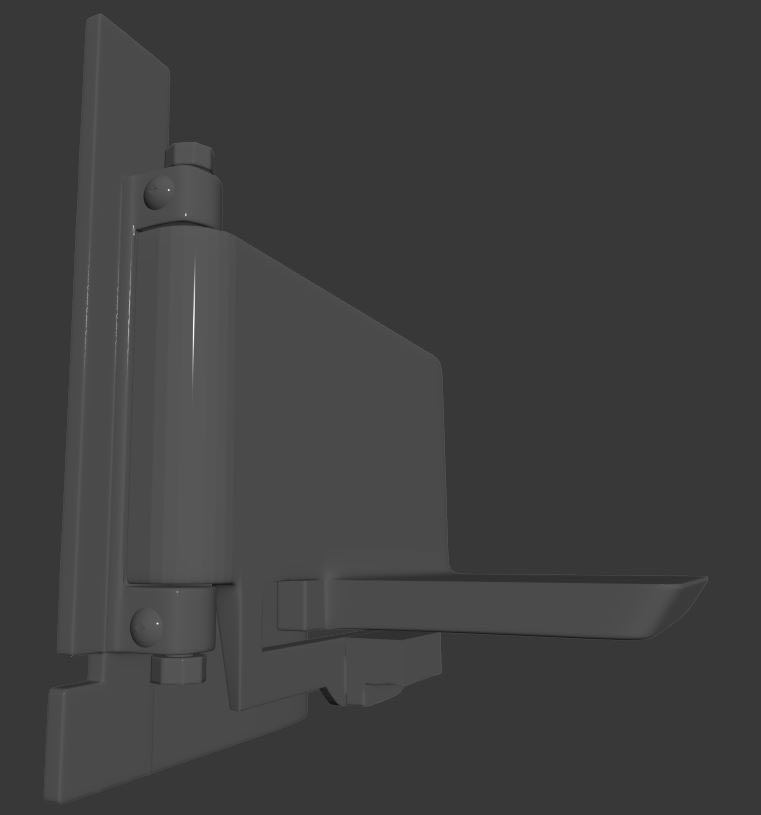
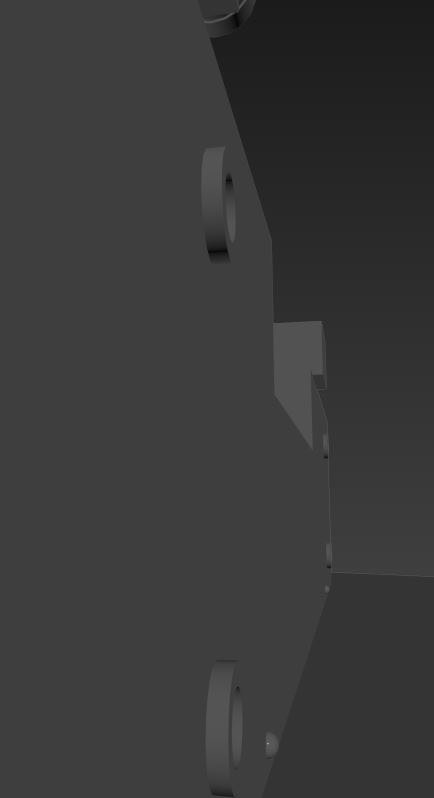
A latch I unfortunately didn't notice earlier, so I quickly blocked and began modeling out.
This is where the latch is supposed to be located on the model.
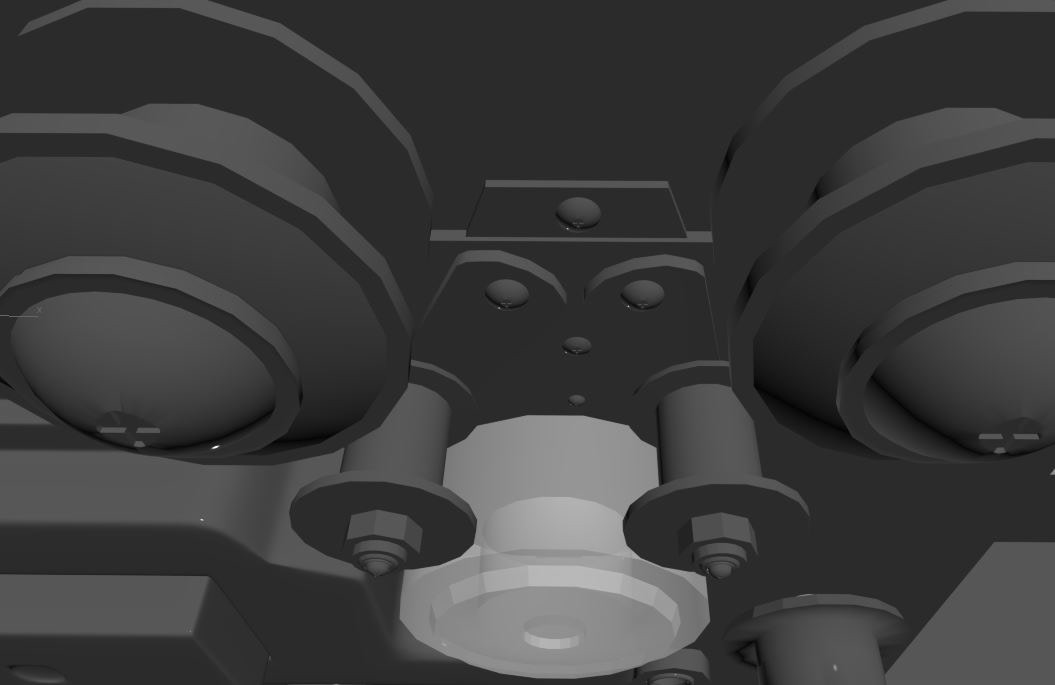
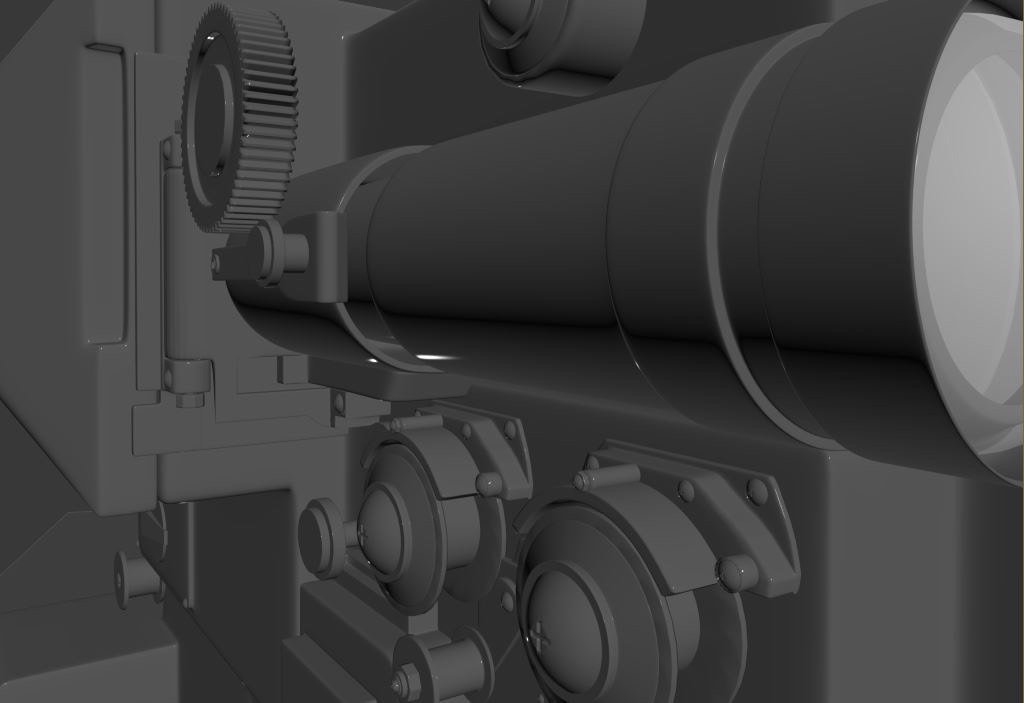
Just now starting to get more of that finer detail into the model with the tiny screws, latches, covers, etc.
Still having a lot more detail to go before ever coming close to being finished.
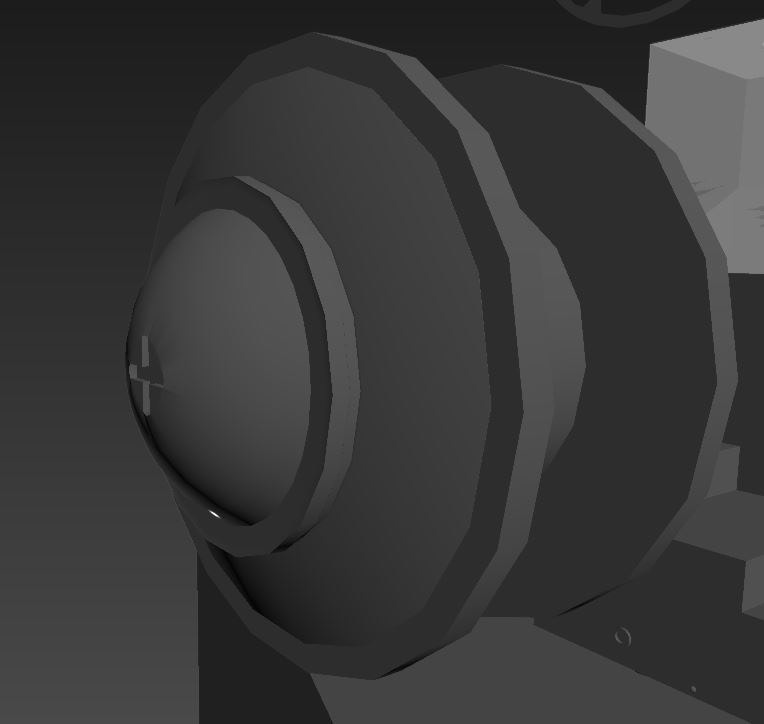
Adding in more geometry in order to smooth out all that blocking "look" some of the knobs and dials had prior.
Adding in more finer detail; the screws are the easiest to add into the scene because once I modeled out one, I'm then able to reuse that same model many times over.
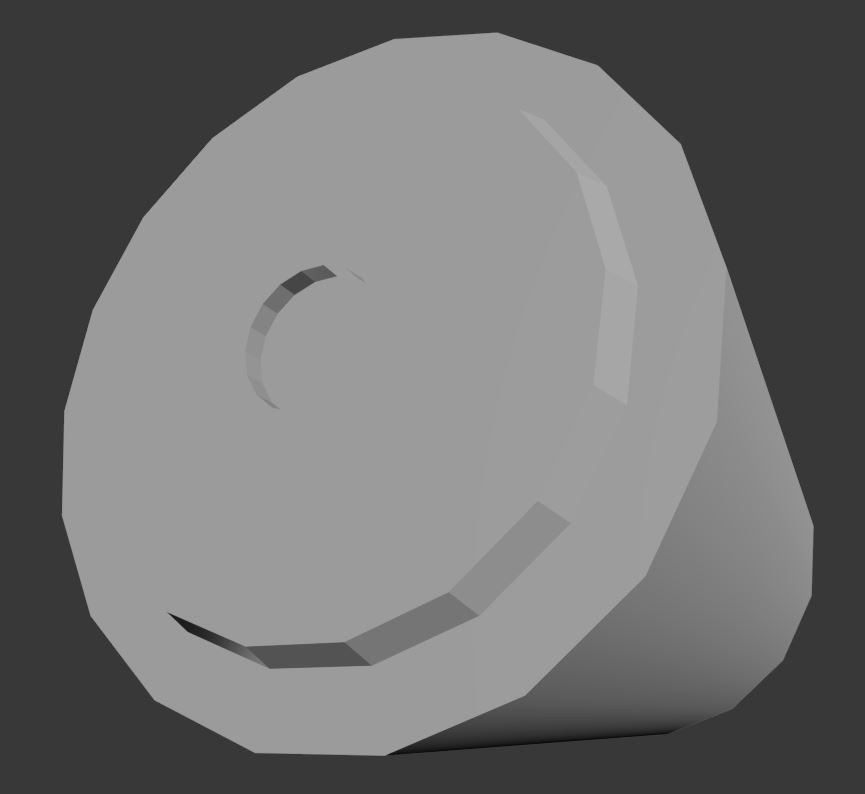
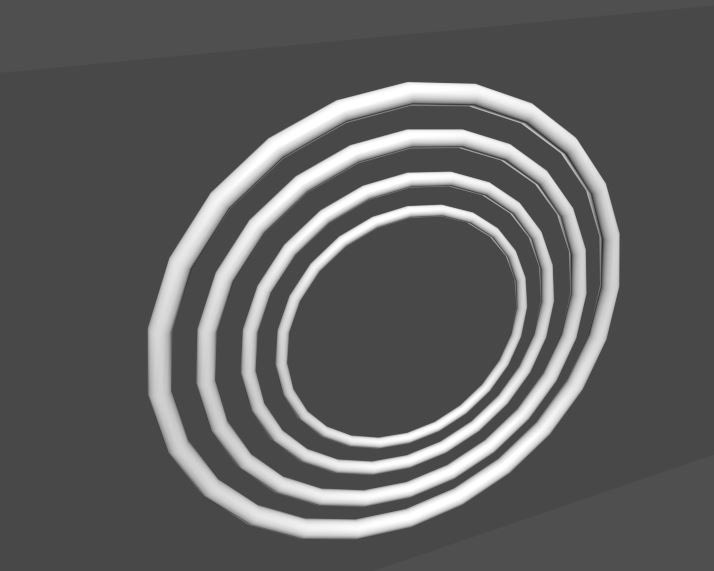
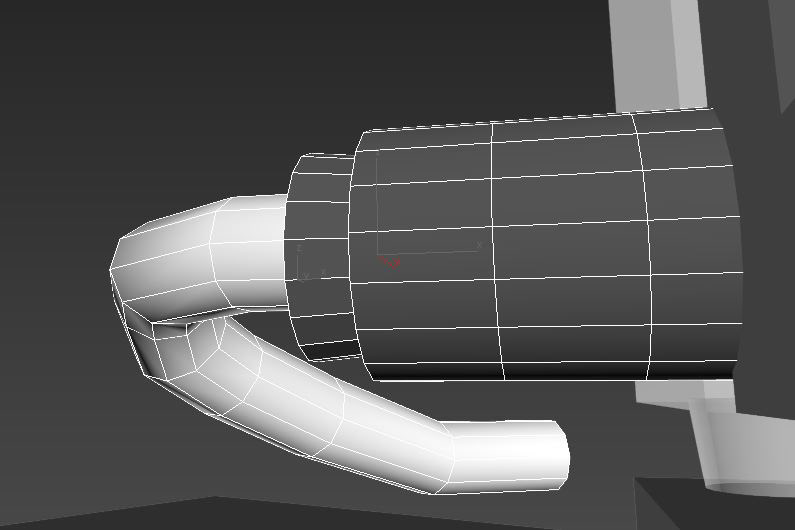
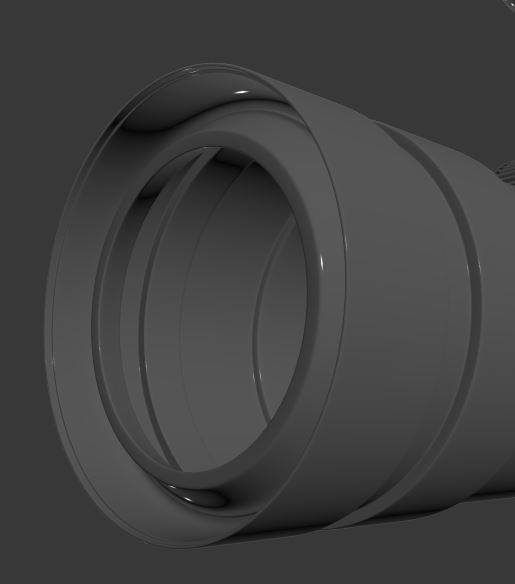
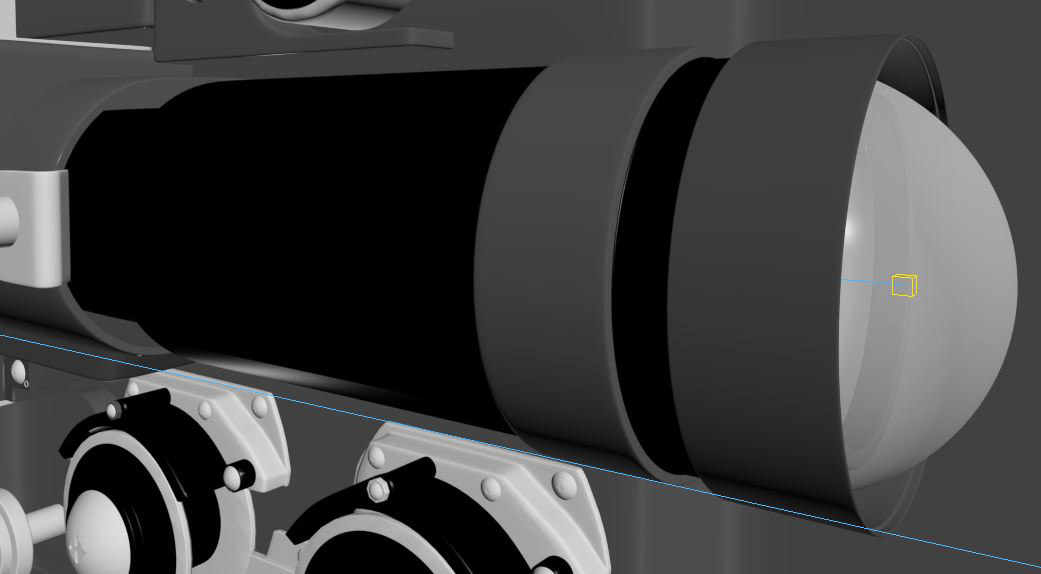
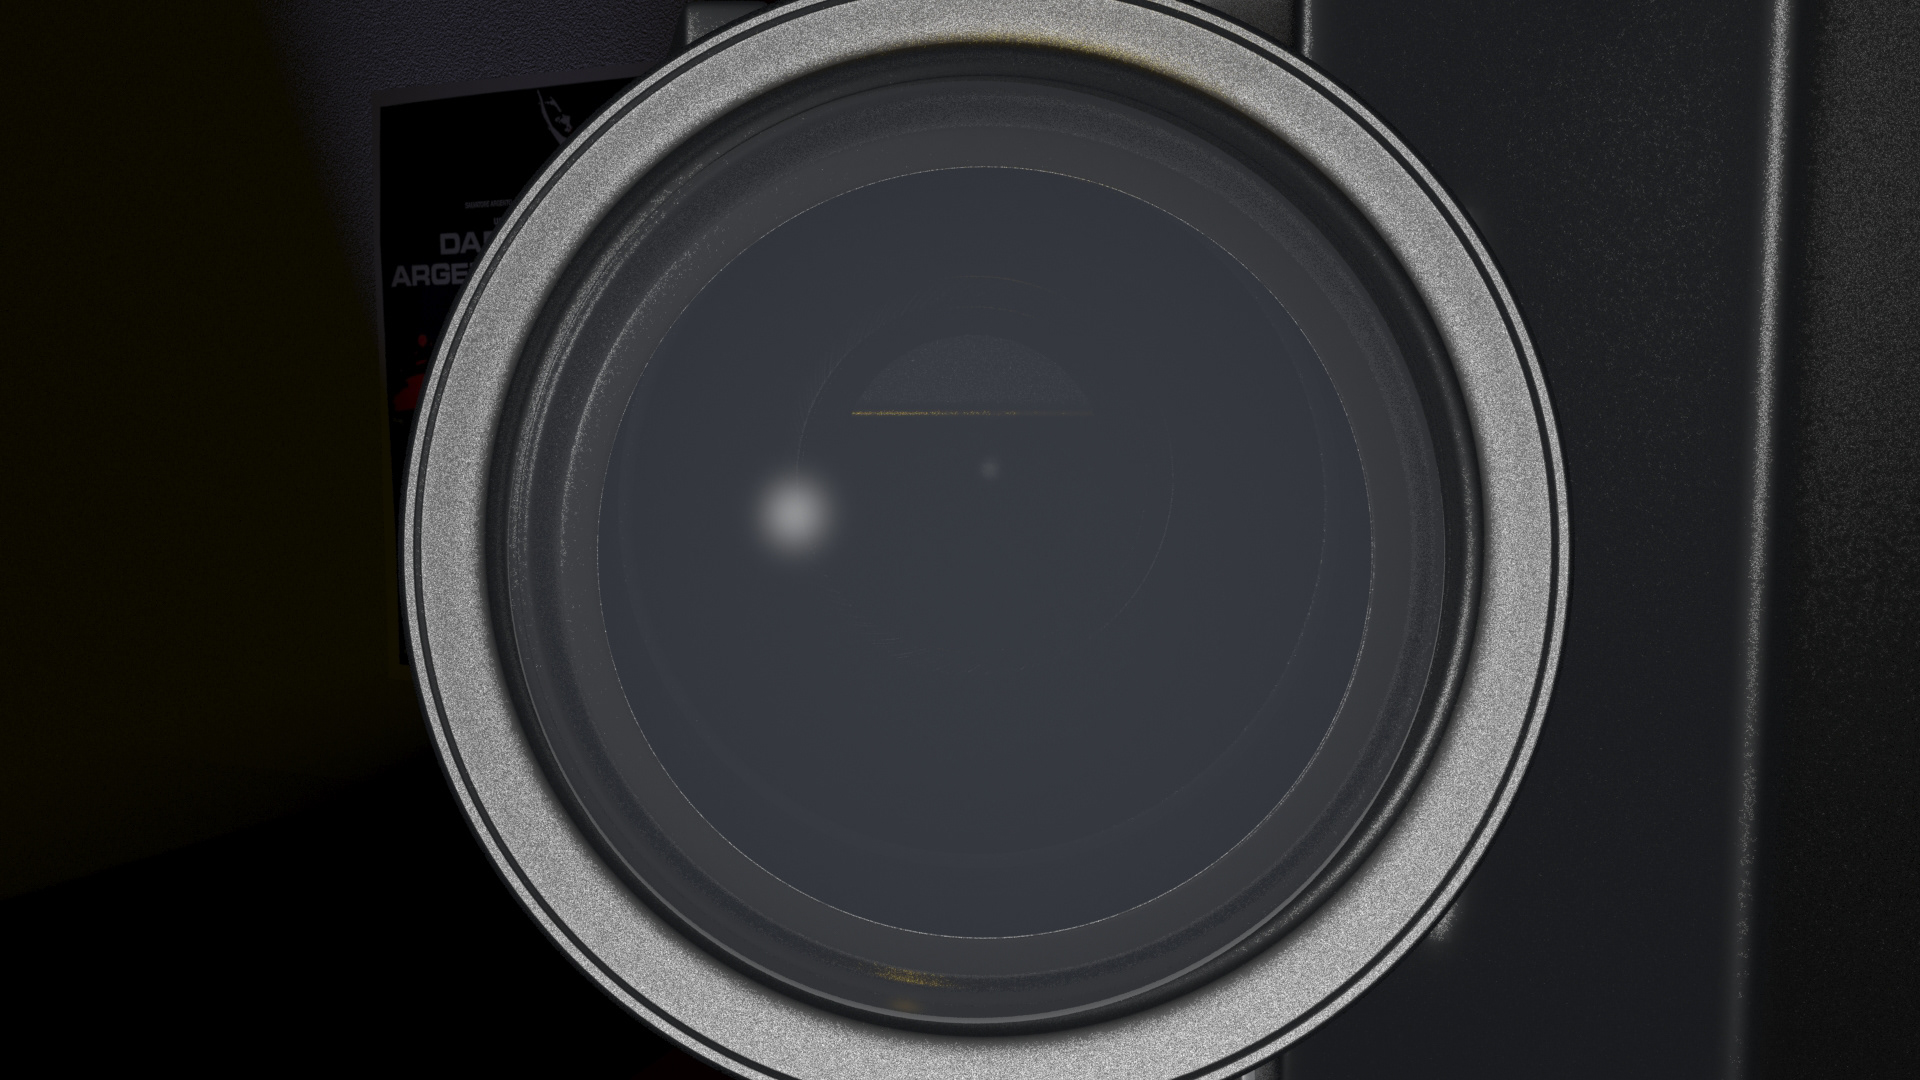
Finally getting around to fixing my lens's shape and size for the final model.
I am even attempting to add in some detail that may not be seen in the final images or videos, but I want to be sure that the model is sufficient enough for my employer to use however they please without too many restrictions. While also keeping in mind not to put in too much time to the pieces that aren't guarenteed to be used in order to complete what is needed before the deadline.
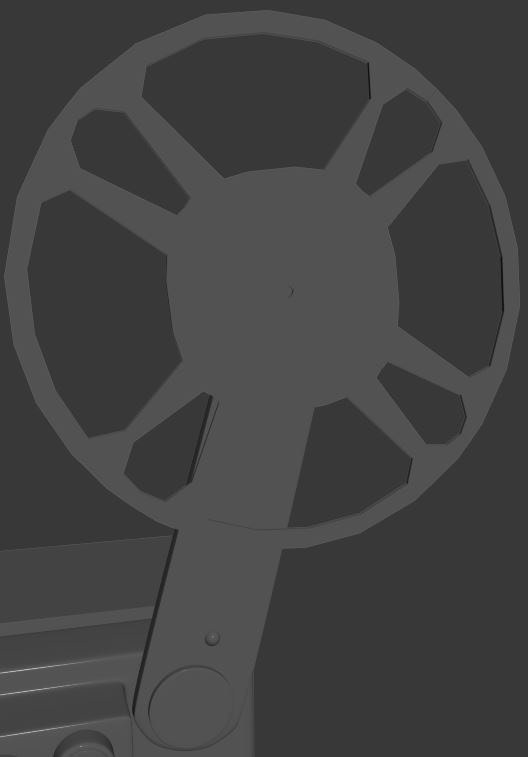
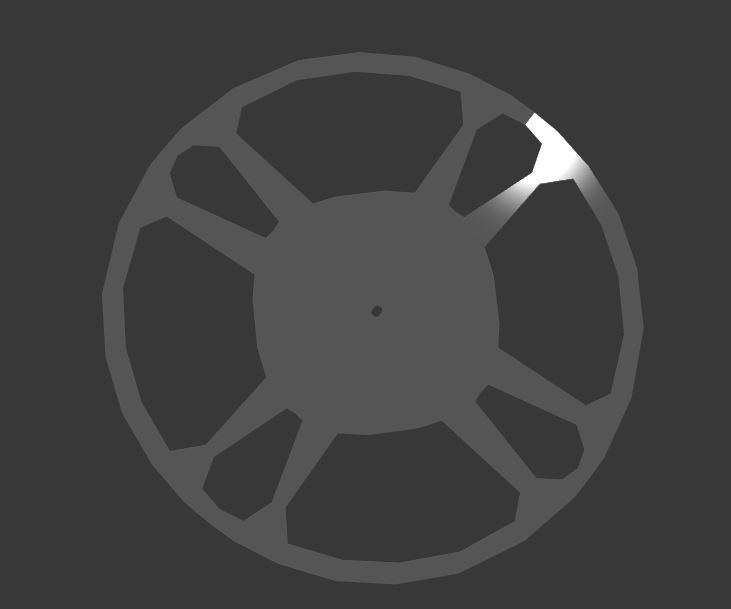
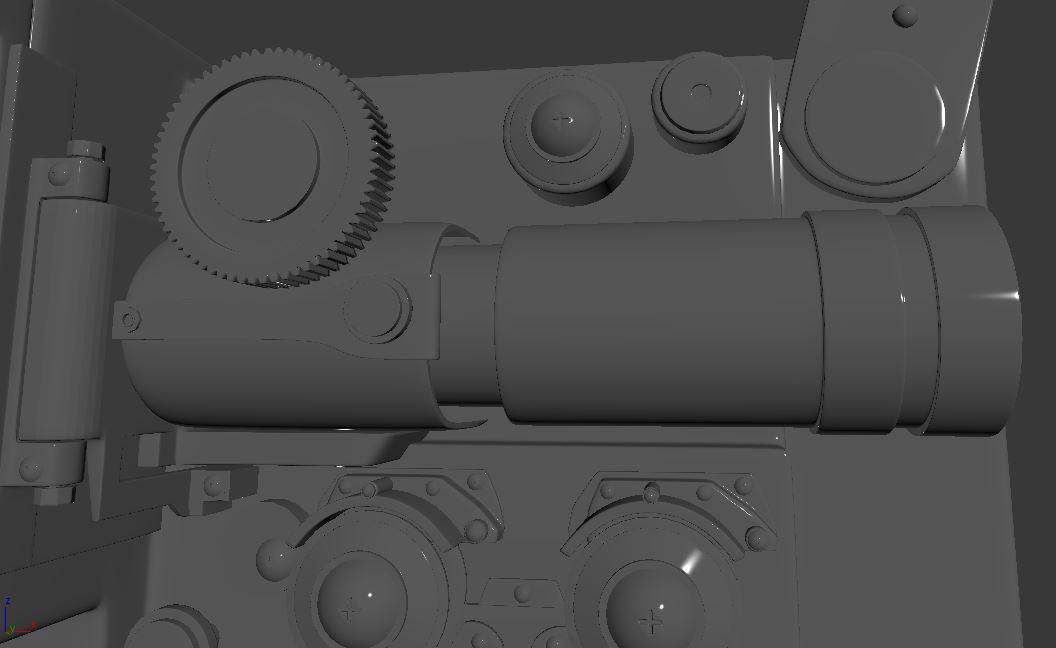
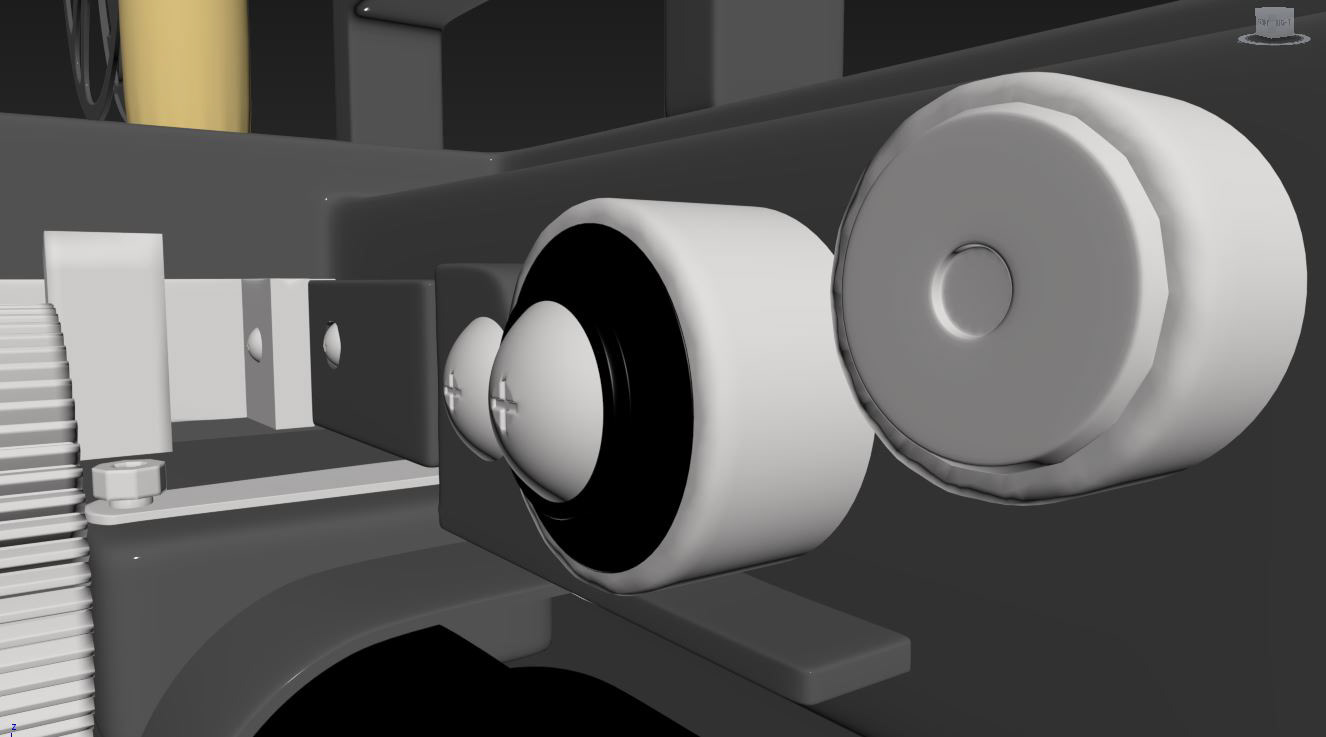
Modifying the film rotors slightly to give a more appealing shape than what was supplied in the blocking stages.
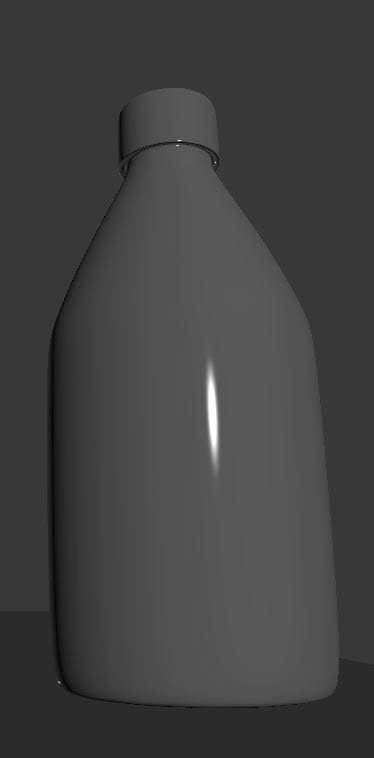
Also getting around to adding in more geometry to the soda bottle model, but not putting in so much time that I forget about the main piece of the scene (the projector).The shape isn't quite right here, so I made a note to fix that somewhere down the line.
Getting closer to that fine detail that I wish to achieve in this piece. At this point though I am still only a fraction of the way to completion.
Had to modify a lot of these parts above including the lens and rotors before finally feeling comfortable with their final shapes.
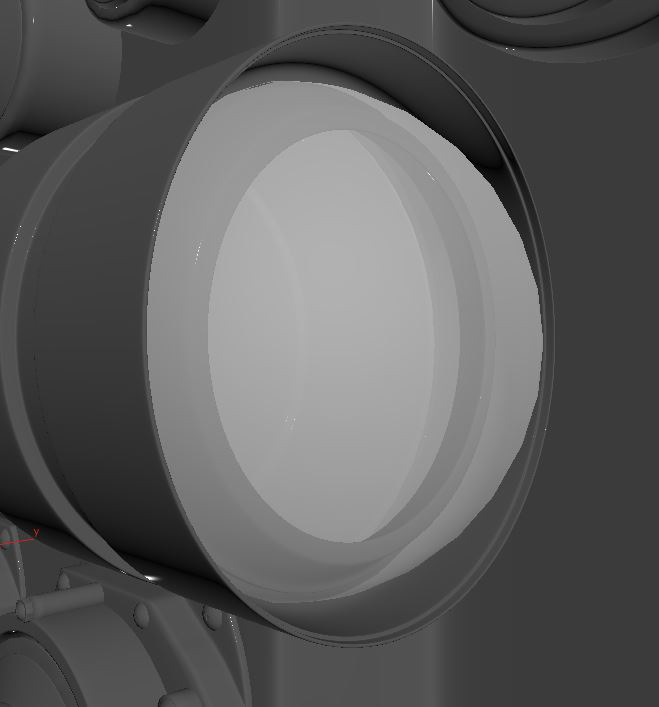
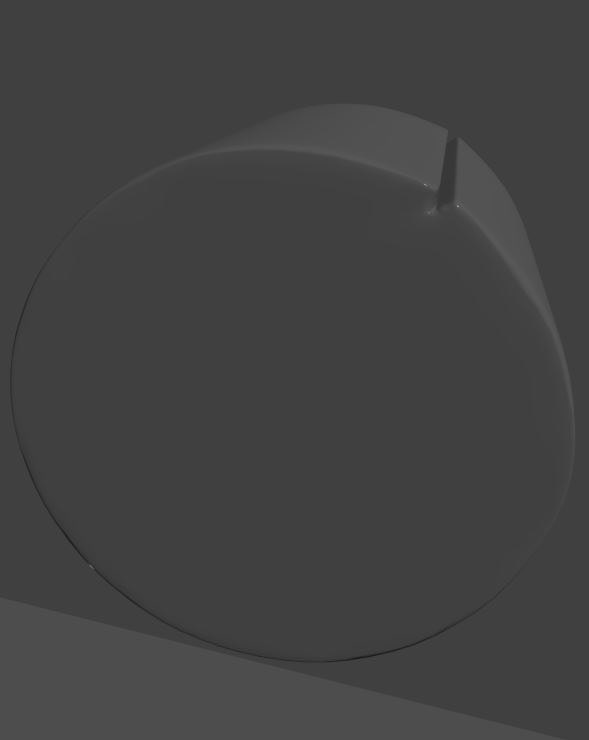
For a while I put in a simple placeholder for the glass lens in order to remind myself about putting in something of a higher qulity later.
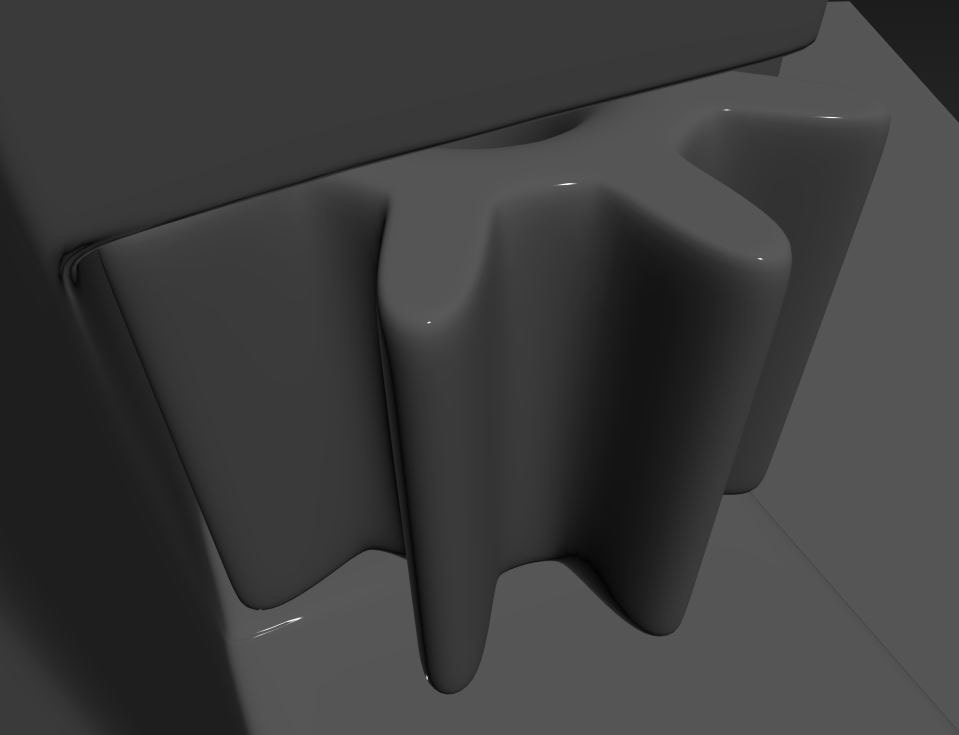
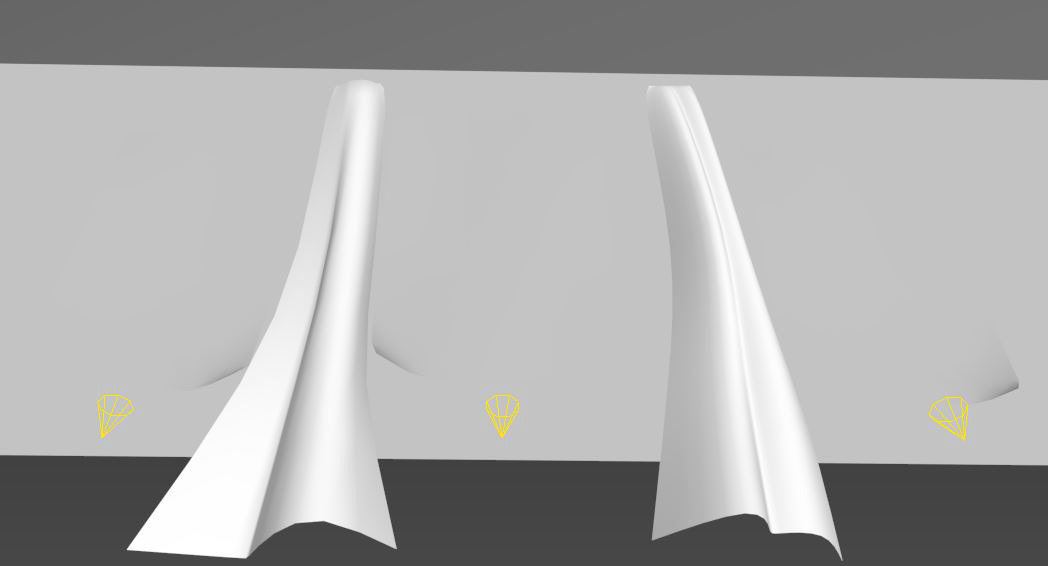
This piece took a lot of figuring out. More than you would orginally think, but in my main reference image it doesn't give a proper silhouette of this piece so it was majoryly left to myself to put something together that looked relatively close to what the actual object appears as.

I tested it out with different shapes and sizes in order to represent it as faithfully as possible.
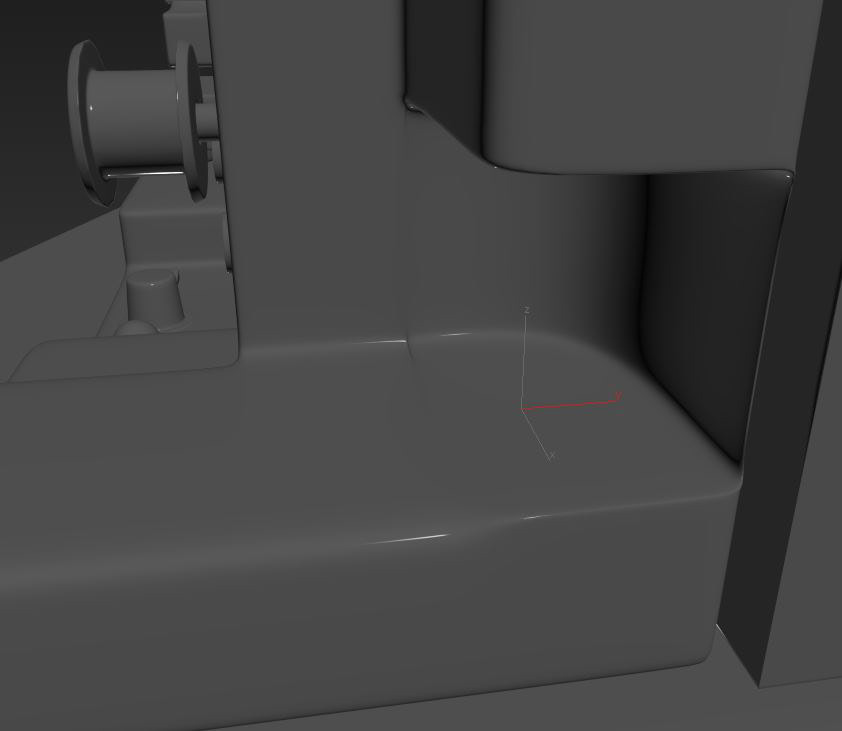
Originally I had forgotten to take out a space for the item in the base model of the projector so I had to delete some geometry and reshape the model in order to incorporate the new part.
The model is getting closer to coming altogether now.
The dial was definitely one of the easiest things to model. A simple box extruded here and there with a slight indent at the top.
Although the indent did give me some grief when it came to defining some of its edges and it kept refusing.
Pretty basic blocks of the items at the top of the projector.

The film rotors are now complete.

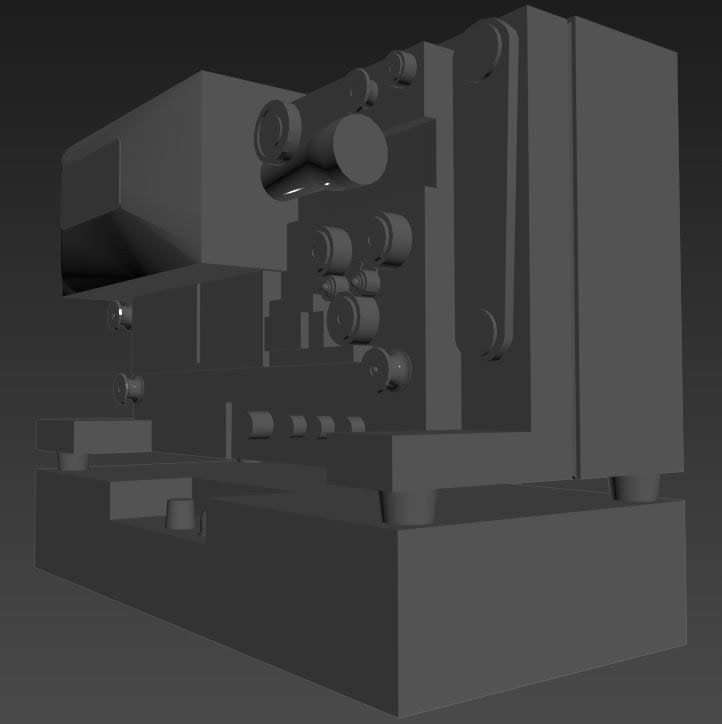
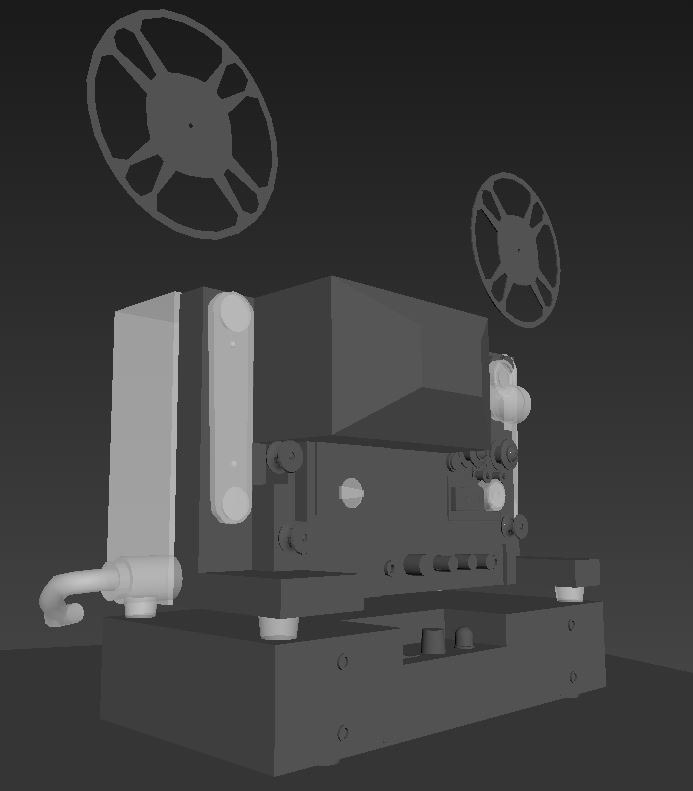
A simple test render to get an idea of how the model is looking and what type of lighting I would like to have in the final scene.
Placing in where the labels will be going.
Some missing detail towards the top of the model now being placed into the scene.
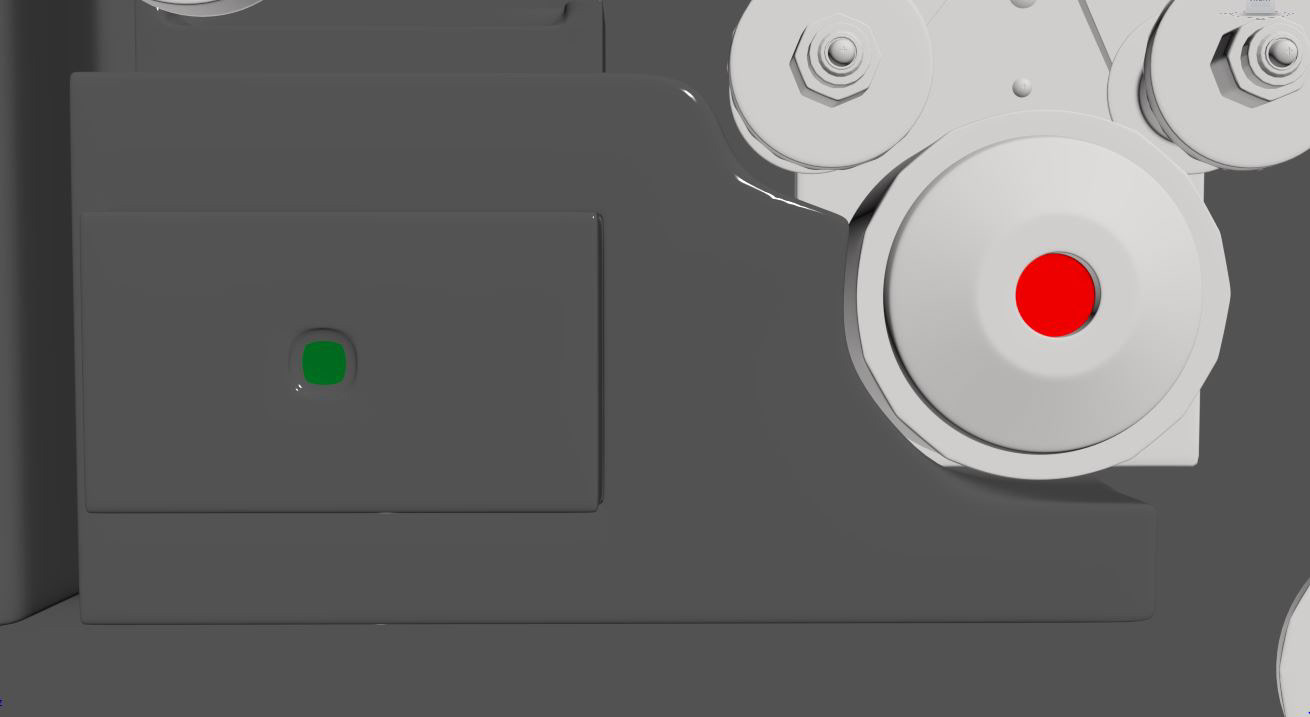
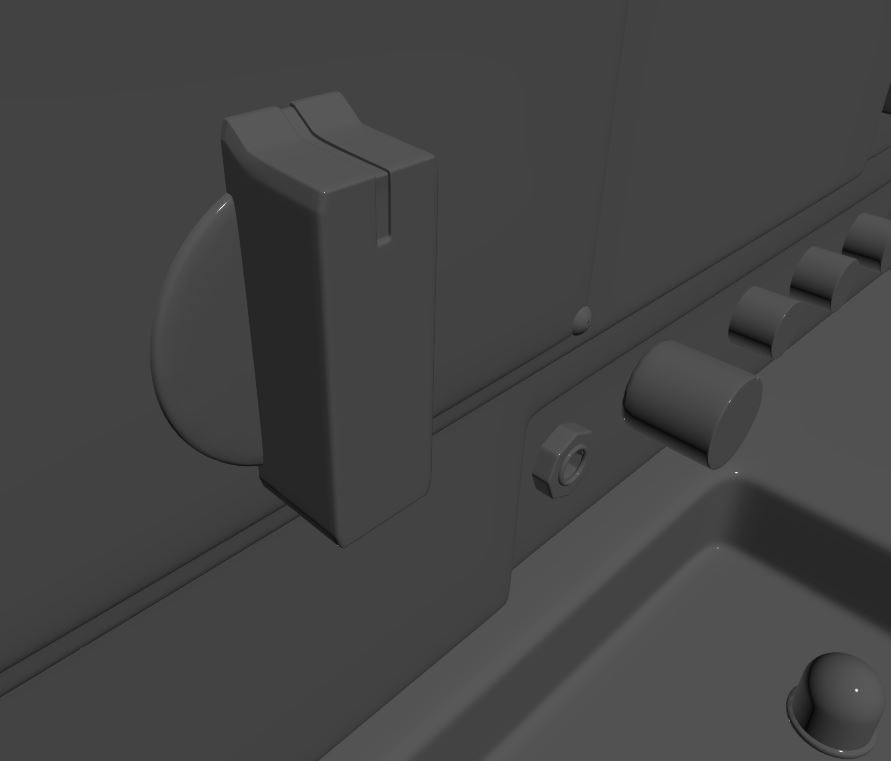
Still attempting to represent the original's box button the best that I can, close but not quite there yet.
With the lens I believe I combined my main reference image with another to give the model more visual appeal. This is when I began some basic texturing.

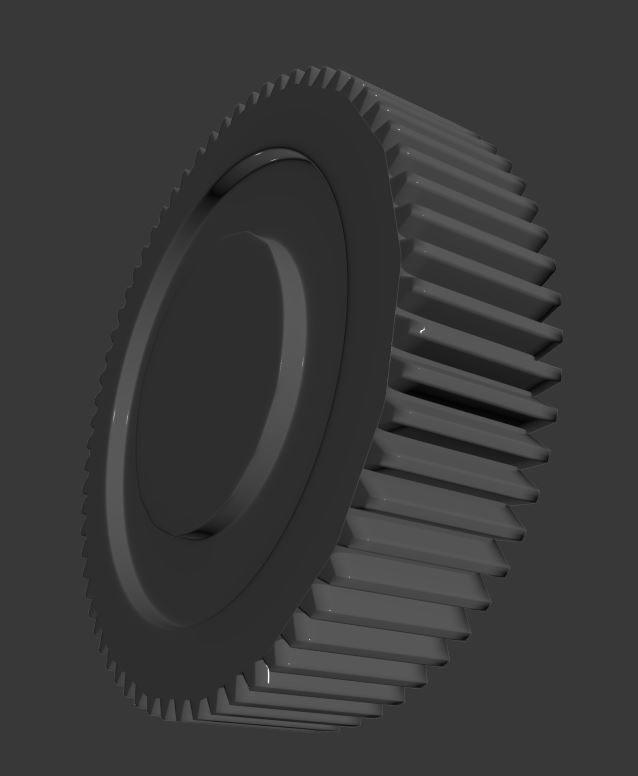
Dial textured.
Knob textured.
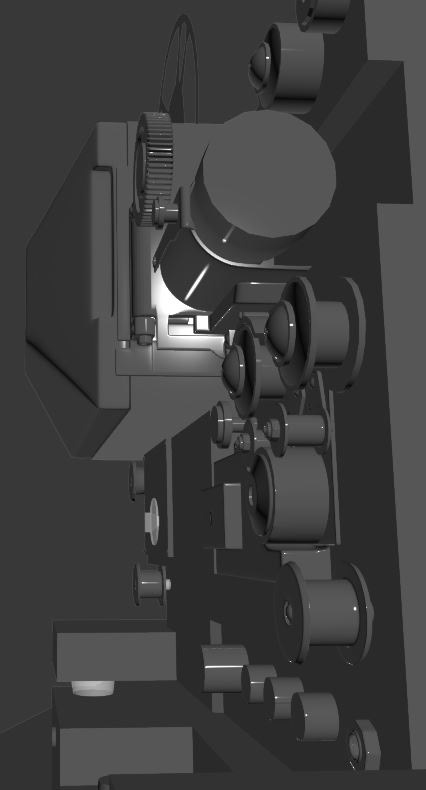
This is when I really started testing the textures with the lights. As you can see, some of the textures were having some issues.
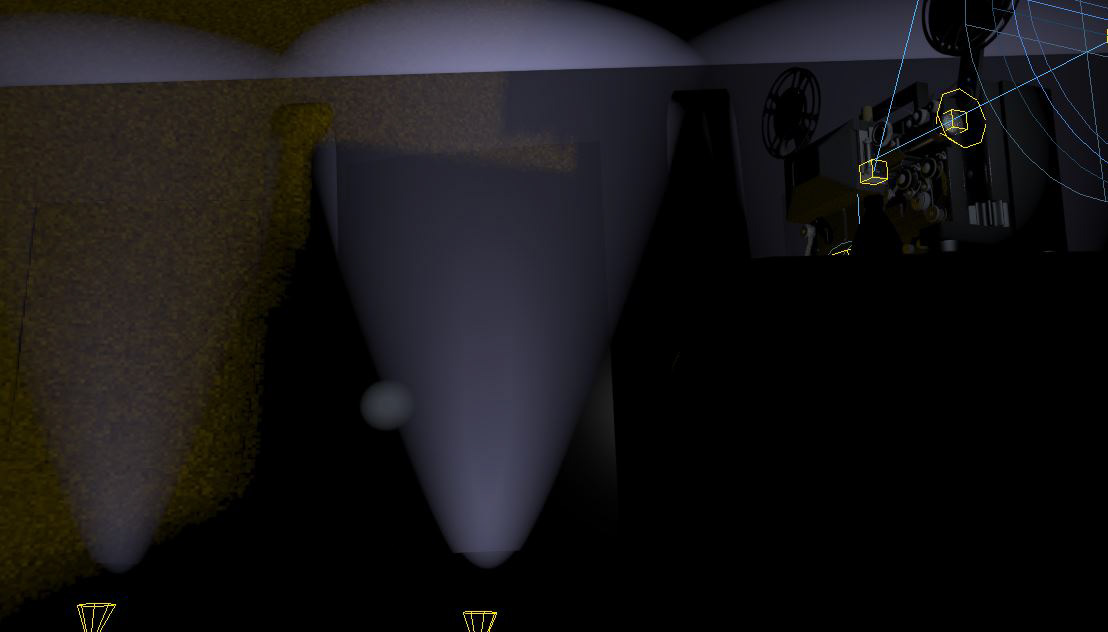
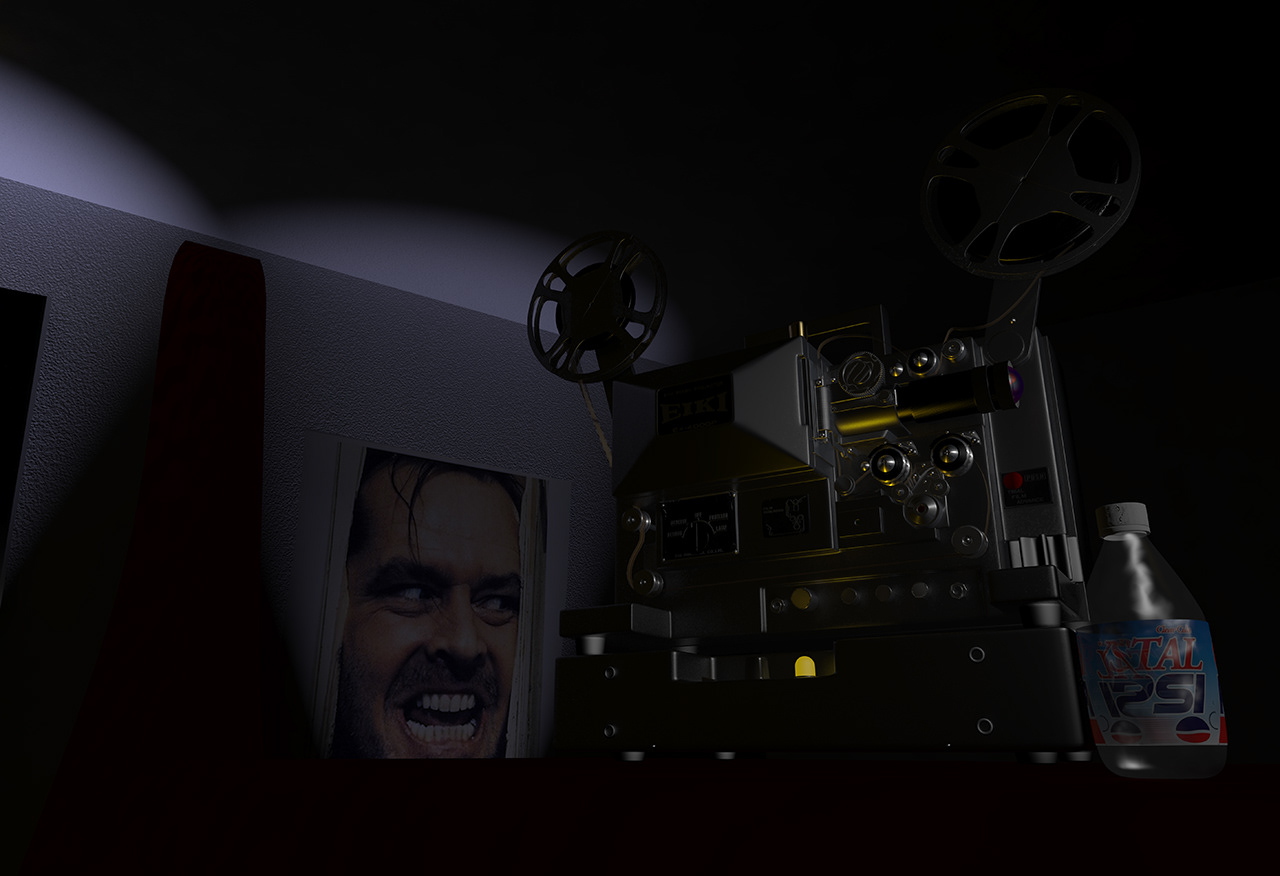
This is also when I started taking my own liberties with the lighting and the scene around the projector itself.

The reference image shows a much brighter scene than the one I decided upon; the lighting I chose is inspired by the traditional lighting of a movie theater of course. Seemed appropriate to myself anyhow.

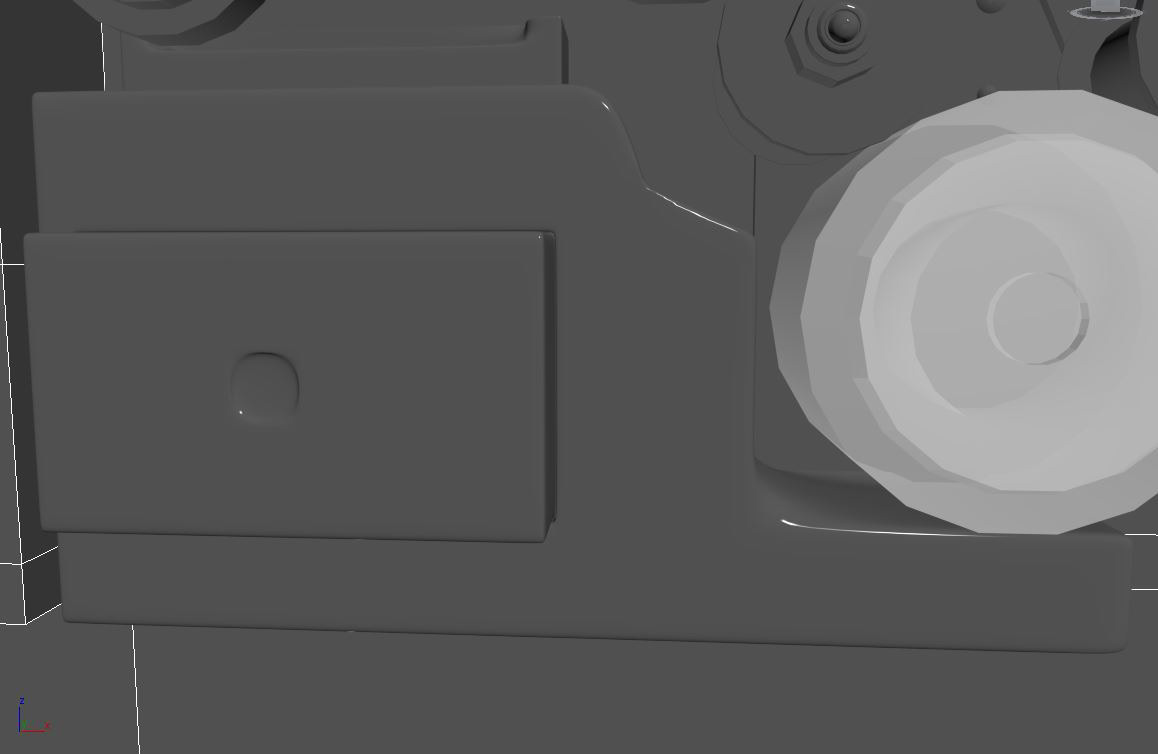
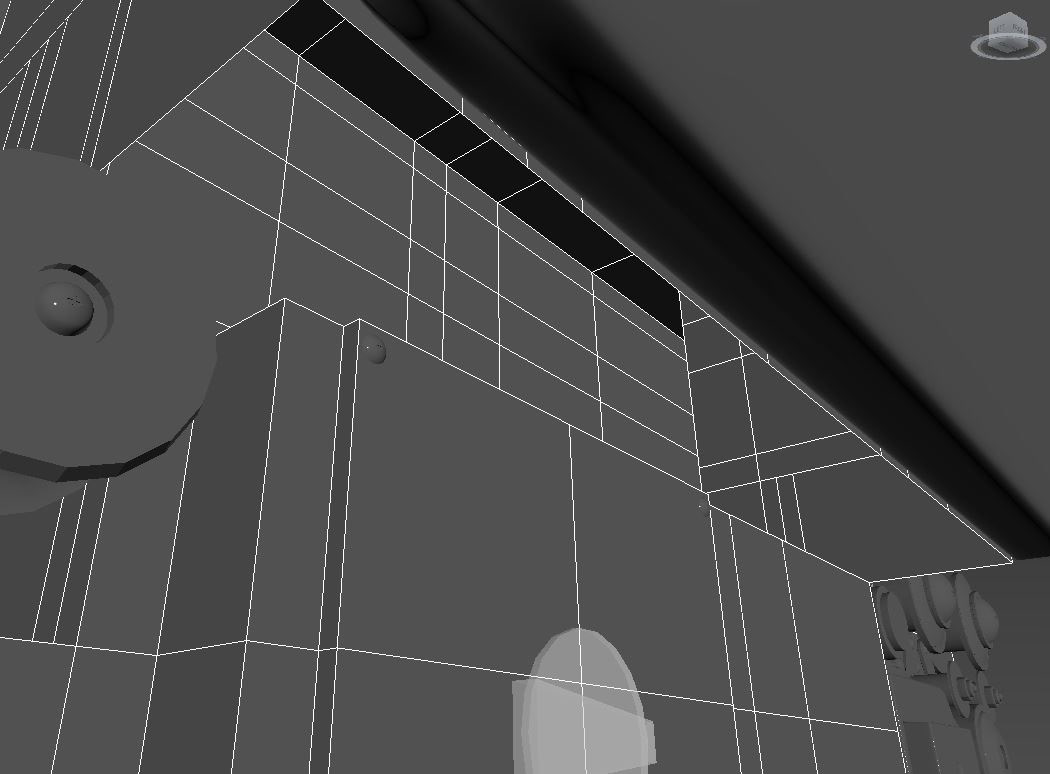
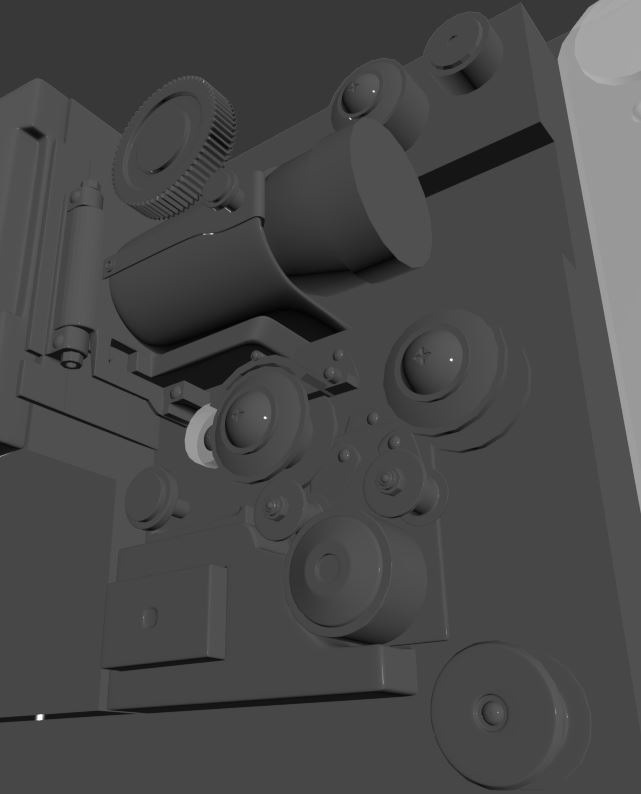
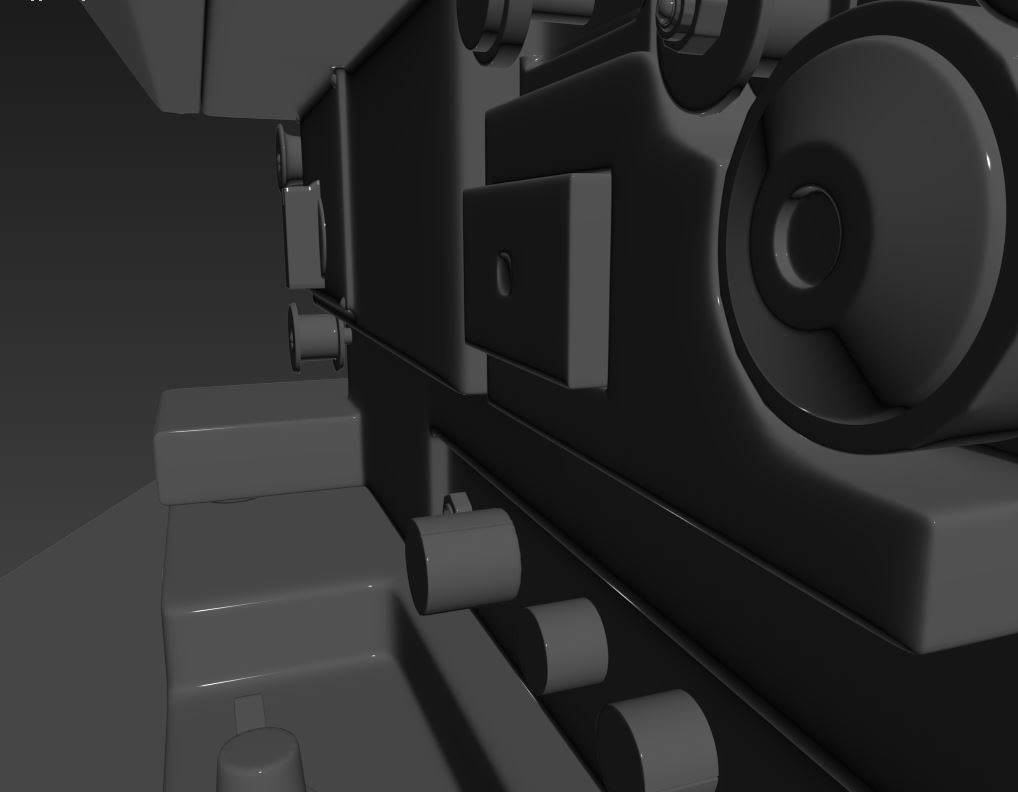
Zooming in close to get a better understanding as to what is going on with some of the textures on the model.
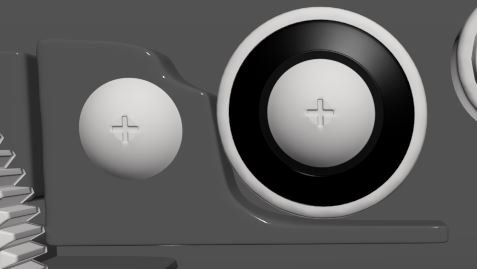
Still continuously tweaking the model and its assets.
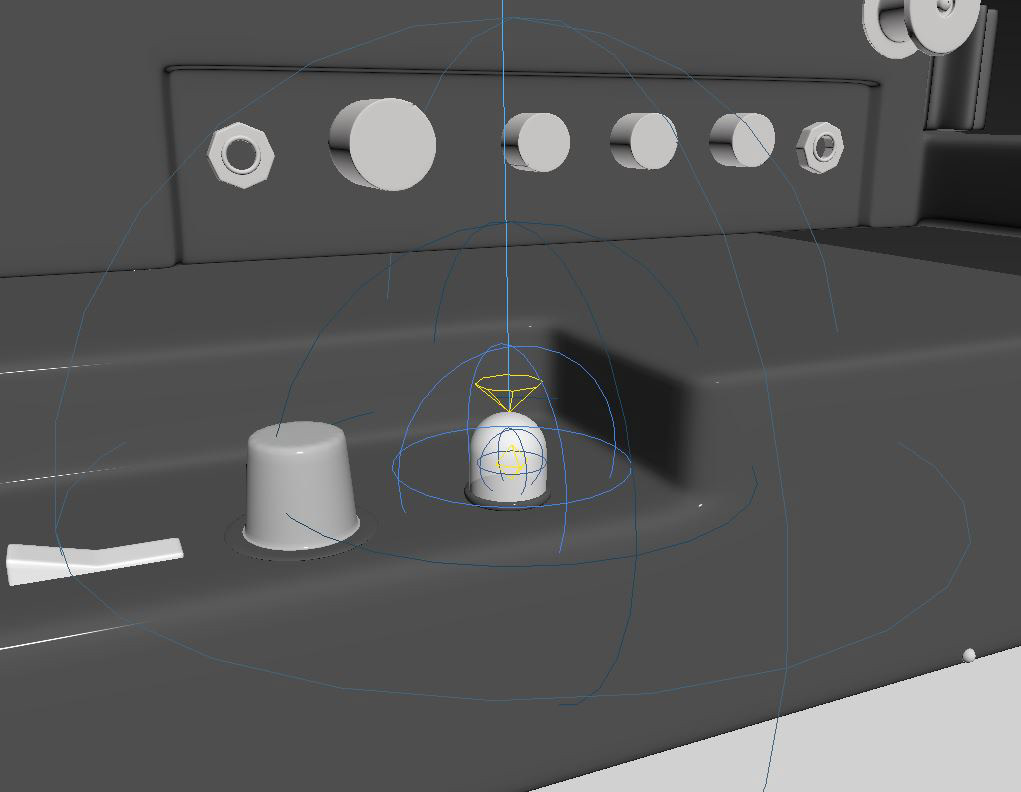
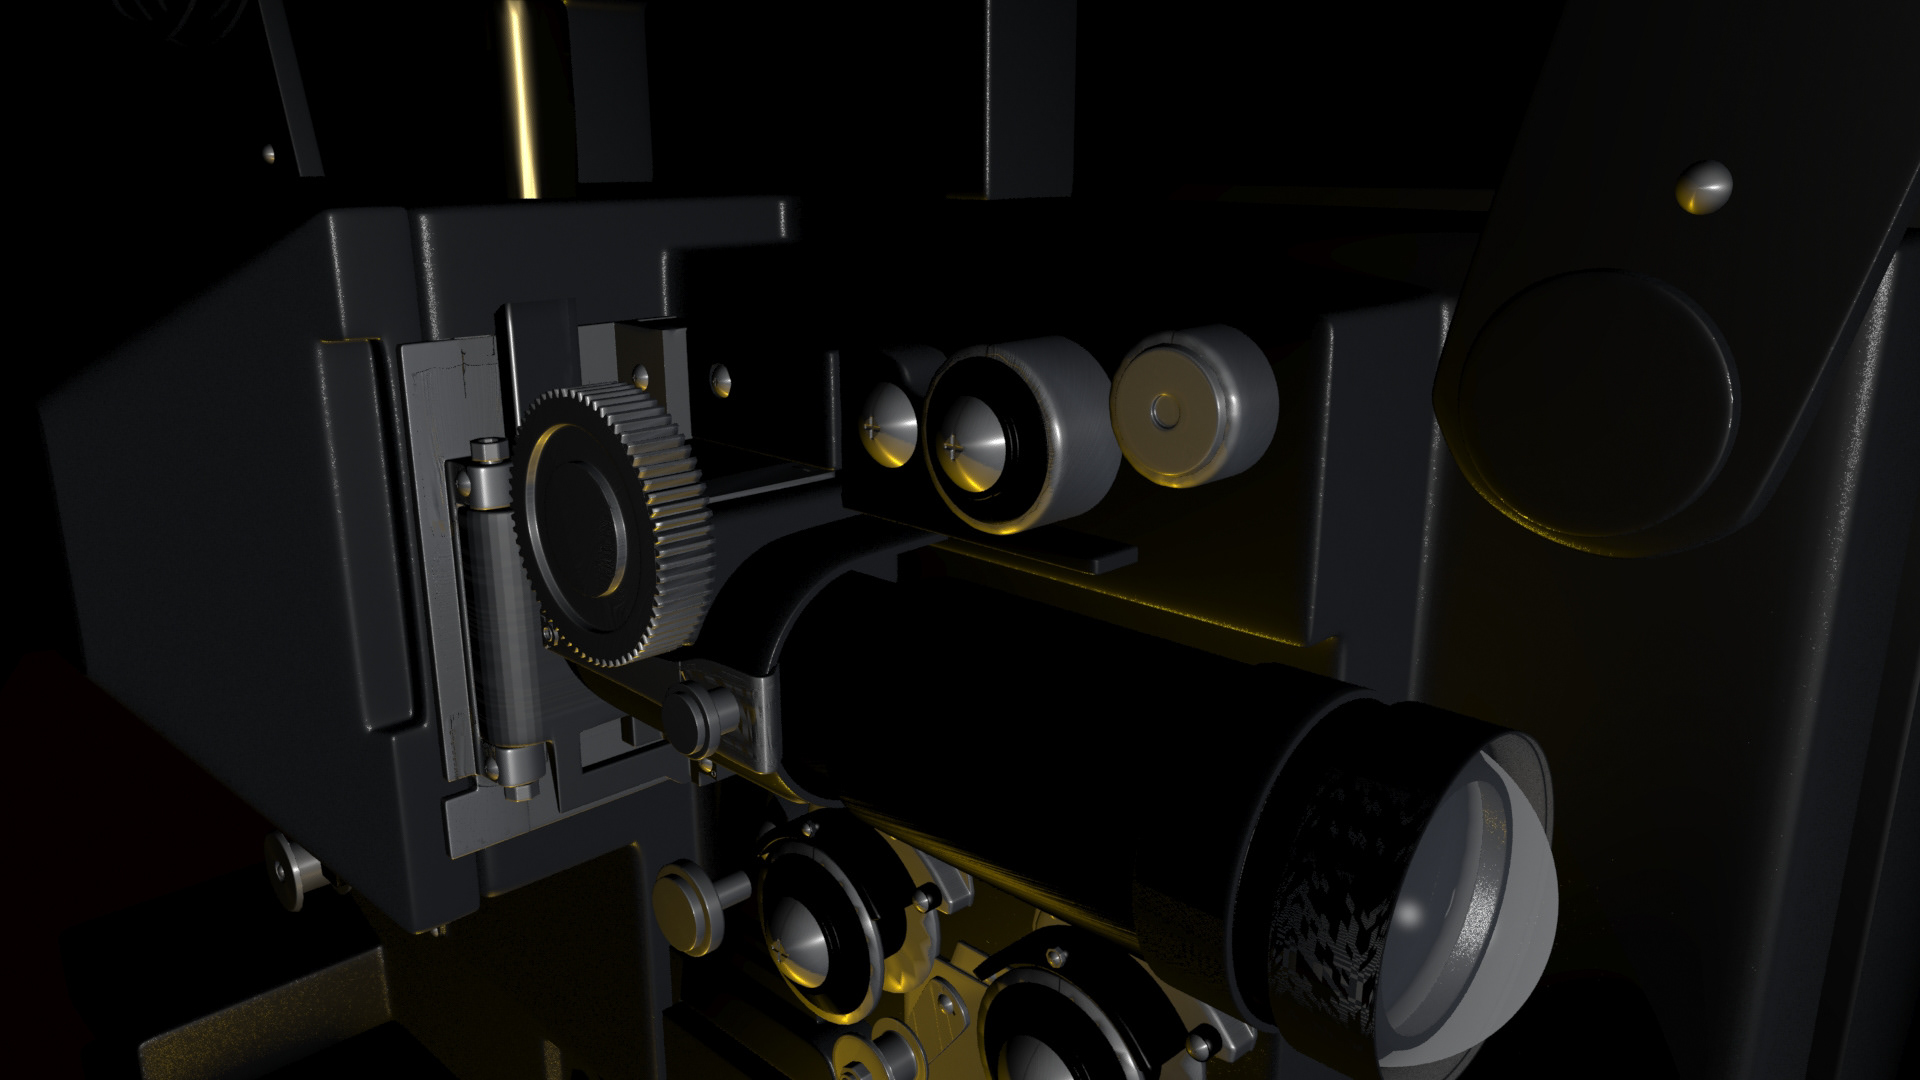
This is when I got the idea to add in my second light coming from the light towards the bottom of the projector to give the final render a little variation of color.
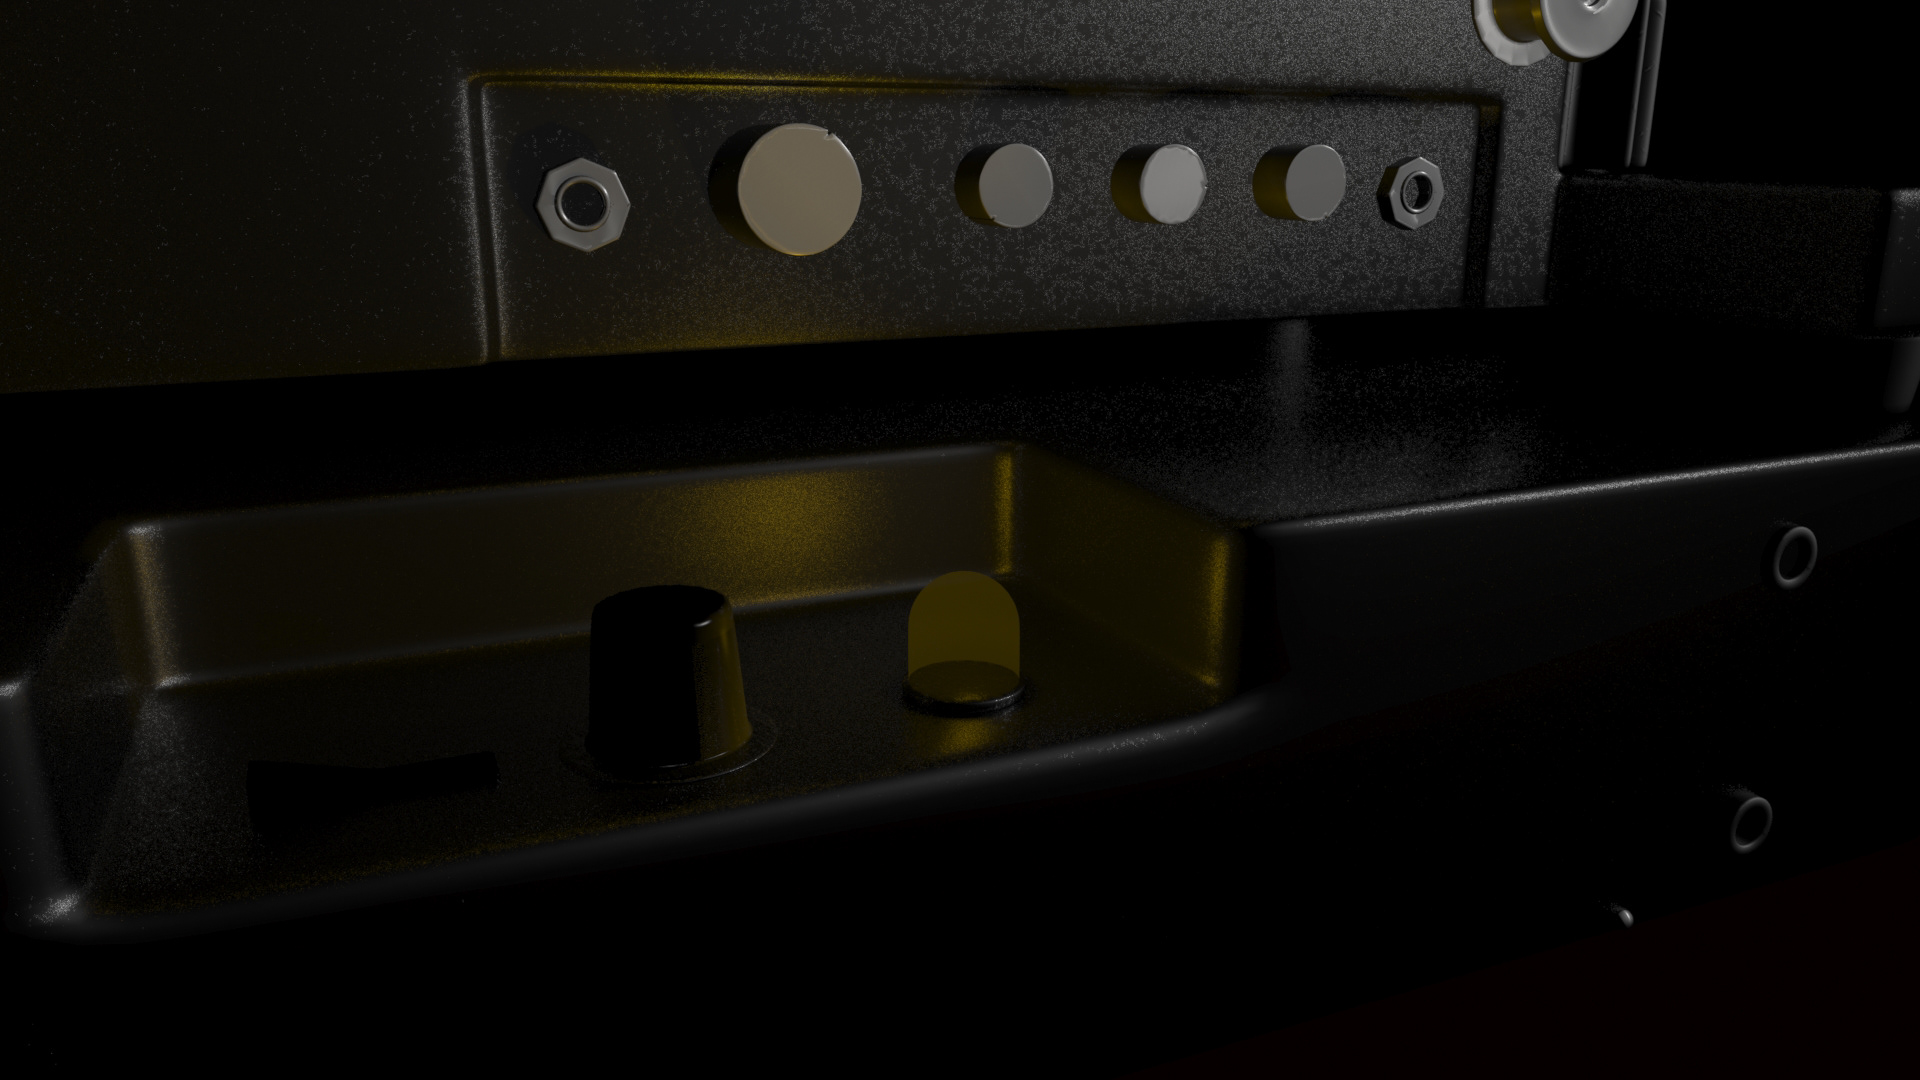
The reference image shows that the little light bulb has a yellow hue to it so I adopted that as well.
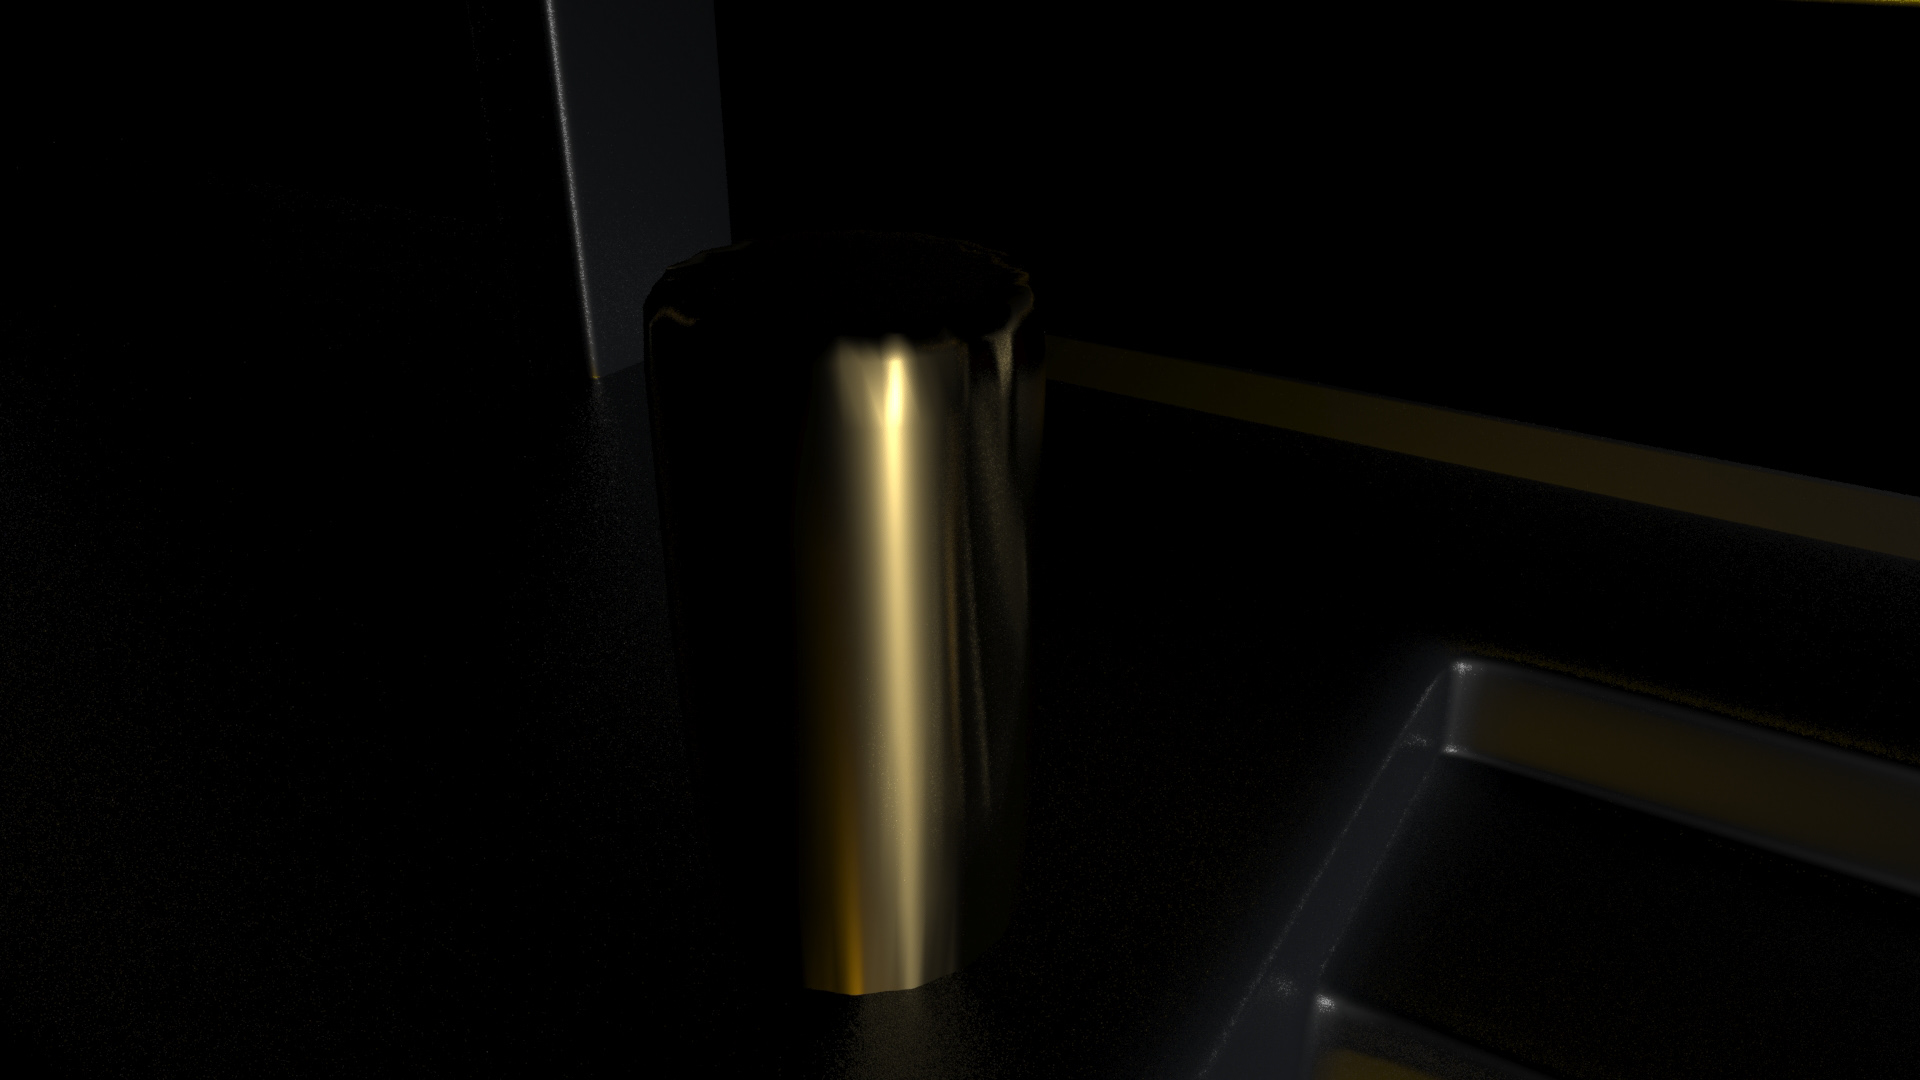
Had to apply some modifications to the copper knob at the top of the projector since the model for some strange reason had a few issues appearing as though it were factory made. Easy fix though.
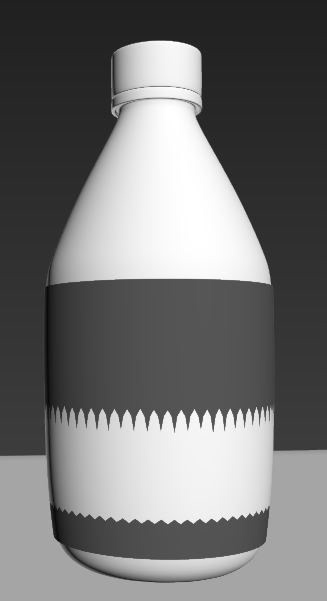
Getting back to the soda bottle model by fixing its shape and putting in the label on the surface.
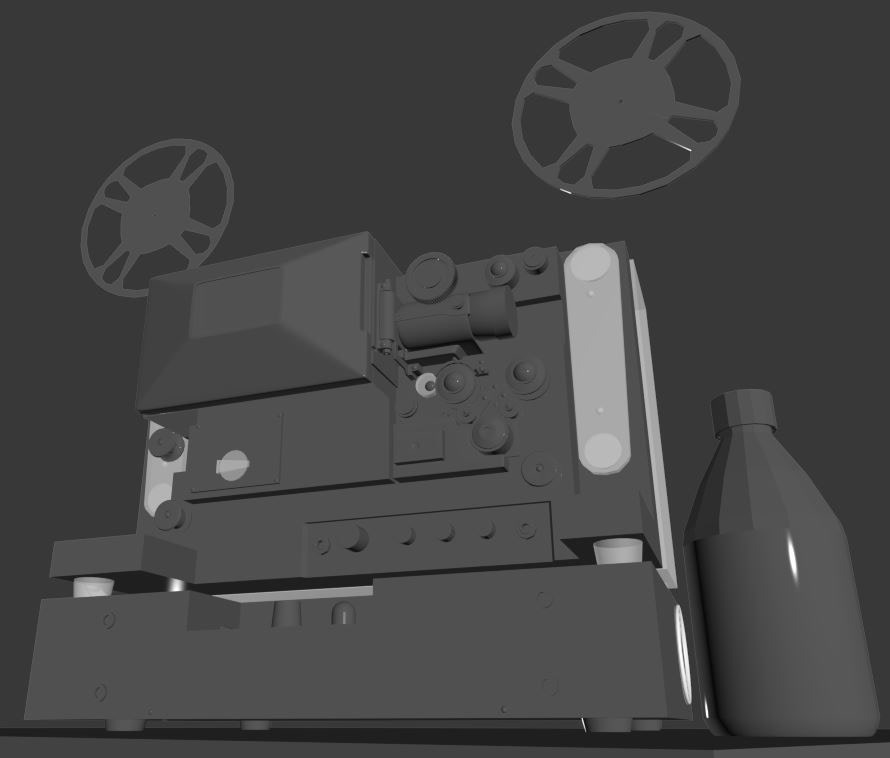
After adding in another light to help fill in the scene there was another component I realized I need to add, the film reel itself.
Staging the scene.
Simple backdrop of a few posters and drapes on the wall to give a "passed its prime" vibe.

I also wanted to show my love for some classic horror films from the late 1970s and early 80s. A movie theater seemed the best place to do it in.
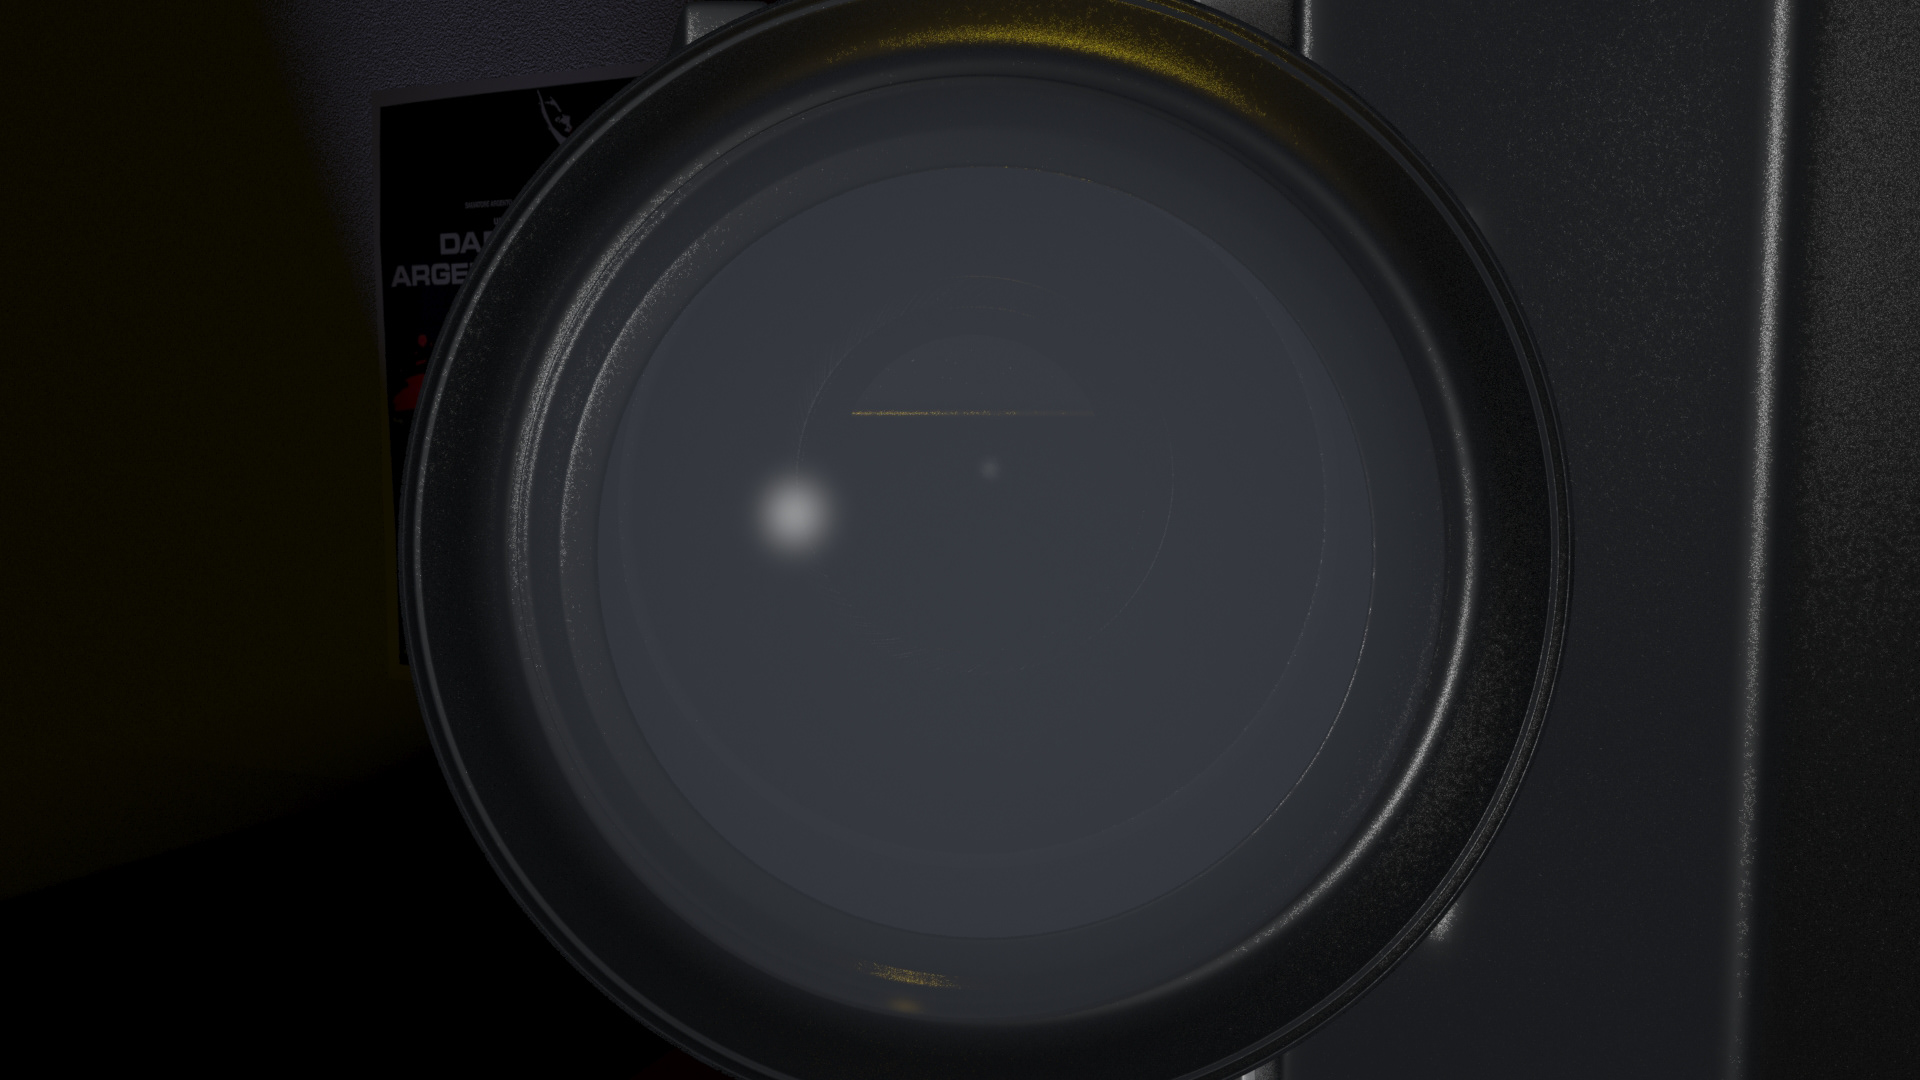
Observing the lens and its glass placeholder. Seeing some issues within the actual model itself; light leaking in where it shouldn't be.
Playing around with my lights.

Playing with my lights.
Projector (Test Render)
Initial Test Render 001: Rendering out the entire scene to get a vibe of how the lighting and textures are working together.
Rendered in Autodesk 3Ds Max.

Initial Test Render 002
Rendered in Autodesk 3Ds Max.
Initial Test Render 003
Rendered in Autodesk 3Ds Max.

Video Test Render Image 001: Observing how the decrease in resolution will effect my lights and textures in the final scene.
Rendered in Autodesk 3Ds Max.
Video Test Render Image 002
Rendered in Autodesk 3Ds Max.
Final Test Renders
Final Test Render 001
Rendered in Autodesk 3Ds Max.

Final Test Render 002
Rendered in Autodesk 3Ds Max.
Final Test Render 003
Rendered in Autodesk 3Ds Max.

Final Test Render 004
Rendered in Autodesk 3Ds Max.

Final Test Render 005
Rendered in Autodesk 3Ds Max.
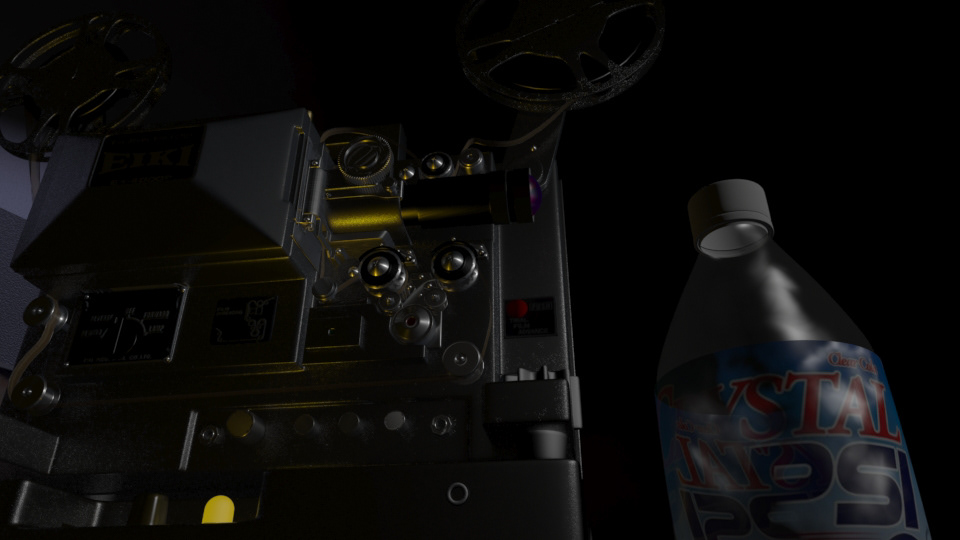
Eliminated Background Test Renders